How to Mount Prints on Wood Panels Affordably
Sometimes you may want something different from a regular frame when displaying prints, photos, or artwork in your home. The cost alone from having things framed could persuade you. I want to show you how you can mount prints on wood panels affordably, and sometimes, without spending much money at all!
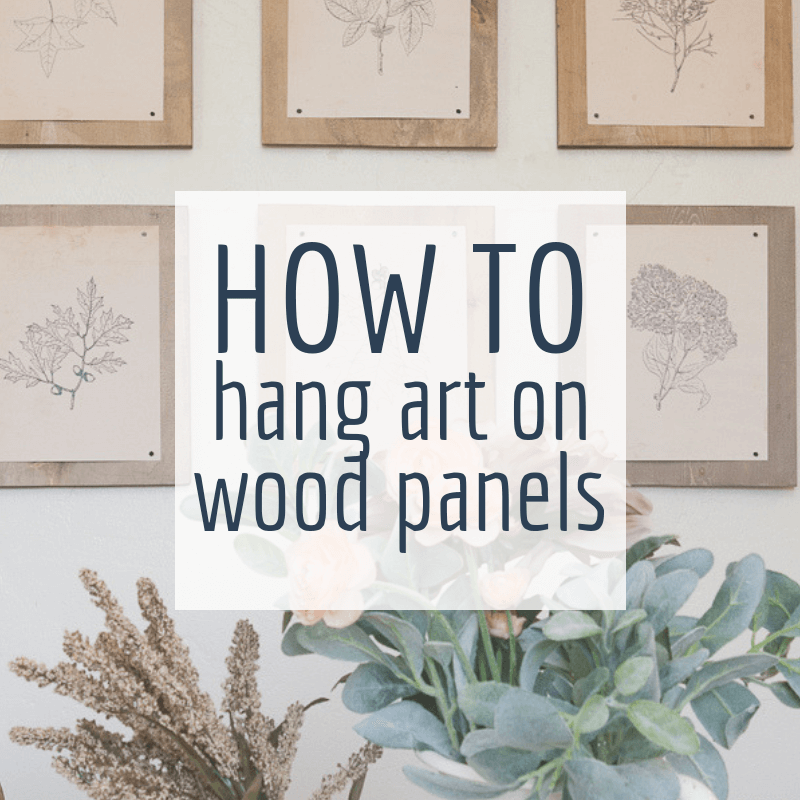
I love changing up my wall decor in my home. It is an easy way to completely transform a space without totally redecorating it. Yesterday, I unveiled some new fall botanical printables, some which were free and some that I am selling in my Twelve On Main Art Shop.
If you are interested in purchasing those printables, you can purchase them right here if that is your desire:
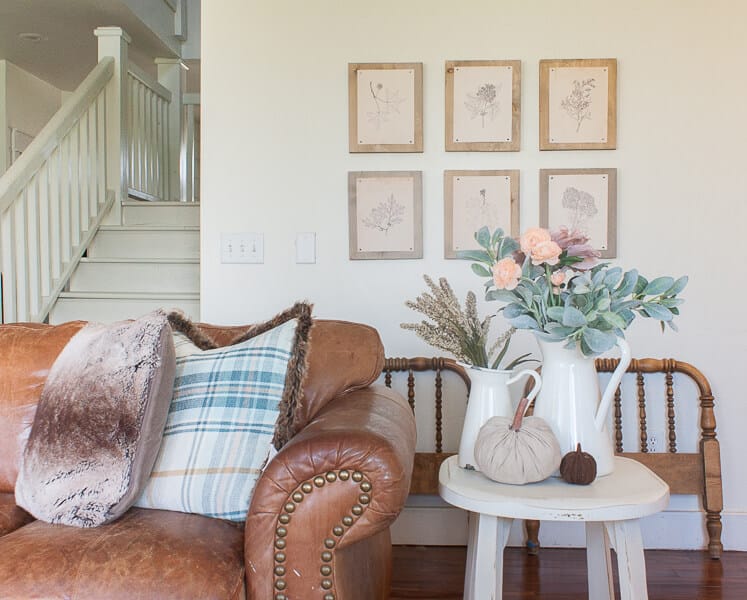
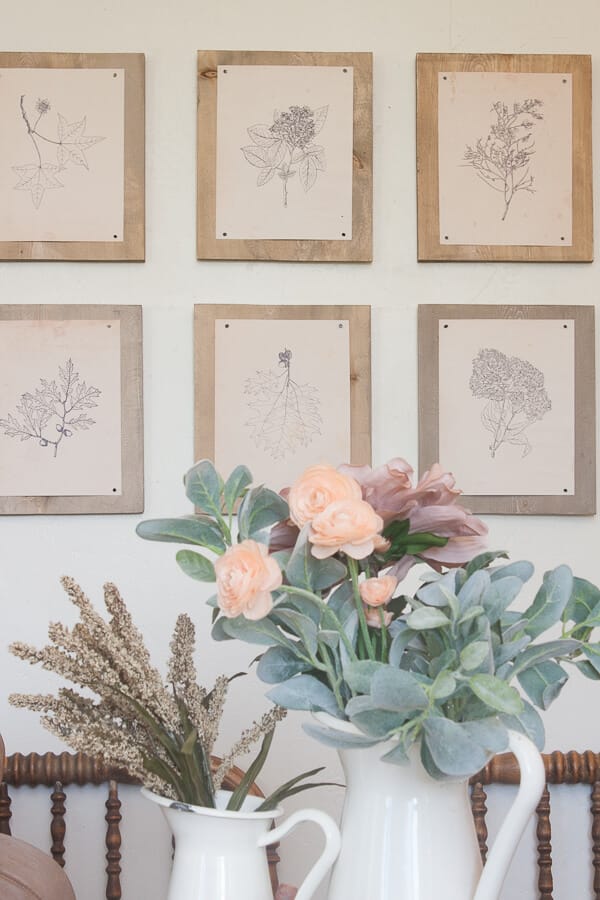
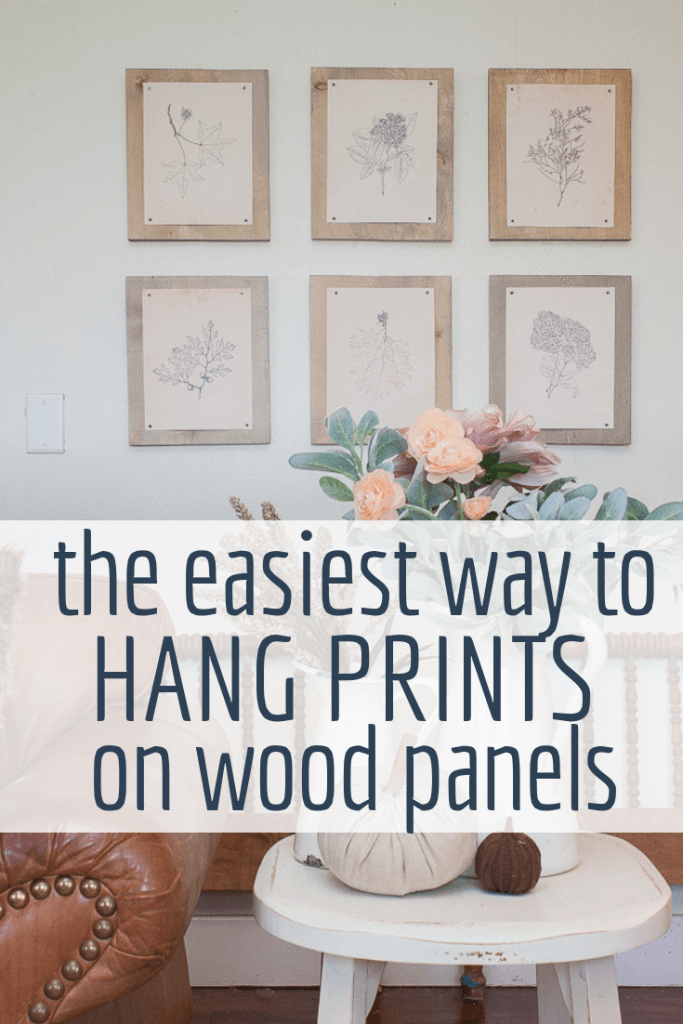
These printables have been such a great success in just a few days, I am thrilled with that! Today, I wanted to show you how I took these vintage fall printables and turned them into a beautiful and stylish gallery wall by mounting the prints on wood panels.
You see, I always have wood in my garage. I often will grab a piece of 1 by 10 common board anytime I am at The Home Depot or Lowes. It is inexpensive, and it works so well for so many different projects. When I thought about how I wanted to display my prints, I really thought creating a gallery wall would look lovely, but knew that purchasing 6 nice frames would end up costing more than I really wanted to spend these days.
I decided I needed to get creative with them and headed out to my wood pile. I decided I was going to mount the prints on wood panels.
Its really quite a simple and straightforward project, and it literally cost me nothing, since I already had the supplies at my house. You can get creative any way you want with this.
Here are the supplies we used to mount our prints on wood panels:
- miter saw
- 1 by 10 inch common board ( you can find smaller pieces of wood that you can use instead of having to get a large piece and cut it.
- Picture hangers
- carpet tacks
- prints
We cut our 1 by 10 into 6 pieces. The prints were printed on 8.5 by 11 inch paper, and so we cut them at 13 inches long.
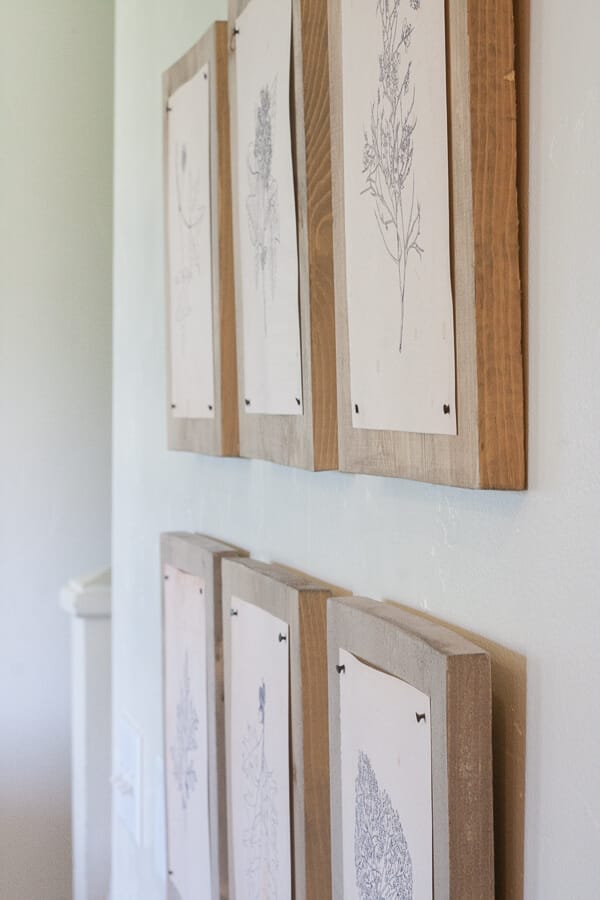
At 10 inches wide, they were the perfect width to leave approximately 1 inch on either sides of the print, and cutting it at 13 inches, left an inch at the top and bottom.
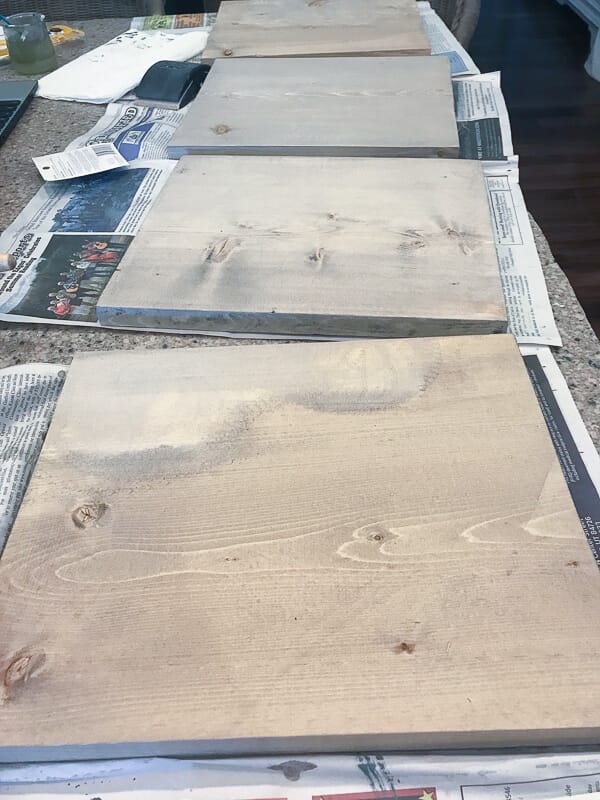
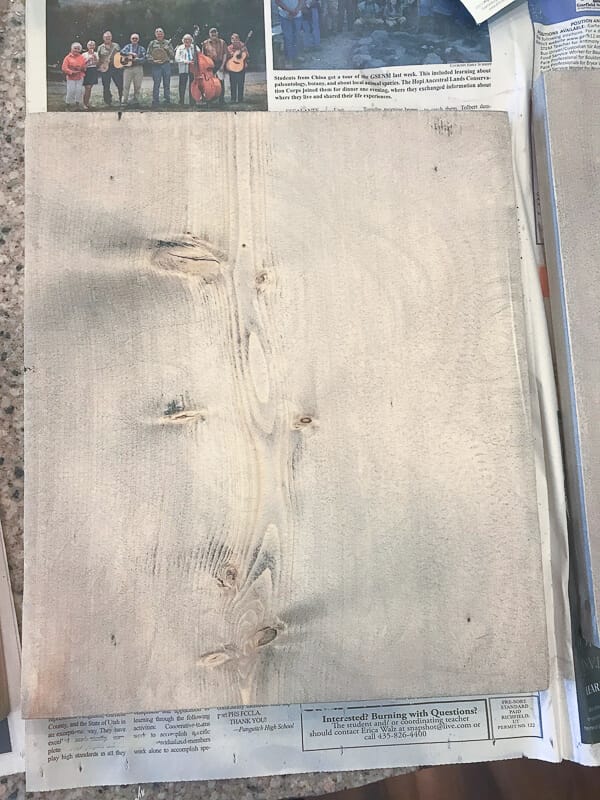
I gave all the pieces a good sanding around the edges to make sure there were no splinters. I then stained them all with my favorite homemade DIY weathered wood stain. This stain has been used so many times in my home with success every time. It dries the perfect shade, not too dark and not too light with no orange in it. It works with the wood to bring out the colors of the wood and highlight its beauty.
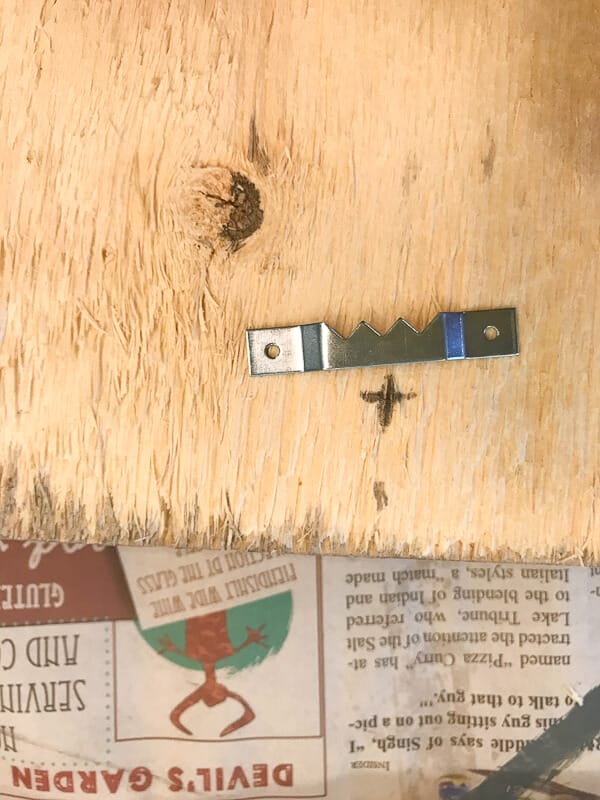
Once they have all been sanded and stained, I wanted to install the sawtooth picture hangers.
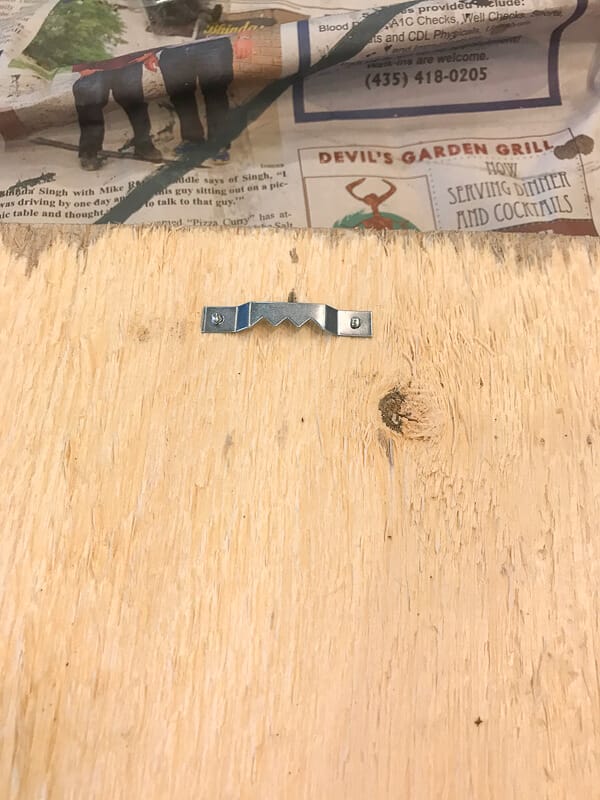
Flip the back of the wood panels so that you can access the backs. Measure down 2 inches and measure to the center of the panel and make a mark. This was where the center of the sawtooth picture hangers was to be nailed in.
I did this to all the wood panels so that I had them all ready at the same time.
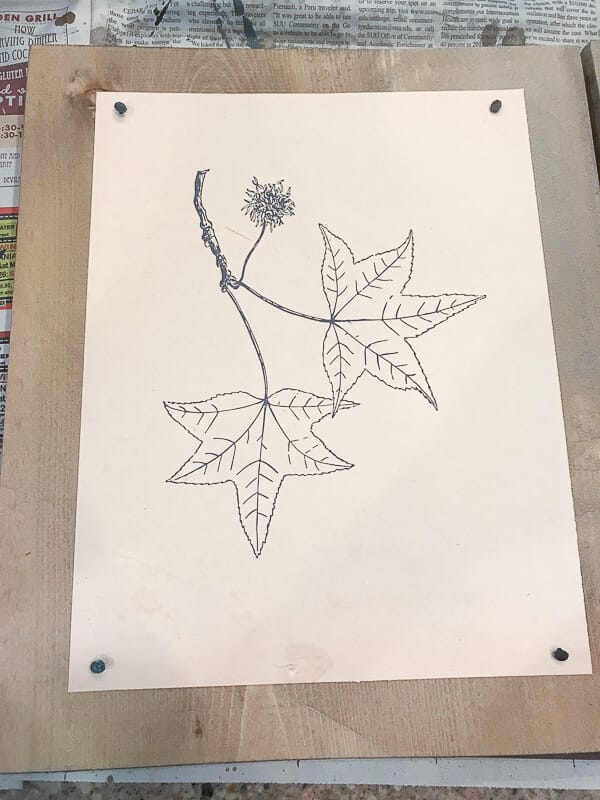
Now its time to mount the prints on the wood panels. This is my favorite part, and the best part is I used 3 dollar carpet tacks for this part.
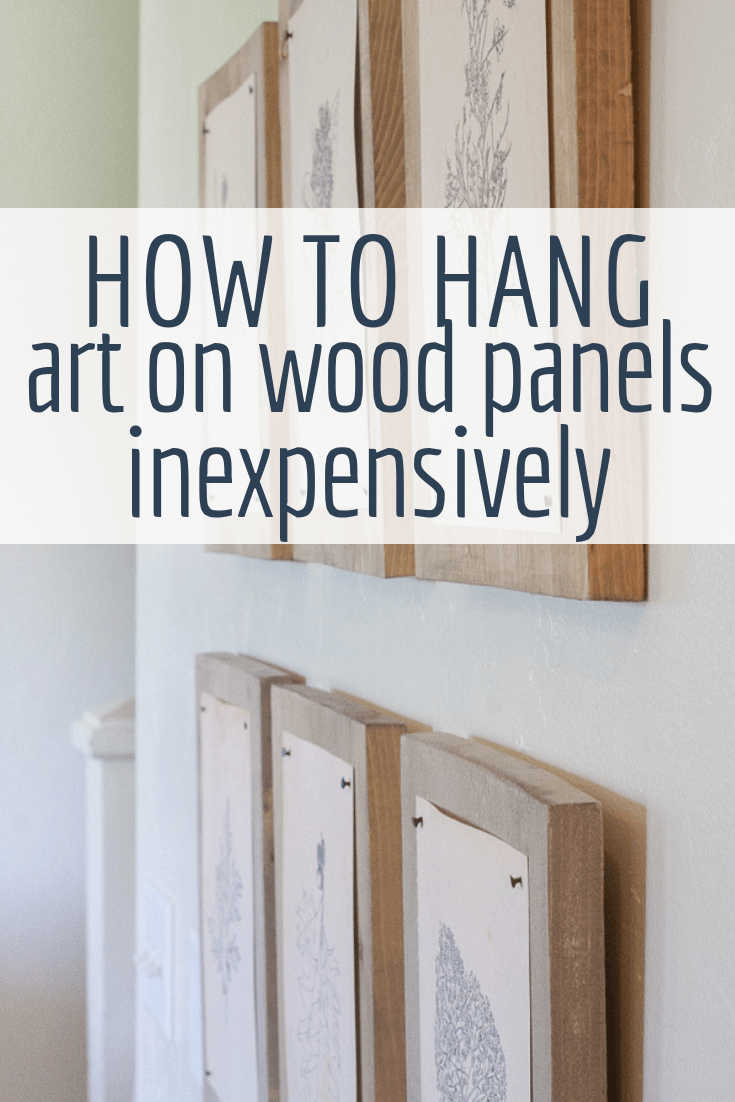
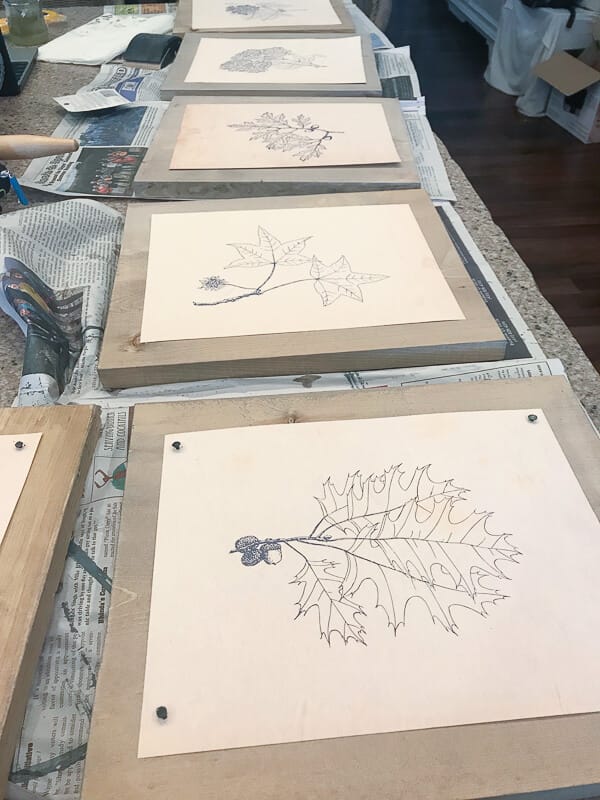
I laid each wood panel down and placed an art print on the wood block. I centered it on the wood and then I nailed in the small carpet nail tacks on the 4 corners of the print, holding it in place while I did so.
Since I laid them all out in a row, I was able to adjust and make sure that each print was in line with the next one. This made it easier to eyeball the prints on the wood panels. You could easily measure each one to make sure they were mounted the same, but this was easier and more quick for me.
Once I have mounted the prints on wood panels its time to hang them on the wall.
This can be easier than it may seem…
How to hang the prints on wood panels easily:
Hanging a set of pictures or artwork on the wall evenly spaced can be scary and difficult. Let me show you how I do it:
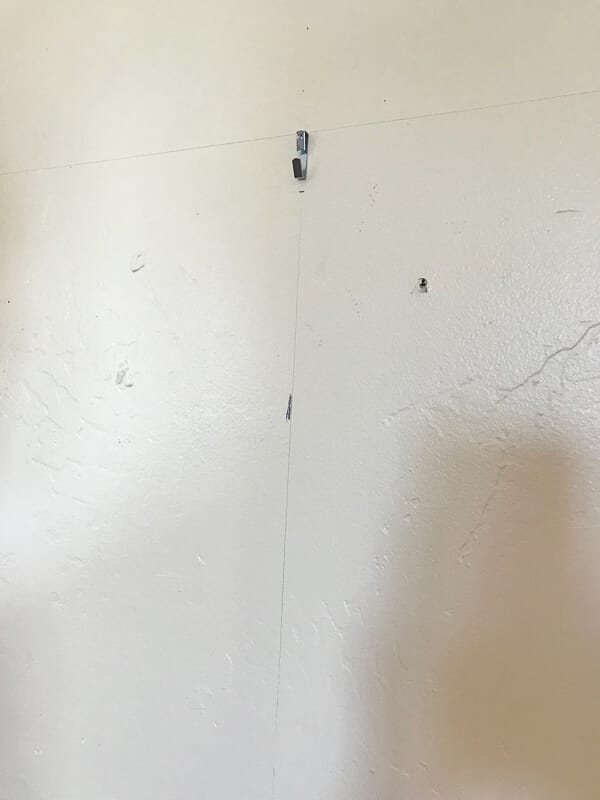
I start by deciding where I want to hang them, and draw a line with my level, so that I know I have a good level guide for which to hang them.
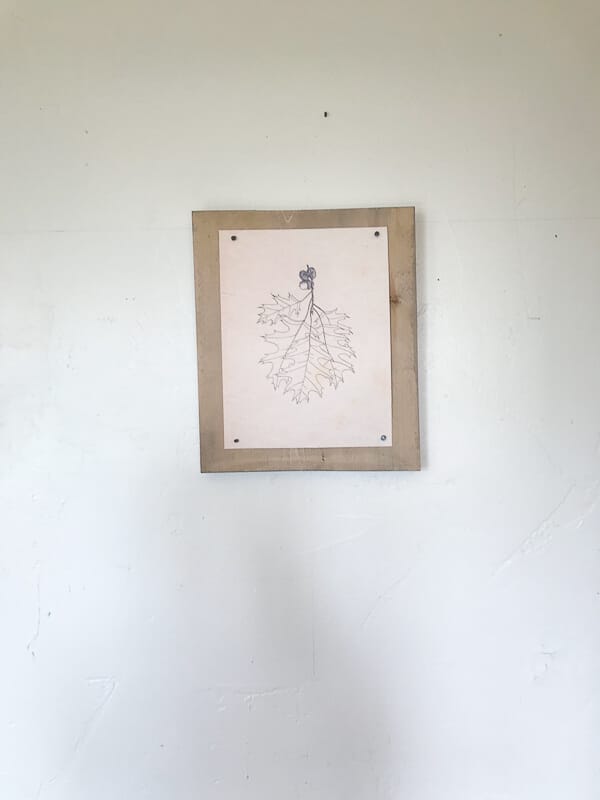
Next, I mark the center, where I will hang my first wood panel. I then hang the first piece of artwork.
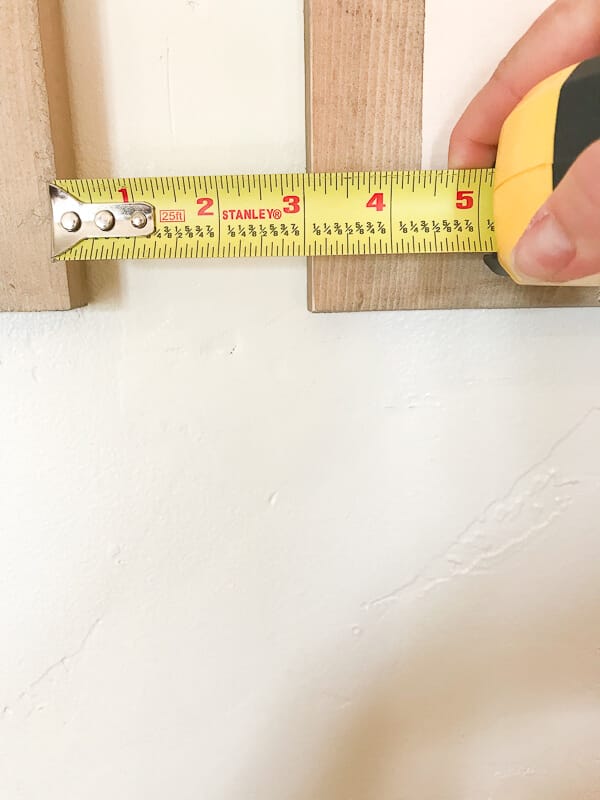
What you want to do next is take a measurement. First, you want to decide how far apart you want each of your frames. I wanted mine all to be 3 inches apart. So, I take the measurement from the very center of the first wood panel, and measure to the end, so it will measure to half the width of the panel.
Check the next panel that will be hung, and verify that measurement too. They should be the same or very similar.
So, mine were each 5 inches, since the wood panel was 10 inches wide. Next, add your 3 inches to that measurement.
We are at 13 inches. Now, take that measurement and take out the 5 inches from the hanging print. Next, measure from the edge of the hanging print, and measure out 8 inches along the same level guide line and make a mark. This is where you will hang your picture hook. Last, you can hang your painting, framed artwork, or prints on the wall.
Repeat these steps for the rest of your prints. If you are hanging two or 3 rows, you will want to measure down 3 inches, and then adjust for where the sawtooth hanger is in the wood print. Ours were 1 inch below the top of the print, so we added one inch to the 3 inches to give leeway for that one inch. This will give you an even spacing around all sides of the prints.
You can adjust and change these measurements to whatever you choose. I liked the look of a 3 inch space.
*Sometimes even the best measuring and adjustments can still cause a print or painting to be too high or too low, just depending on so many different variables, but you can adjust for these as needed.
What do you think of hanging your prints on wood panels? I love the bit of texture and warmth the wood brings. I had initially painted one of the panels, but just did not love the way it looked with the rest of the room. You can definitely paint your own! There are so many ways to customize this style of mounted artwork.
Make sure to save this for later and share it with your friends! Its such an easy way to make your prints look like one a kinds.
If you like this post, check out these as well:
How to Install Board and Batten Wall Treatment on the Cheap
Thrift Store Headboard to Farmhouse Style Wall Decor
Basket Wall Decor from a Thrift Store

Love this post! What type of paper do you print your images on?! Thanks!
I use cardstock