How to Make Easy Horse Art with the Cricut Maker
To begin, I want to talk all about this new Cricut Maker. I want to back up a bit and let you know this….I have never, in my entire life used a Cricut machine of any kind or any other machine similar to them. I have always been afraid to attempt to learn how to use one and didn’t really want to invest my time and money into something I wasn’t sure I would like.
Boy was I wrong. Haha! I tell you, I am coming into this a total newby. I was completely and totally unfamiliar with and of these machines. I was thrilled to receive one and review it!
You can see my Cricut Maker review here and see why I have fallen in love with this machine.
And today, I want to show you one of my very first projects using my Cricut Maker. Its no surprise that it involved art of some kind. Its just my nature you know? I wanted to create something for my daughters bedroom. We recently painted her bed frame using some really great paint brushes and really wanted to create a space that was growing with her. She loves horses…so we thought why not incorporate some horse art in her bedroom.
Now, lets talk about how I used my Cricut Maker to create some cute horse art for my daughters bedroom.
This is what you will need for this horse art project:
- Cricut Maker with tools including the weeding tool and mat
- Vinyl(I used a patterned one that I never planned on using anywhere else. No point in wasting your favorite colors)
- 12 by 16 painters canvas
- assorted paint colors (depending on what you choose to use)
I wanted this project to be super simple so that it was something that my daughter could help with.
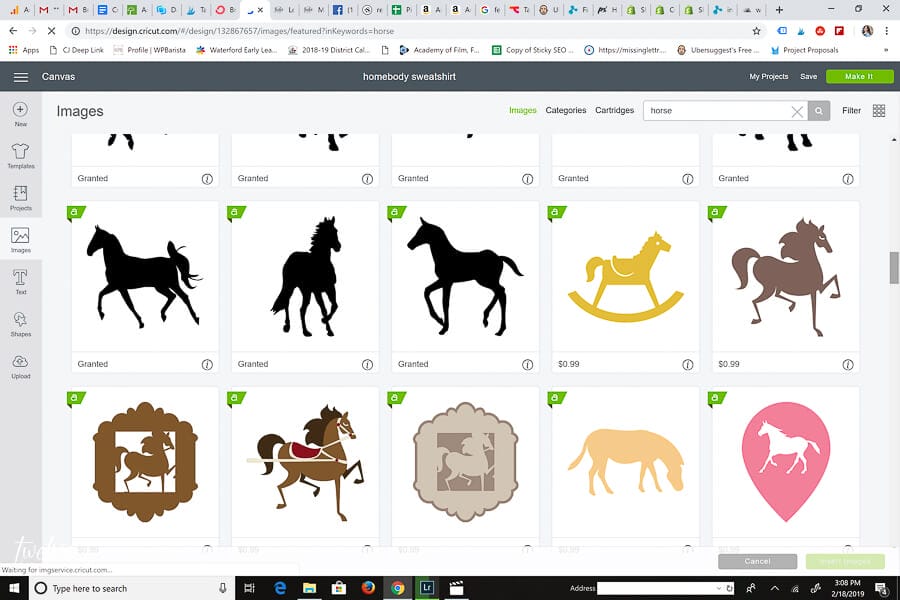
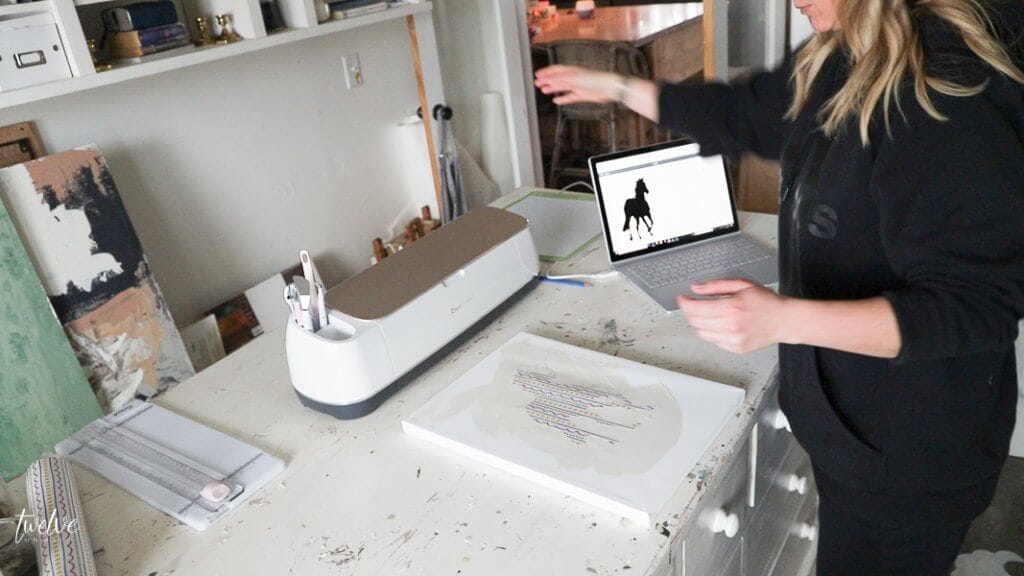
I started by hopping on Design Space, which is the program you use to create for your Cricut Maker. You can use free images, pay for premium images separately, or subscribe to a monthly plan , which is what I did. You get so much with your monthly subscription.
The first thing I did was look through the images on Design Space to find the perfect horse for our horse art.
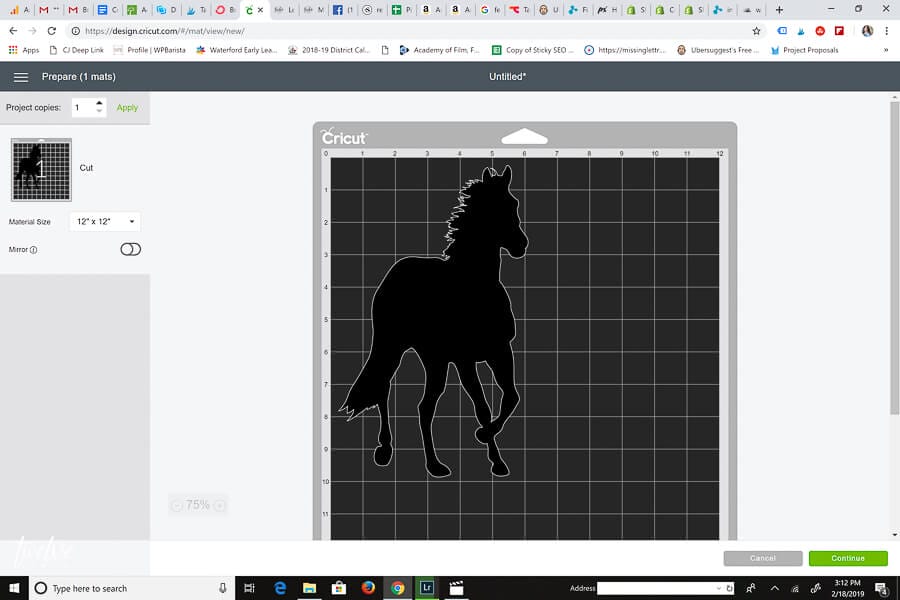
Once I found it, I selected it, and added it to my canvas on Design Space. I sized it appropriately. I wanted it to be as large as I could get it since we were putting it on a larger art canvas.
After I had sized my horse, I clicked the button to “make it”. The Cricut Maker then told me what to do. For this project, I used Vinyl that I could stick to the canvas prior to painting.
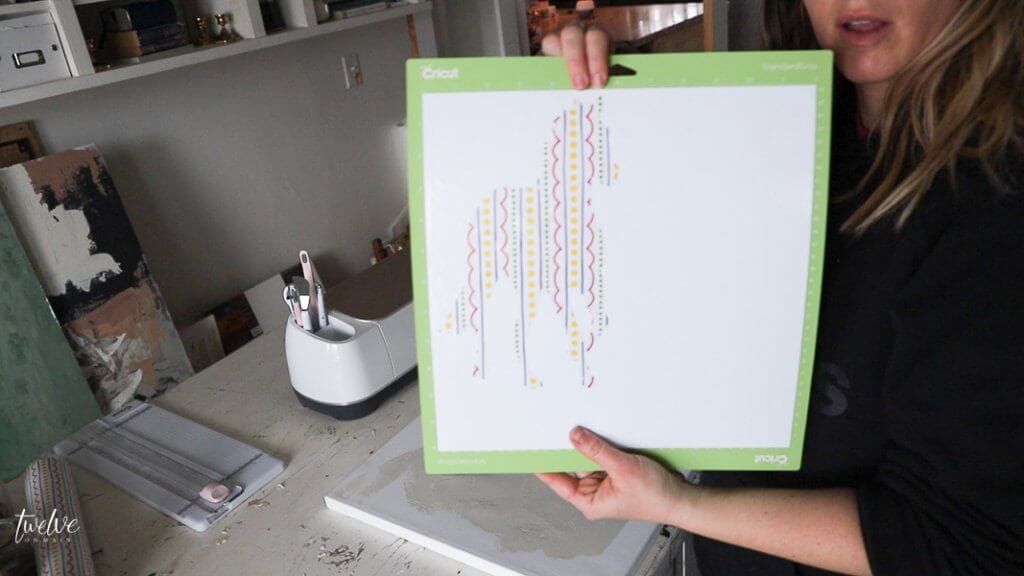
I applied my vinyl to the mat board and inserted it into the Cricut Maker. I then clicked “start”.
The Maker cut the horse out of the vinyl in seconds.
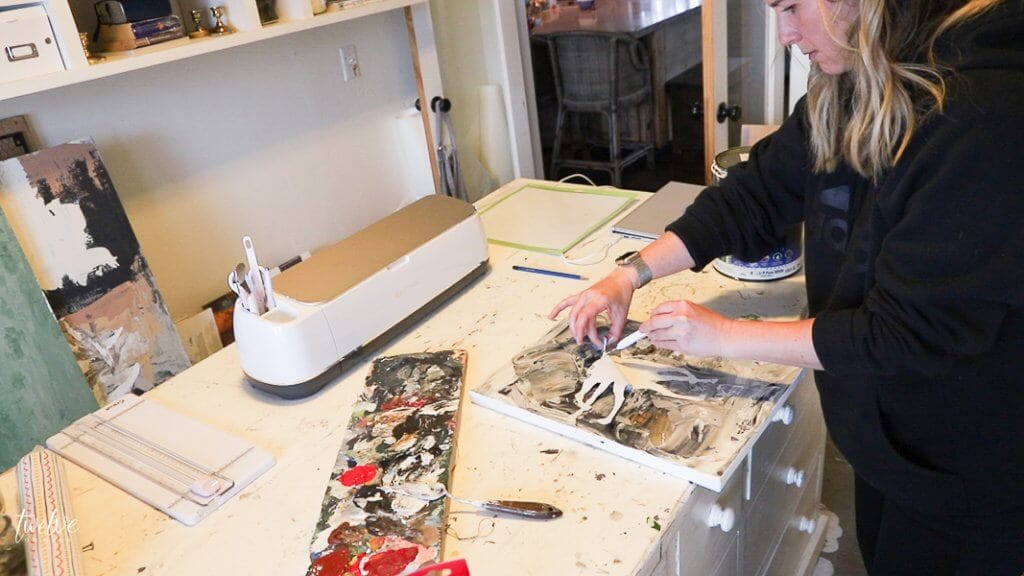
We then peeled the horse off the mat, and laid it on the canvas in the position that looked the best.
I pressed down to make sure the horse was secure and the edges were down.
Now its the fun part!
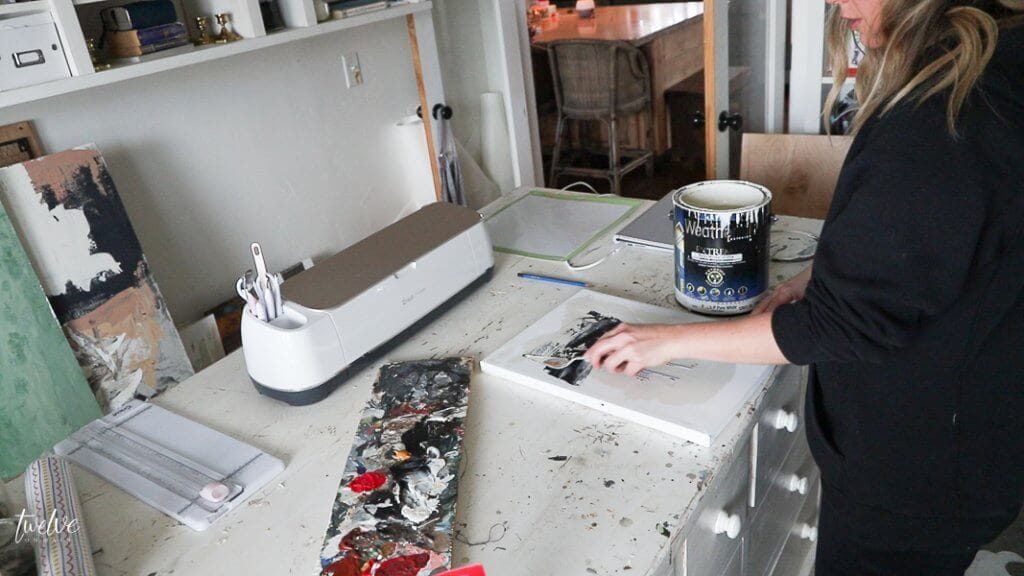
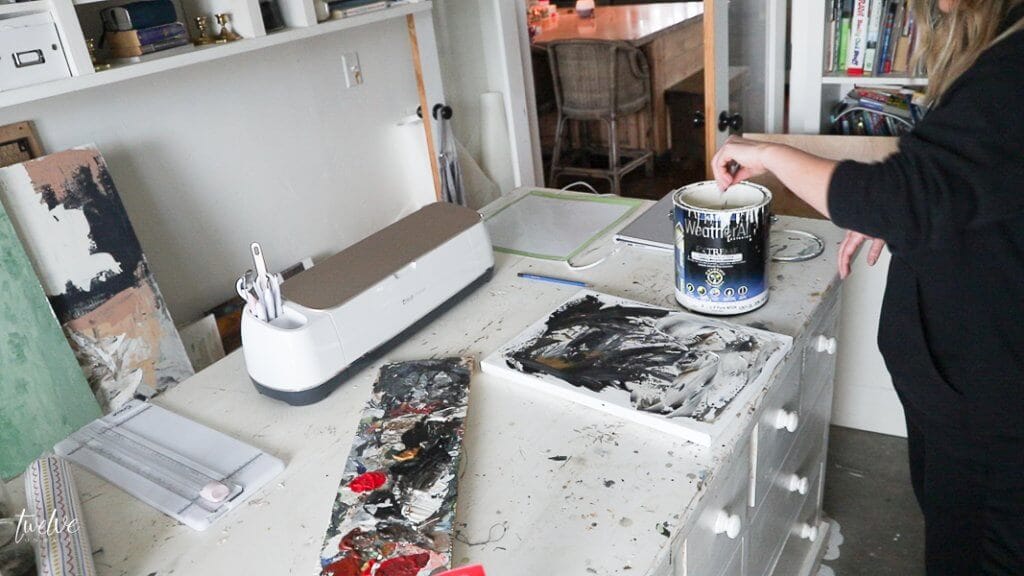
I used a few different paint colors including black, raw umber, white, and ocher yellow. I used my pallet knife to roughly mix up the paint and start spreading it on the canvas like it was peanut butter or butter you were spreading on a piece of toast.
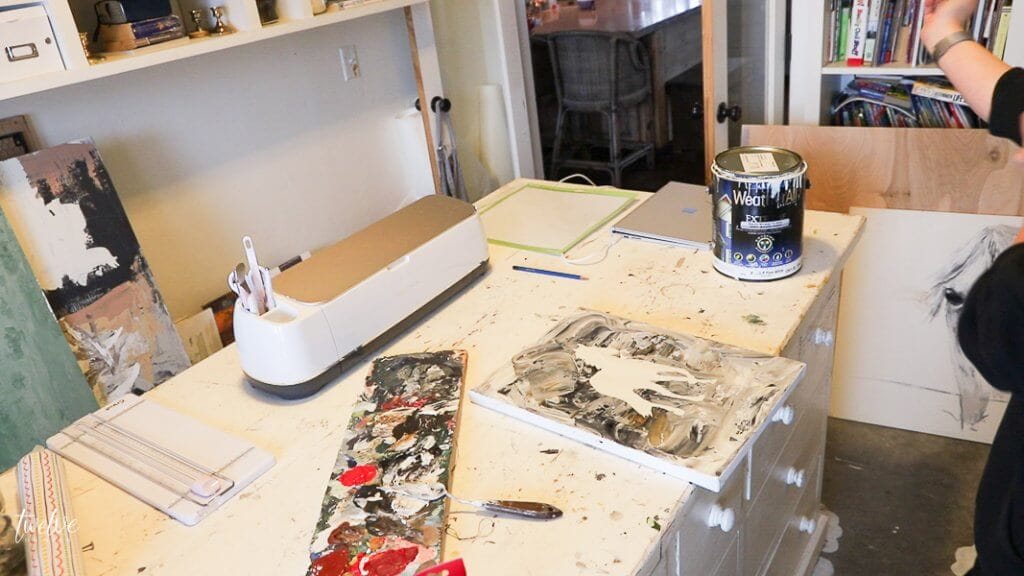
I used swirls, choppy strokes, and smooth lines to add interest and movement to the canvas. I covered the entire canvas, including covering the horse. No worries thought, we will be removing him in a minute.
I chose not to wait until the paint was dry, for fear that it would pull the paint up with the horse.
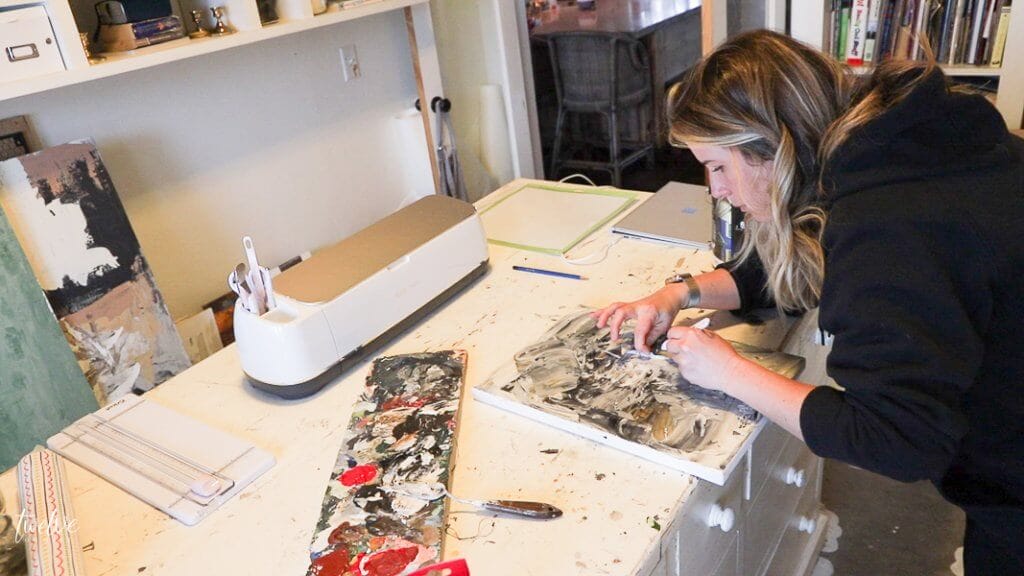
You want to find the edge of the vinyl and carefully pull up the edge. I find using my weeding tool was perfect for this job.
Carefully pull up the vinyl object. In our case it was a horse.
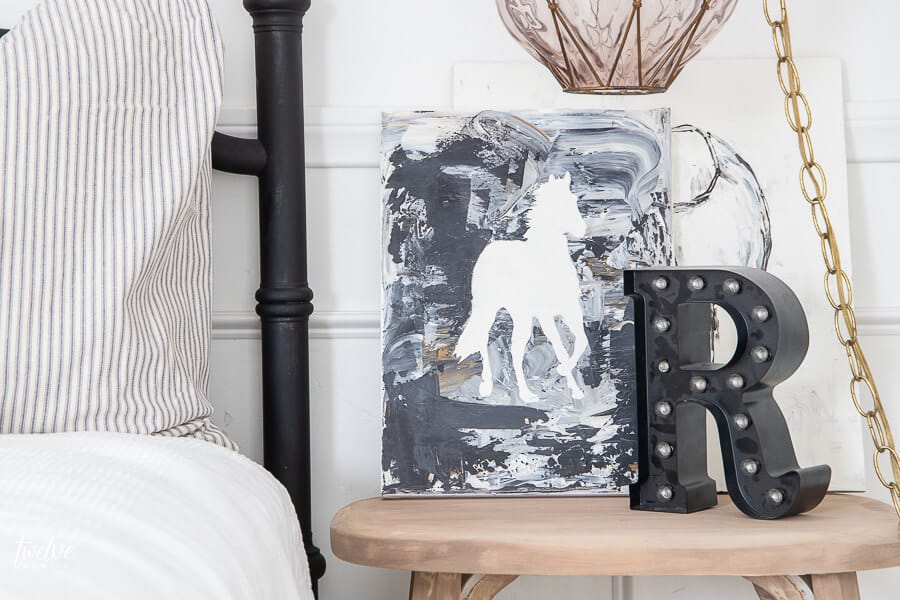
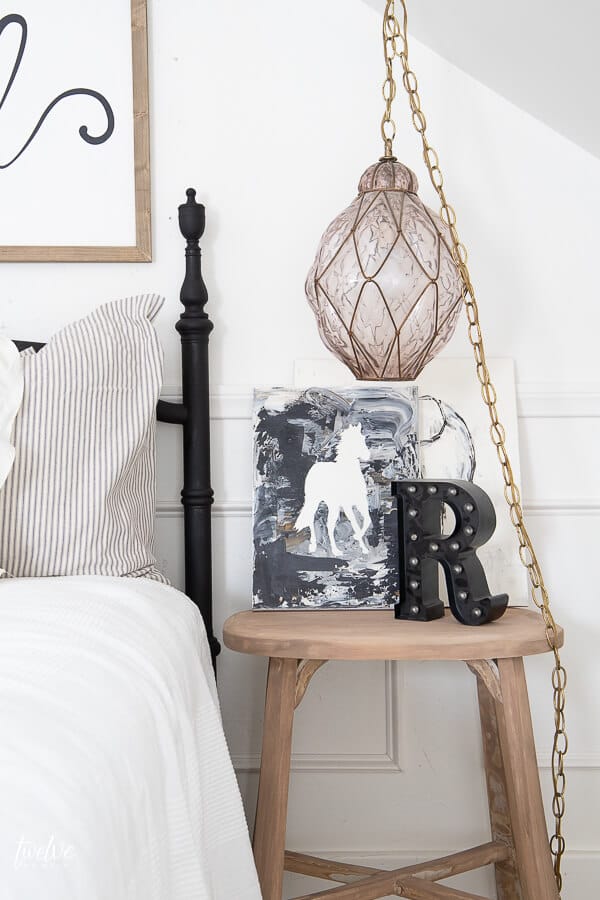
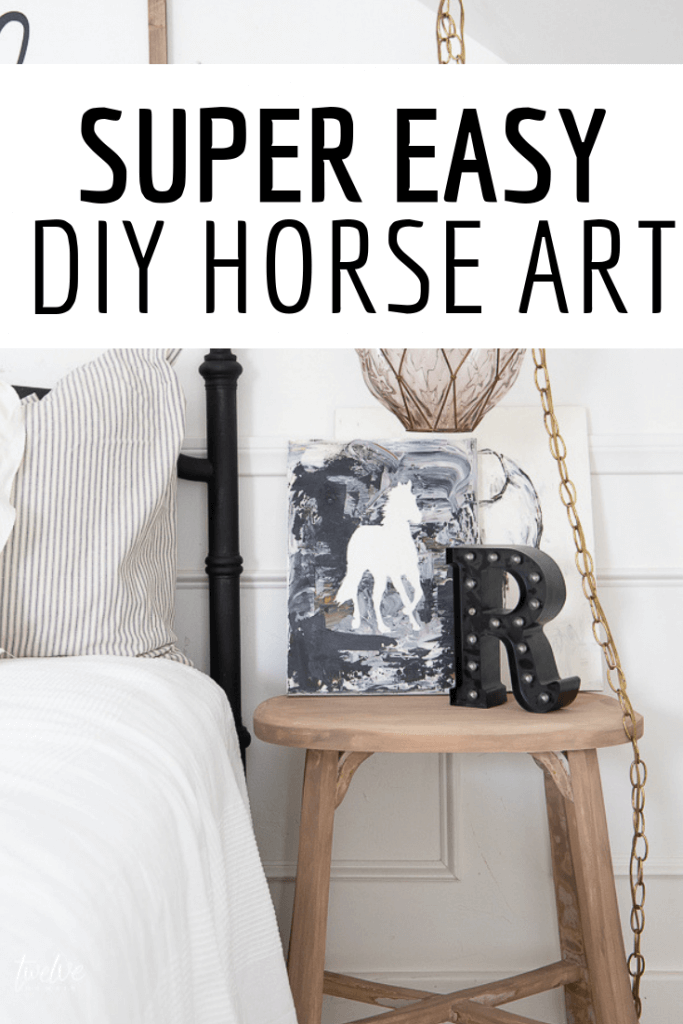
You are left with a pretty cool piece of horse art where the horse is the negative space and the positive space is the design on the canvas.
Once the vinyl is removed you can step back, and see if you want to add any more paint to balance it out. I added some more black and raw umber ins a few spots to balance out the dark and the light.
And here it is after is has dried.
This is a fun project that can be customized in so many ways. You can use any image you want if horses are not your thing. What about some flowers, or a bird. I mean, those are only two options. There are so many!
My daughter loved this project. I love how it looks in her room. Its a fun modern and abstract style of art that looks so good. It took literally no time at all to make this. If you are someone that struggles with drawing or painting, this is the perfect project for you! If you can slap on some paint and peel off a piece of vinyl, you are good to go!
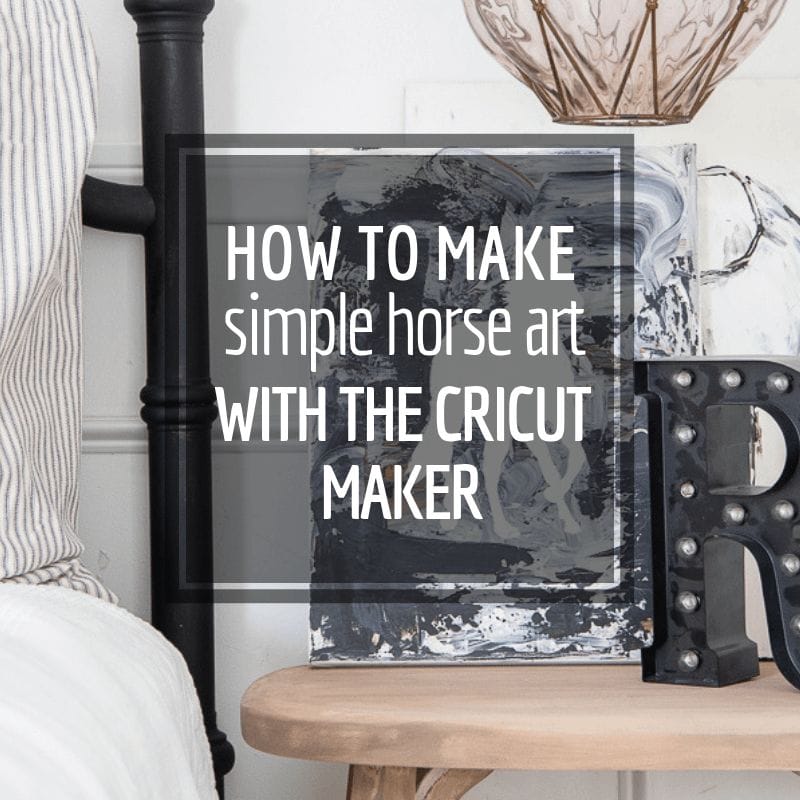
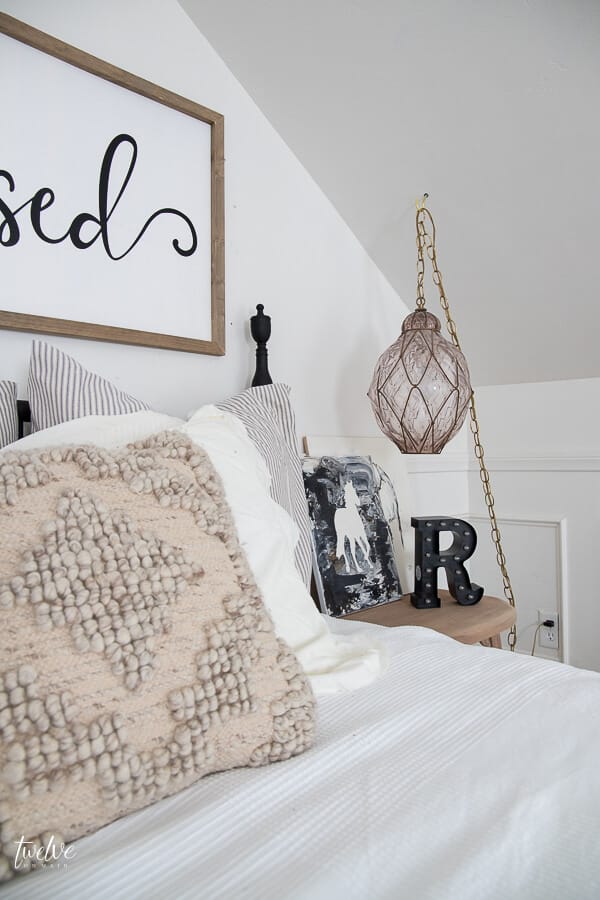
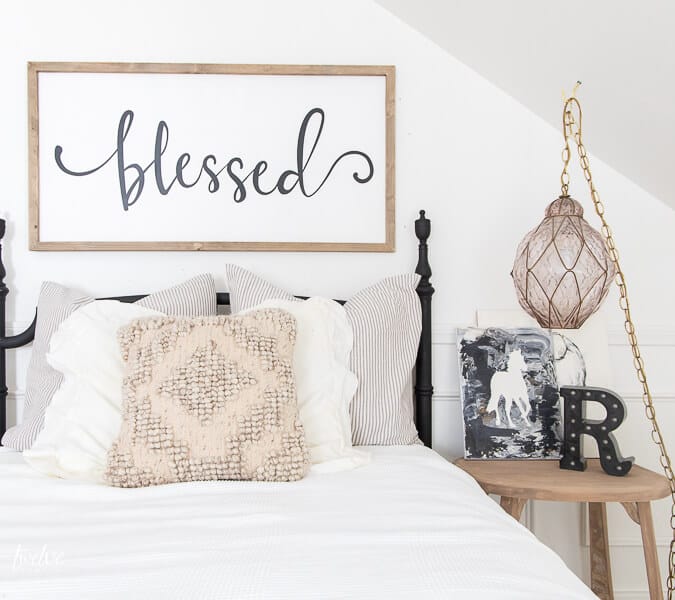
We set it on the night stand in my daughters room. That is where she wanted it. We layered it with another simple horse art painting I created a few days ago.
It has been so fun to create with my new Cricut Maker and I am having a blast trying new things out. This year is all about getting out of my comfort zone and this new Cricut Maker definitely is. I am much more comfortable sticking to my paintbrushes and handmade projects. But there are so many possibilities with this machine and I cannot wait to make more with it!
What do you think of my simple horse art? Is this something your kids would love? Why not try it out!
But first….share it!
Until then, have a great day!
If you like this post, check out some of my other art inspired decor ideas:
How to Incorporate Farmhouse Artwork into your Home



Welcome to the land of never-ending fun! I have a friend who gets all the newest gadgets and tech devices and she had a Cricut Explore 2 that she wanted to sell so she could get the Maker. I had been thinking about getting a Cricut but like you, held off for the same reason. I am older and skeptical of learning complicated techniques but this has been so fun! I have learned so much and there is a FB page called Cricut Newbies that has been a great resource. I have a 3-year-old grandson and his name is plastered on everything! If it doesn’t move then it gets some kind of image stuck on it! I hope you will enjoy your Maker as much as I have my Explore and I look forward to what your creative ideas will be posted. Good luck and happy cutting!!
Thanks Kim – you’ve inspired me to try my Explore Air 2 out. I got it for Christmas and have yet to get up the courage to use it. Time for it to earn its keep and stop taking up space on my craft table lol.
Thats great! Have fun using it!