DIY Book Christmas Tree Decor- Day 5 of Farmhouse Christmas
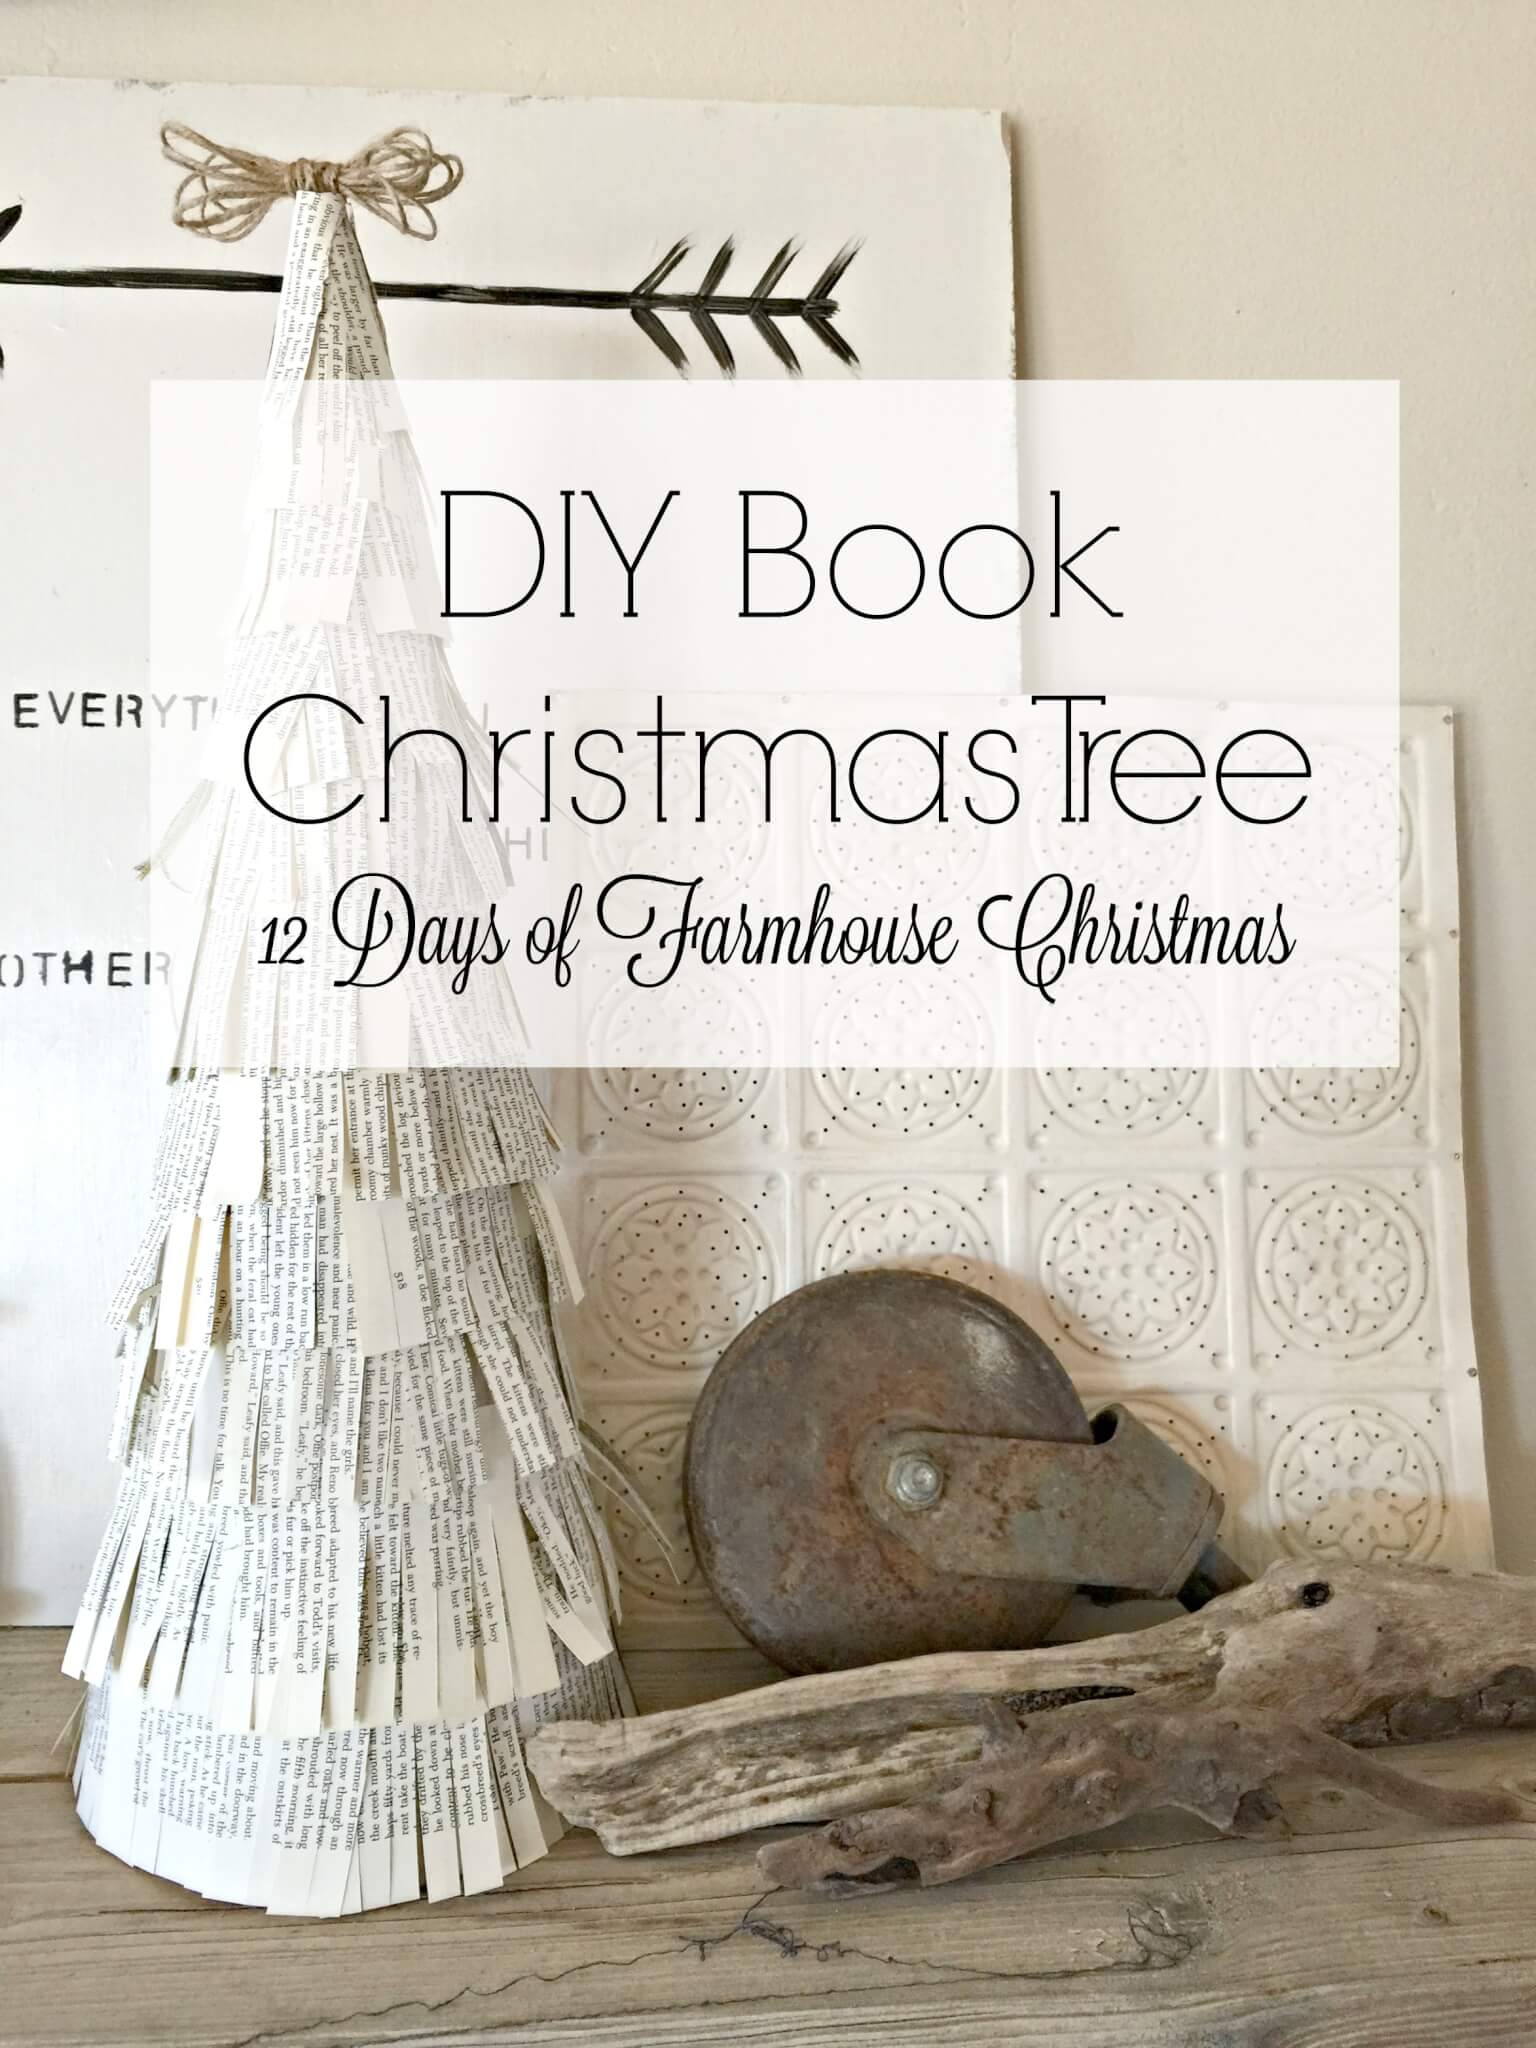
On the 5th day of Christmas, my true love gave to me, a DIY book Christmas Tree. A few weeks ago, I had to decorate for a hospital fundraising dinner for our local hospital, on which I am on the board. I had to set up and decorate 42 table centerpieces. 42. Forty-two. I decided to go with the farmhouse winter theme with a woodland touch. As it was at the beginning of November, I didn’t want to go overboard with Christmas. I wanted it to portray a more winter theme than a Christmas theme. I didn’t want to anger anyone:)
*This post contains affiliate links. This means that if you purchase anything through these links I might earn a few pennies toward my kids college fund. You are not charged anything.*
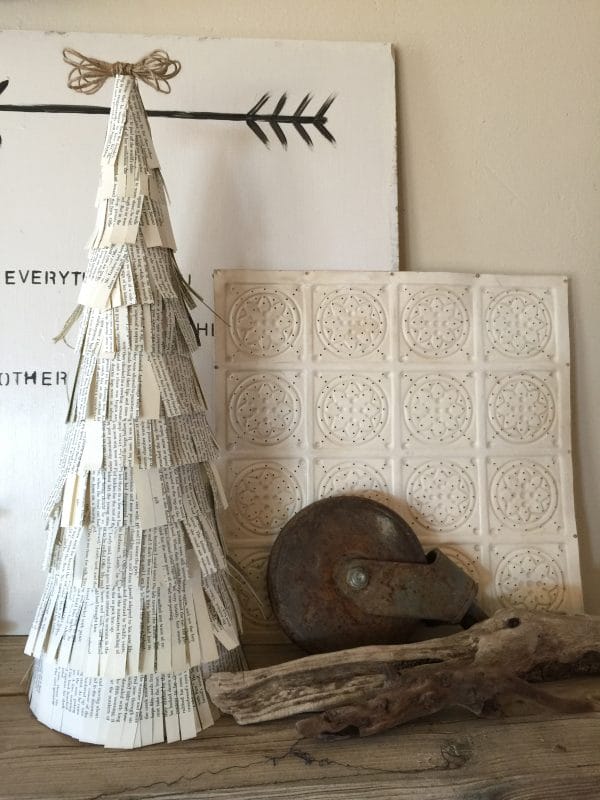
I did decided I wanted some woodland Christmas trees, and my paper tree was one of them.
Here is what I needed for this project:
Paper Mache Cone
Hot Glue Gun
Glue Sticks
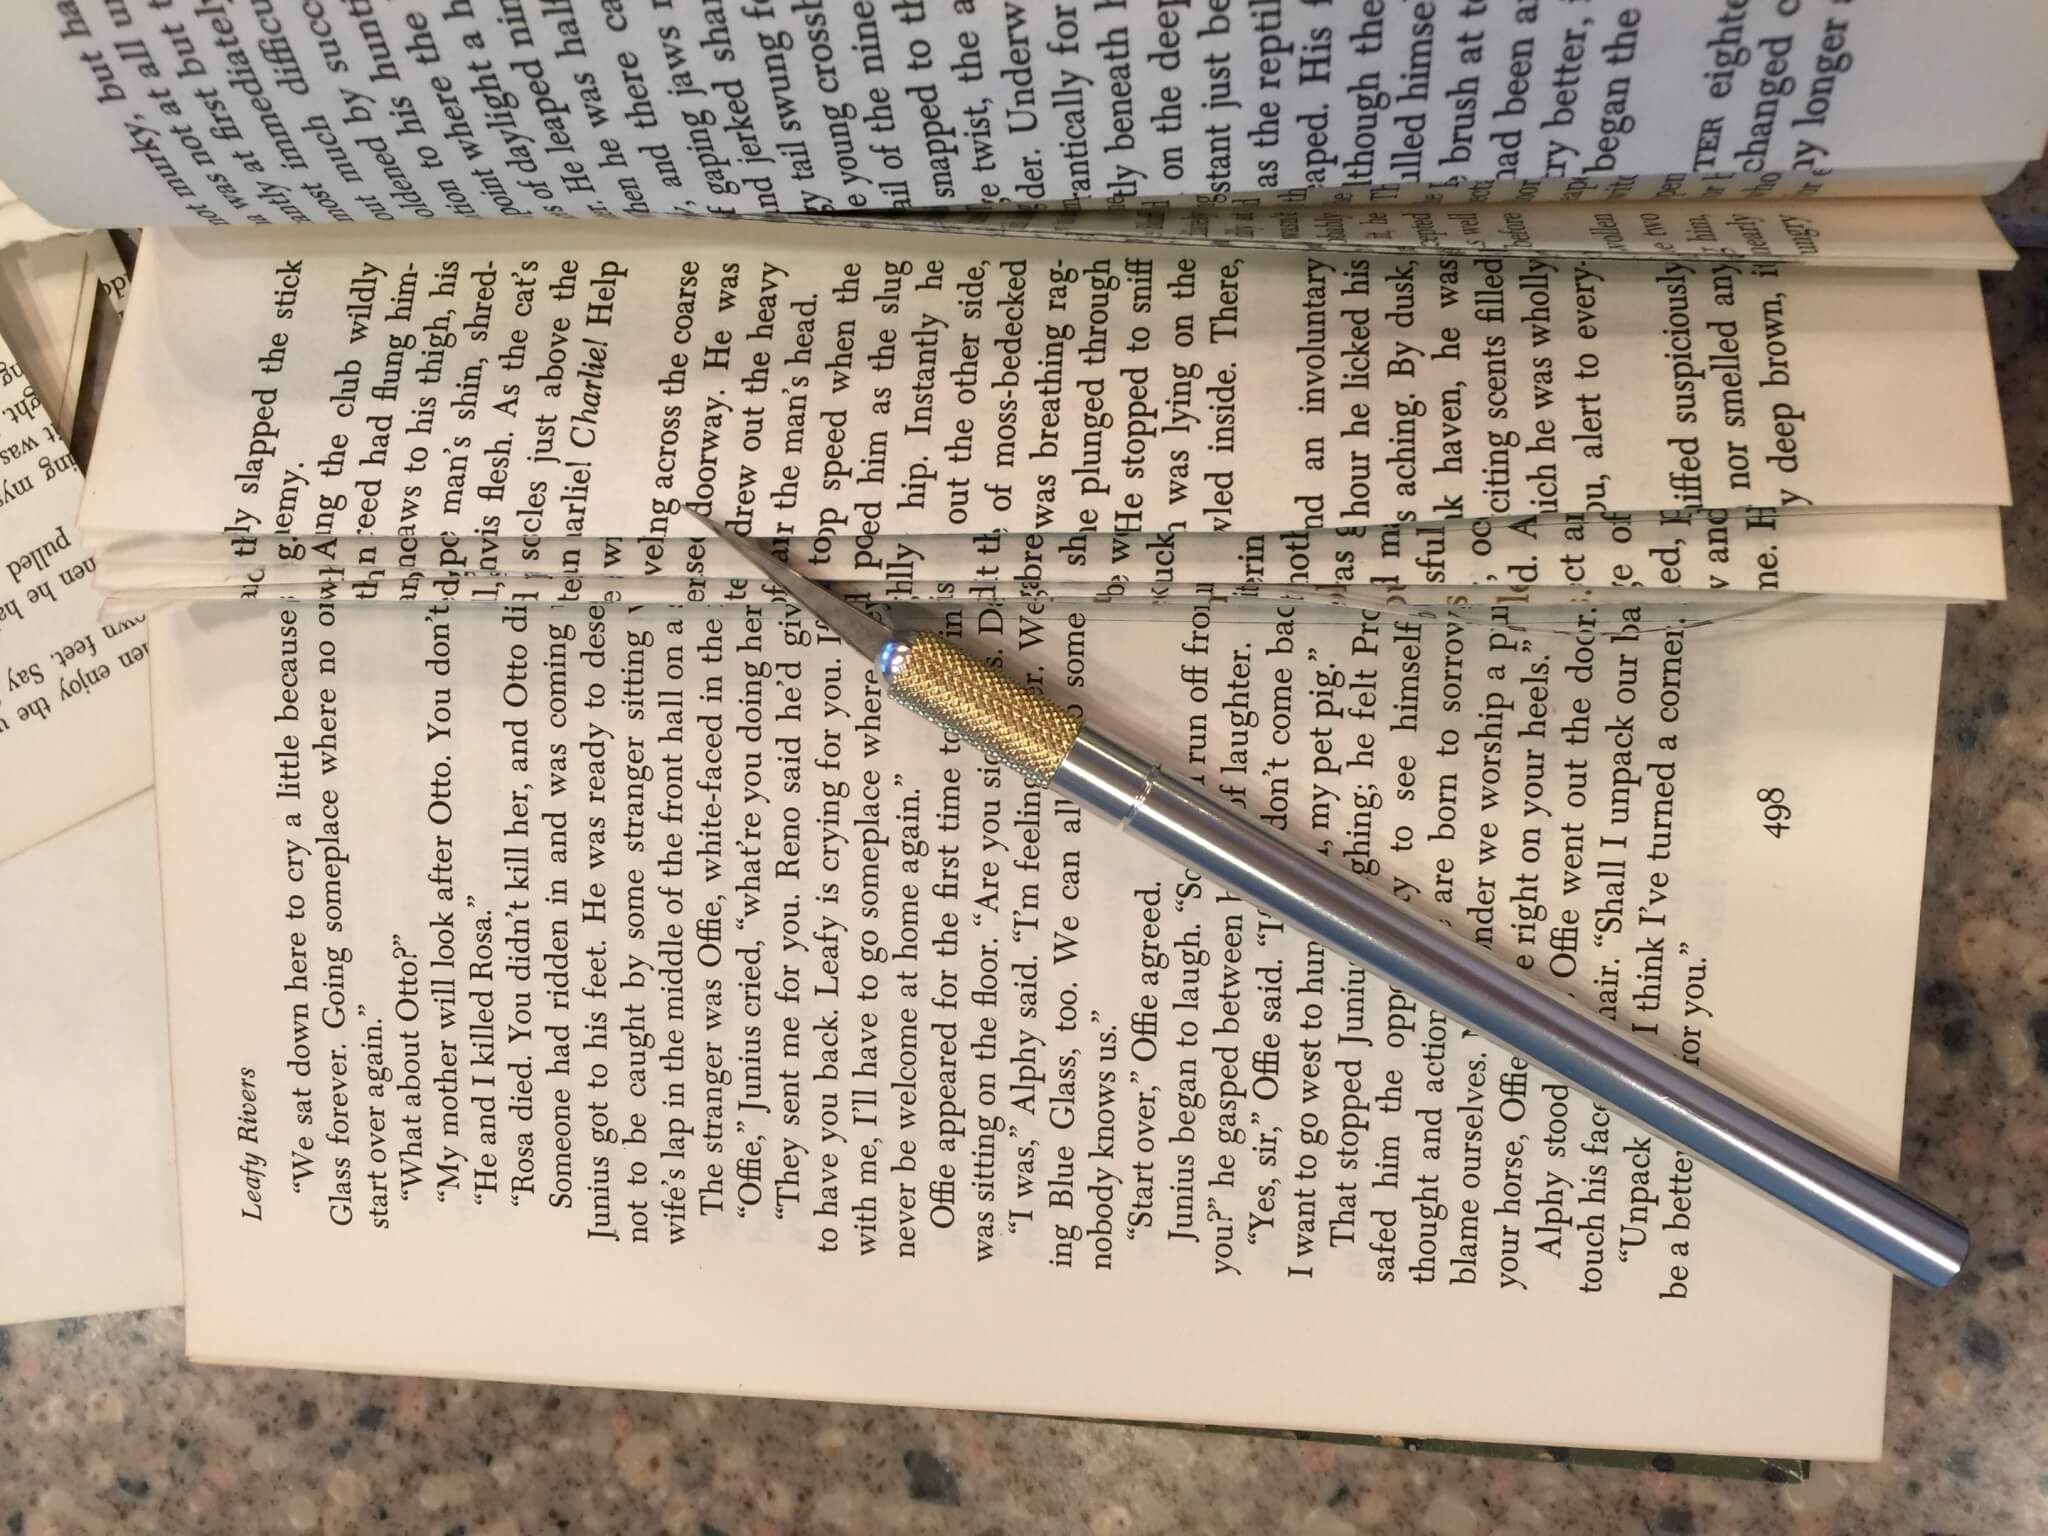
X-Acto Knife
Book- I got one at a thrift store for 25 cents.
Now, this is actually a really easy project, and did not take too long. I started with my book. I took my X-acto knife and cut sheets of the book out.
I did not want them to be too wide so I cut it at about 4 inches. The X-acto knife worked perfectly for this. It will cut through about 8 pages at a time.
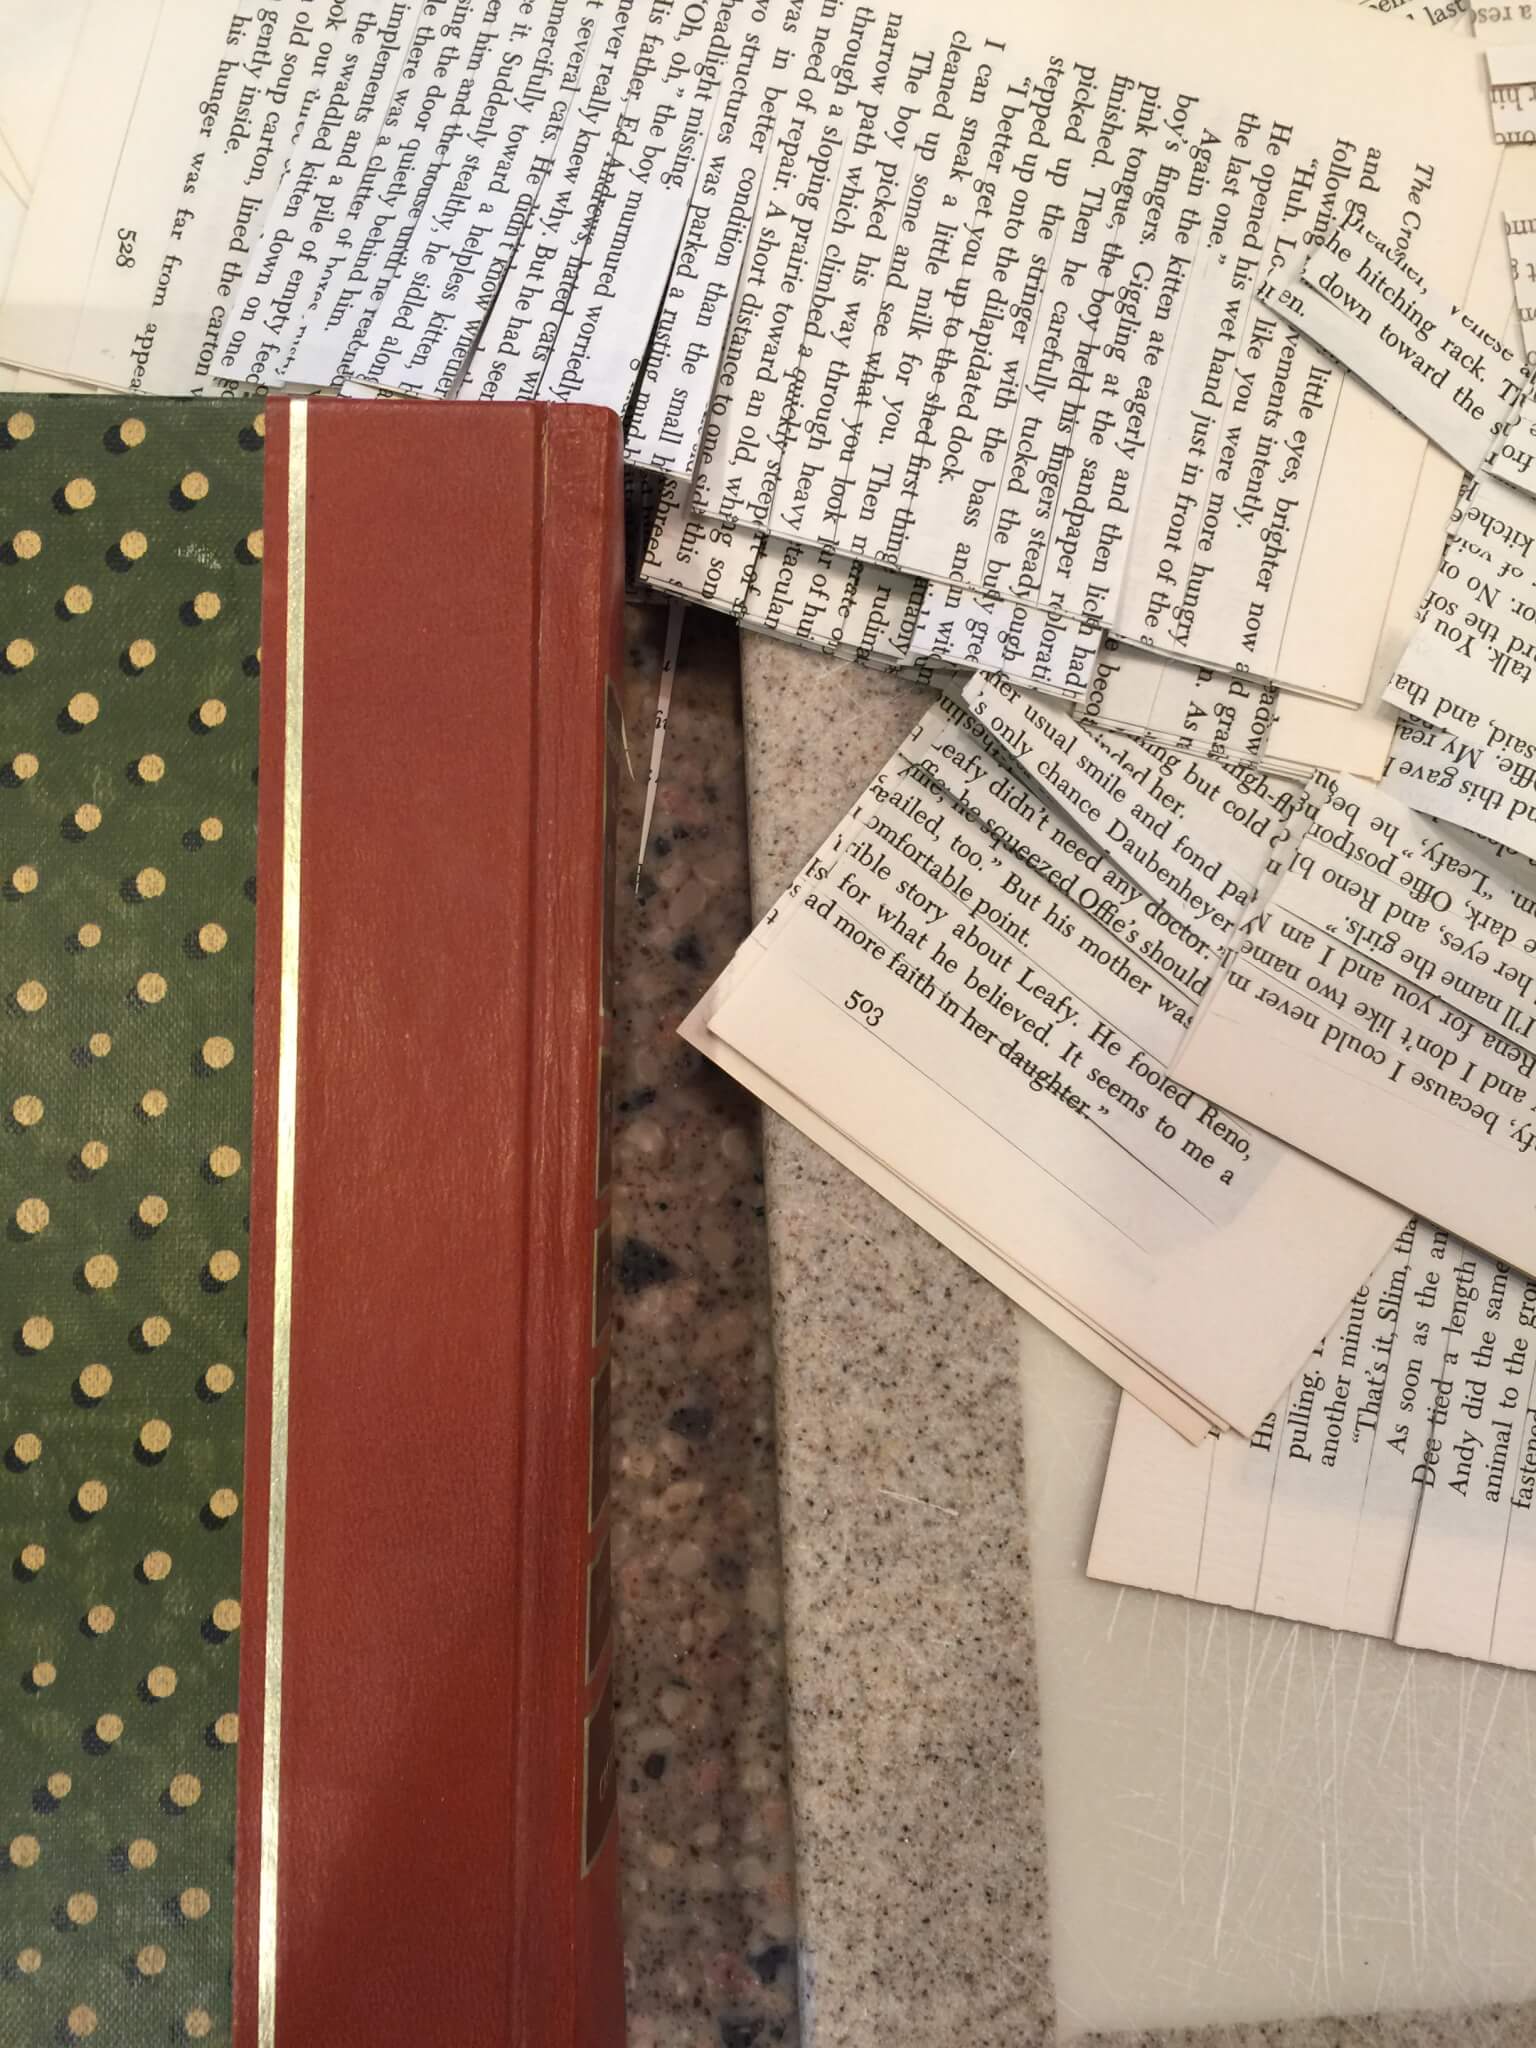
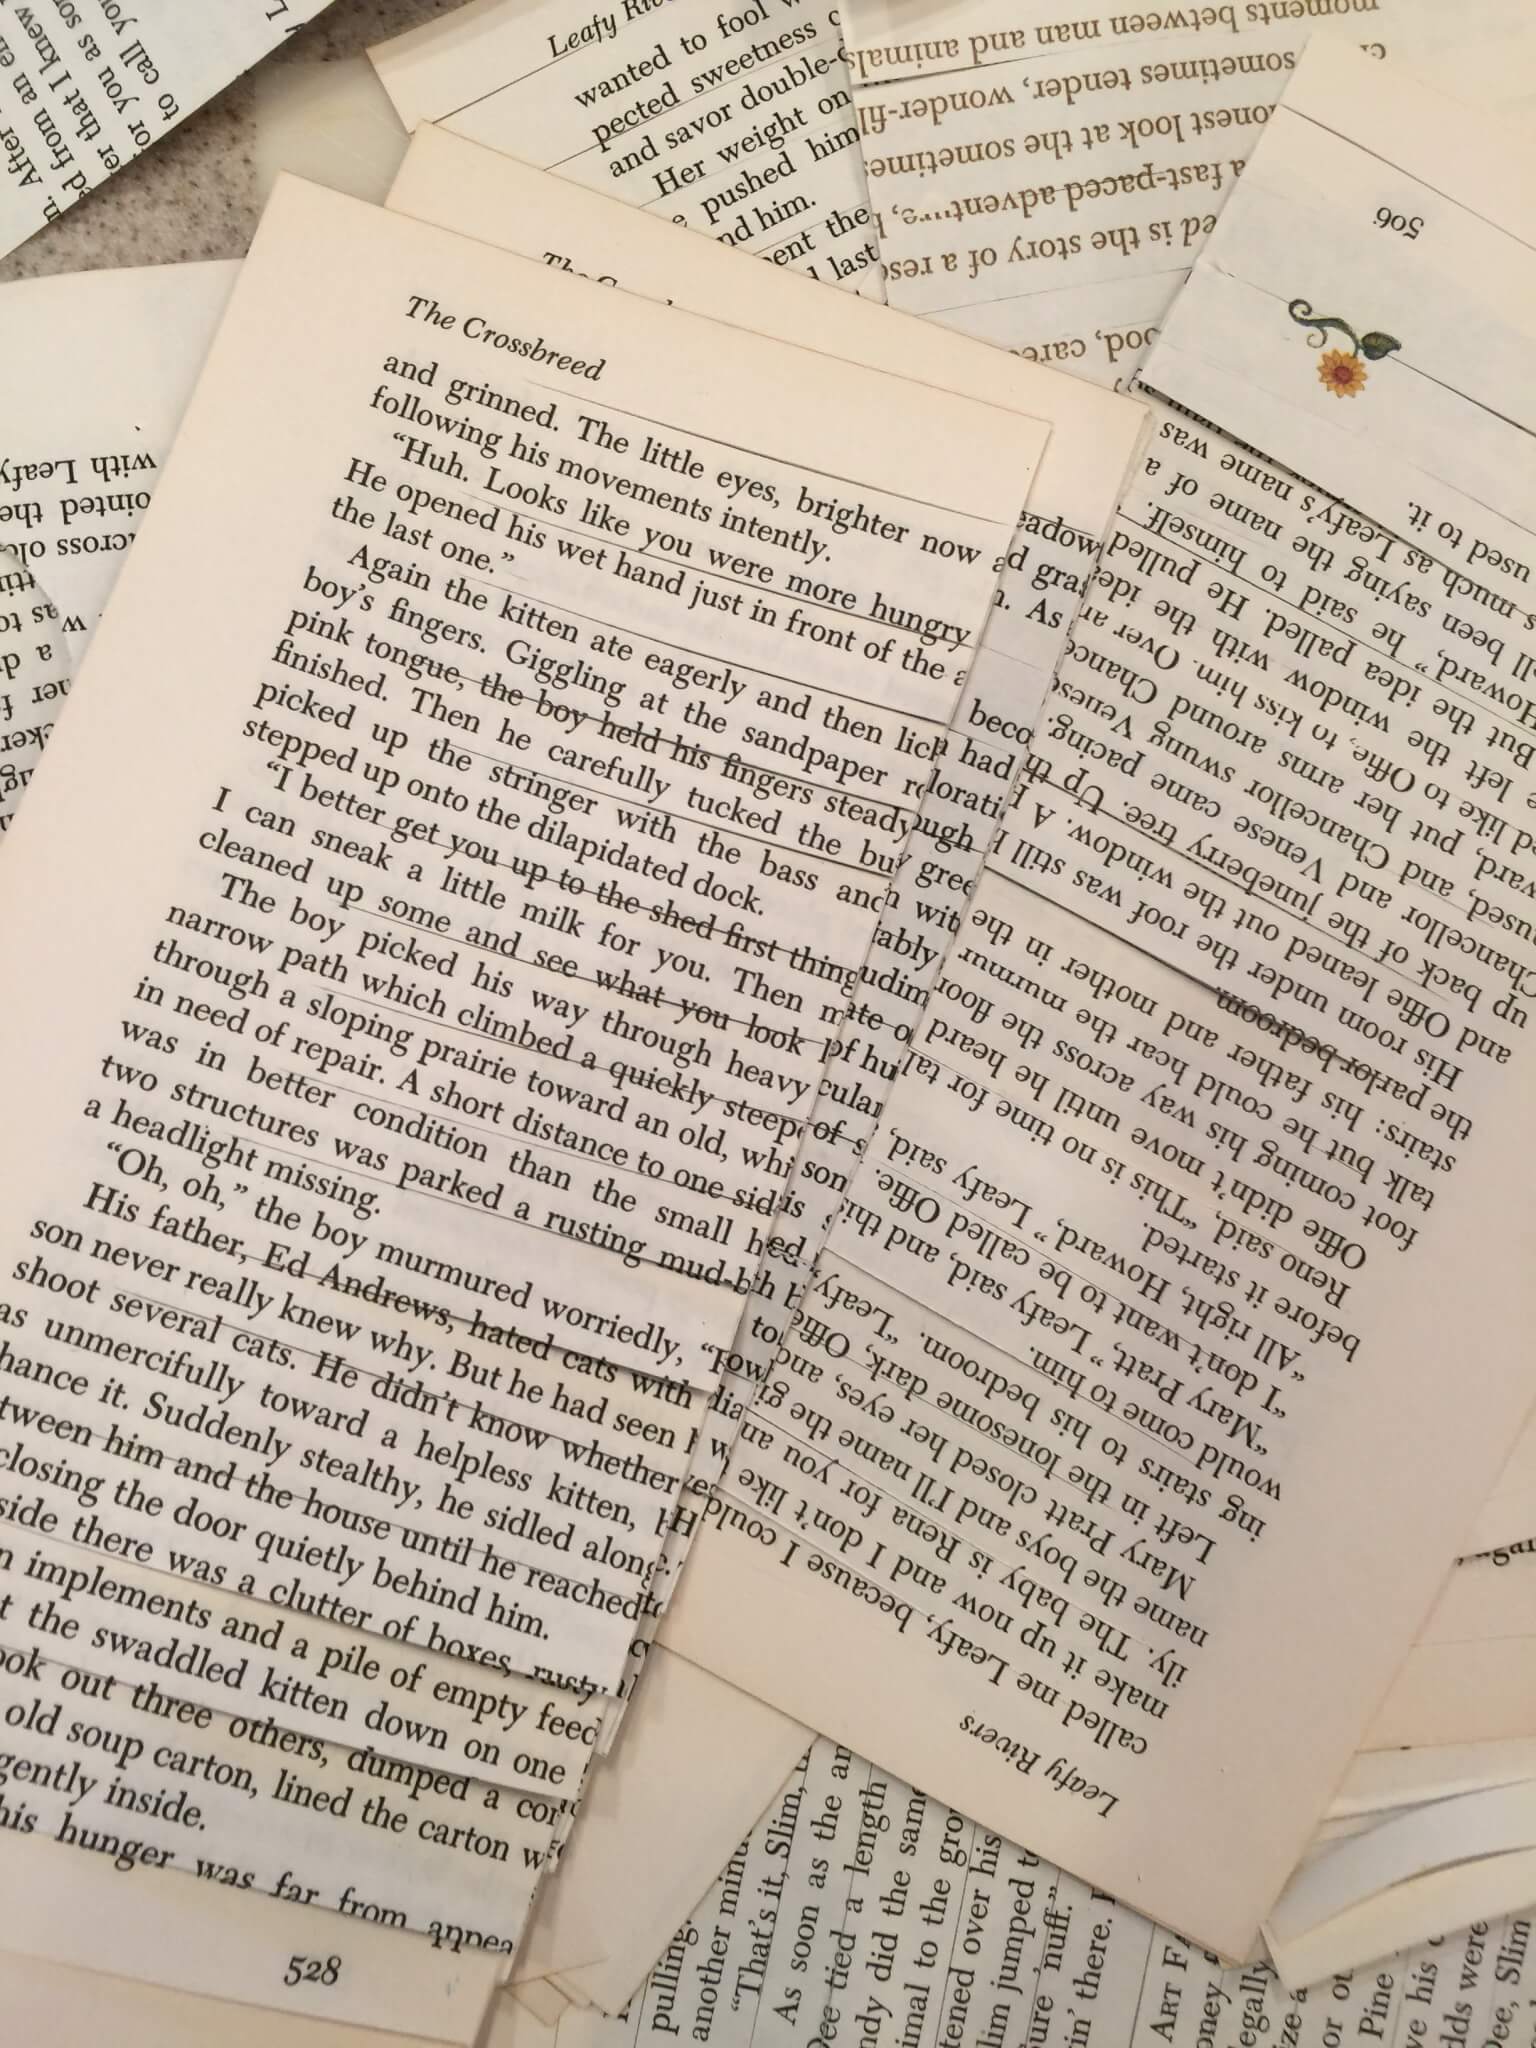
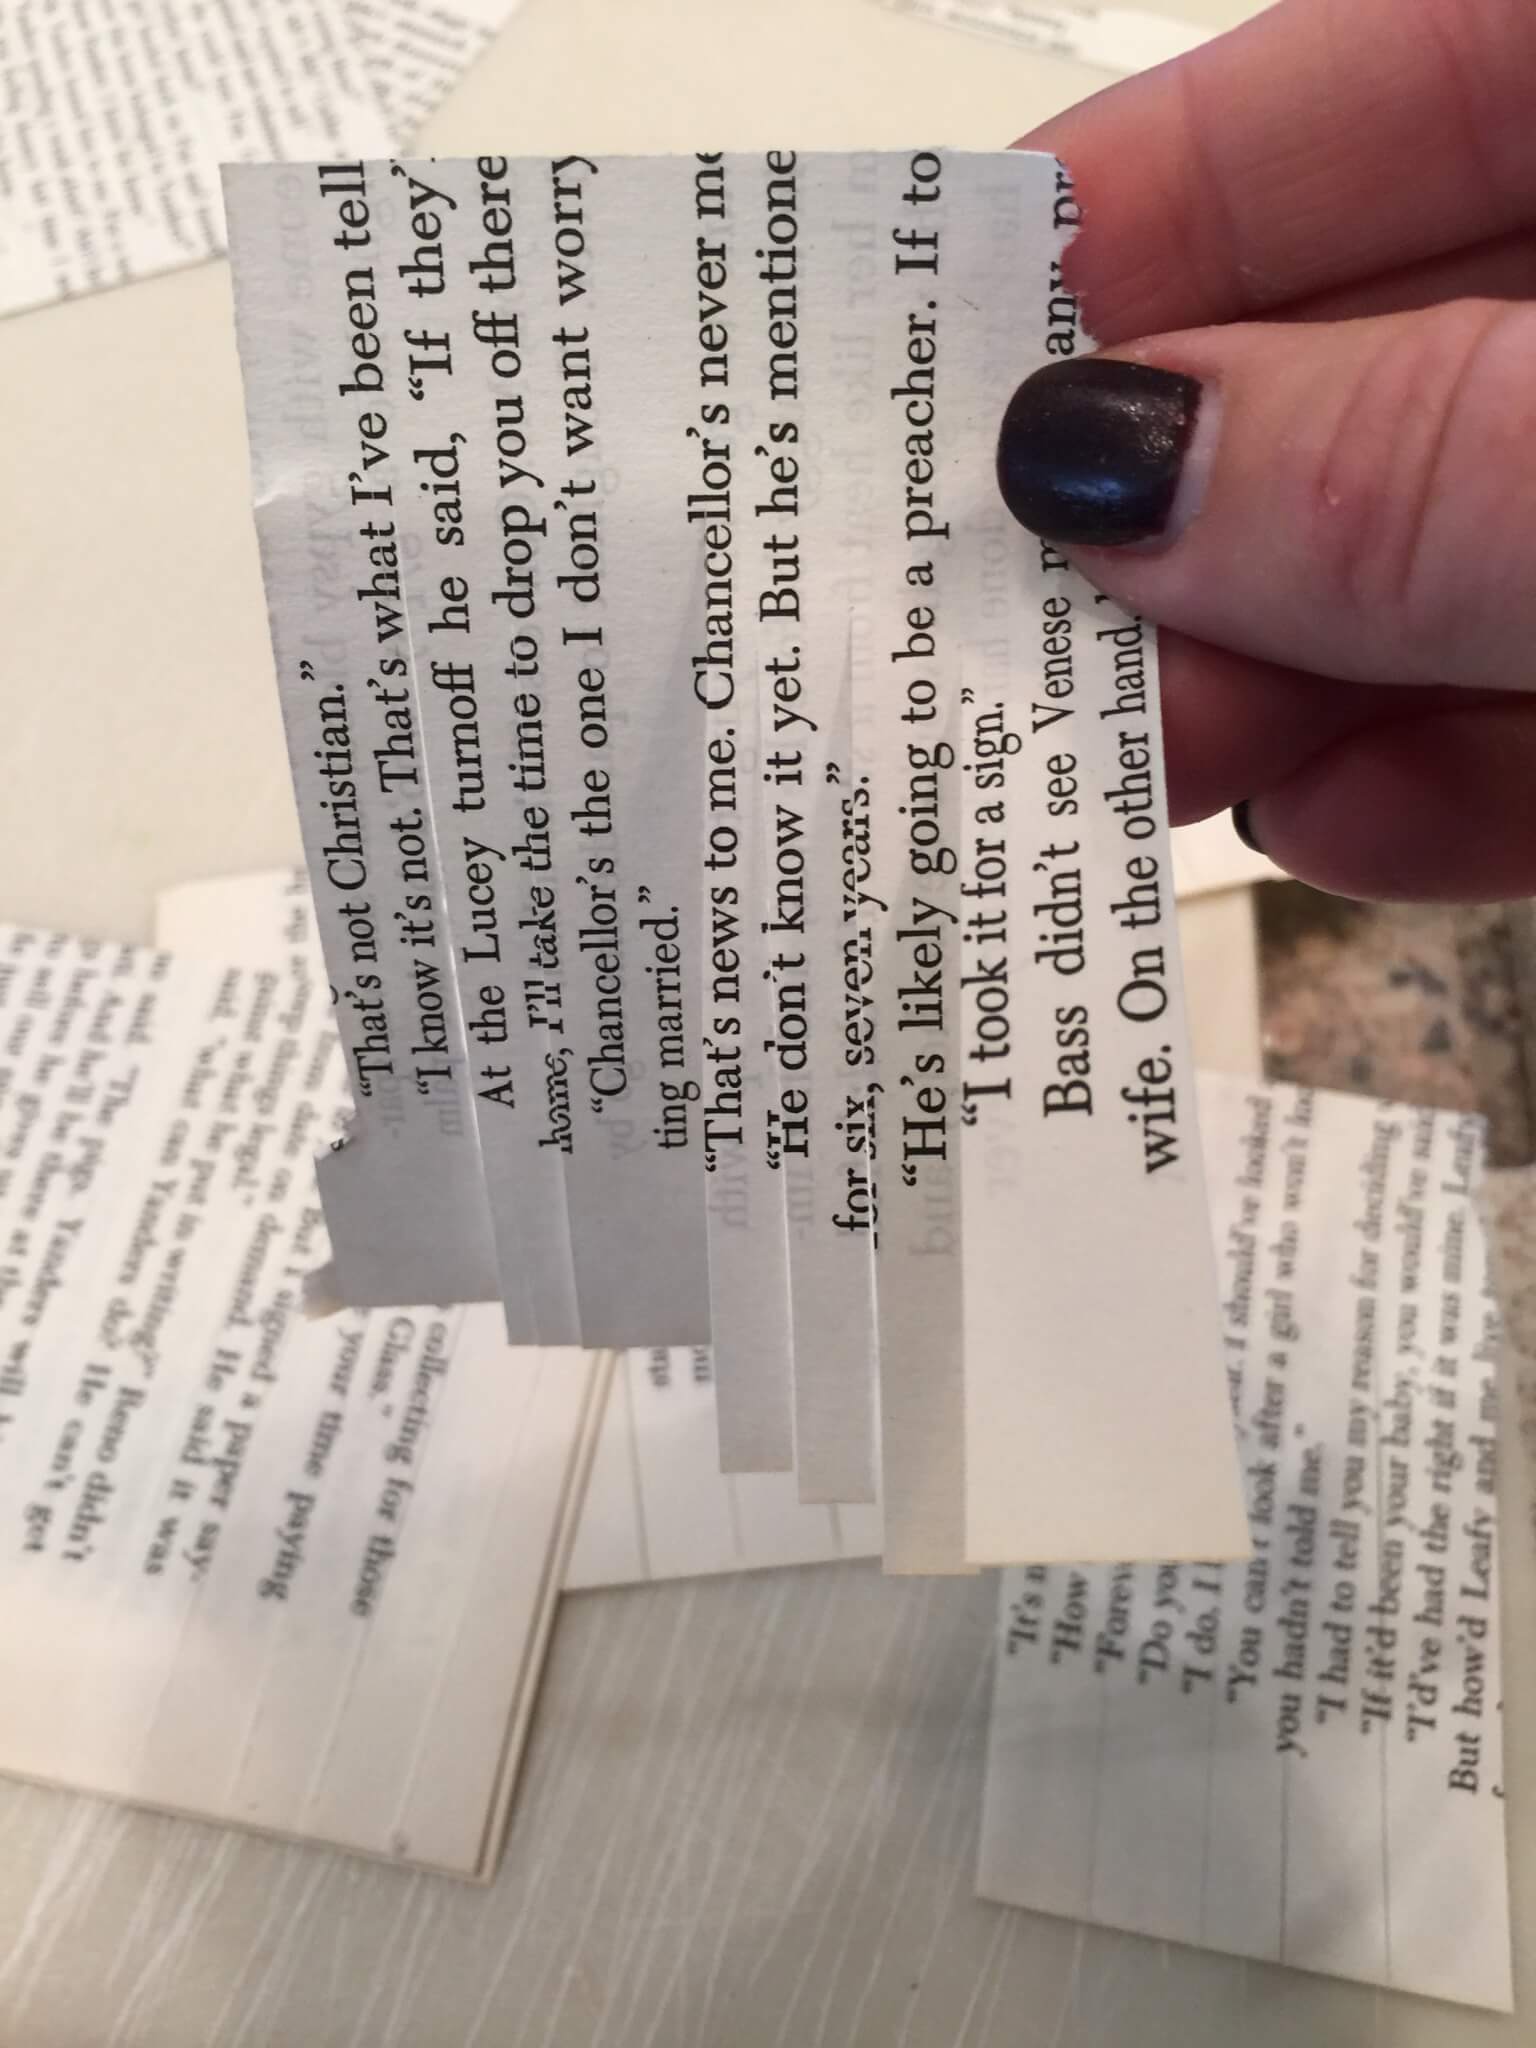
Once I had them cut out of the book, I sliced through the pages, creating the fringe affect. I also cut the pages into smaller sections to aid in application.
See here, they have been randomly sliced into different widths.
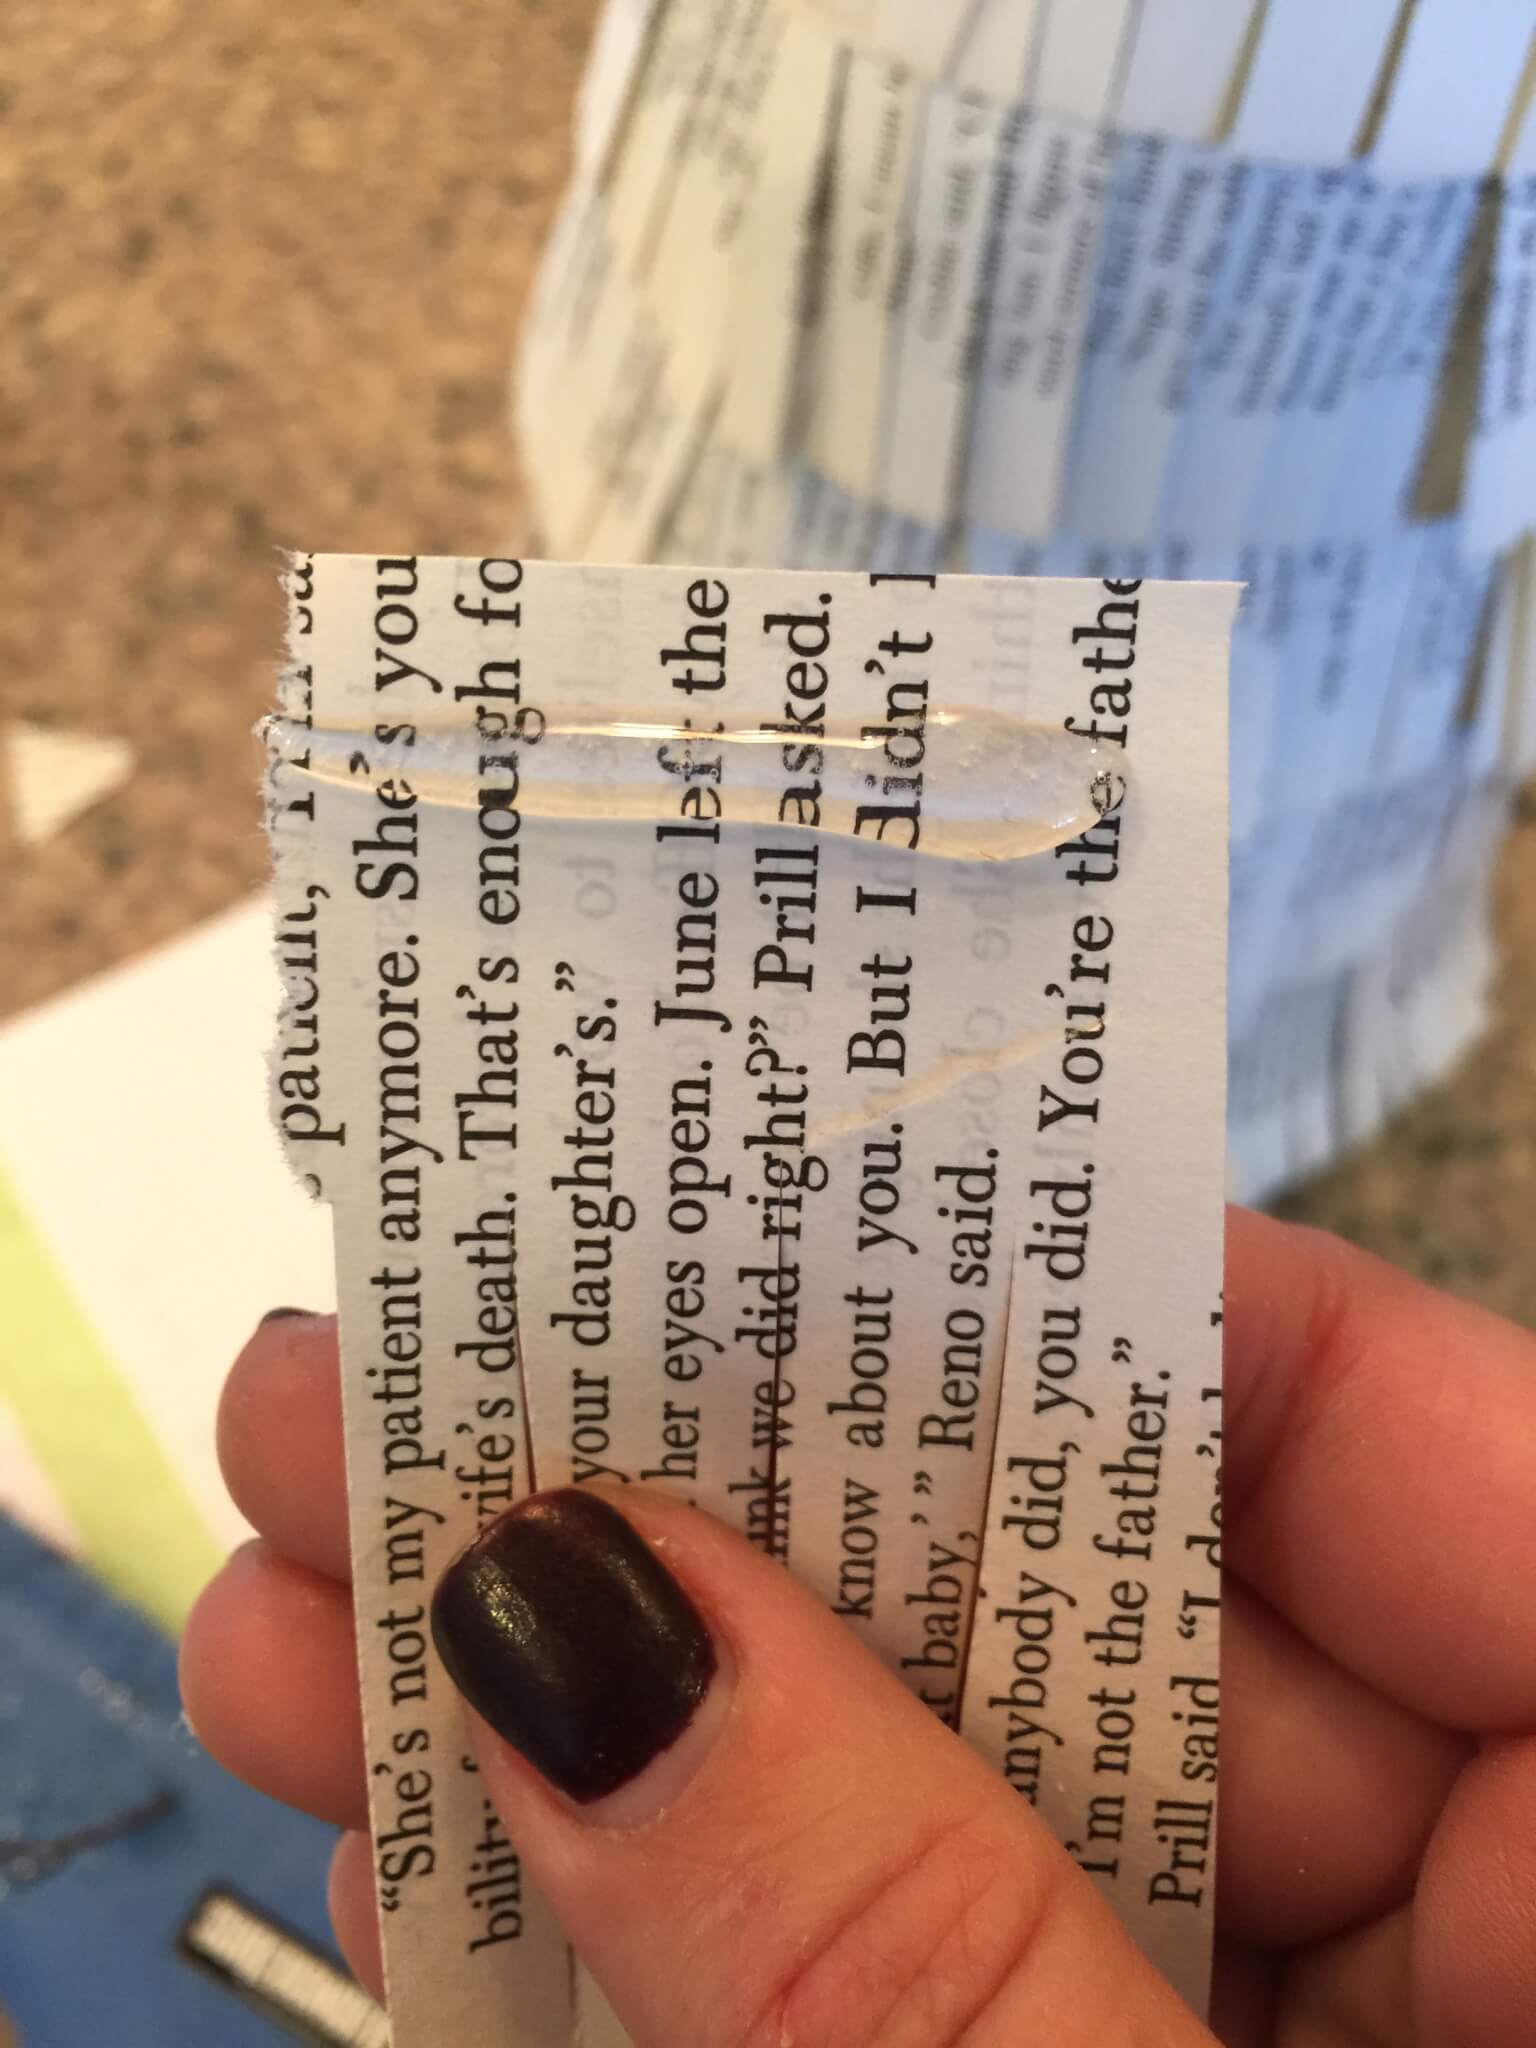
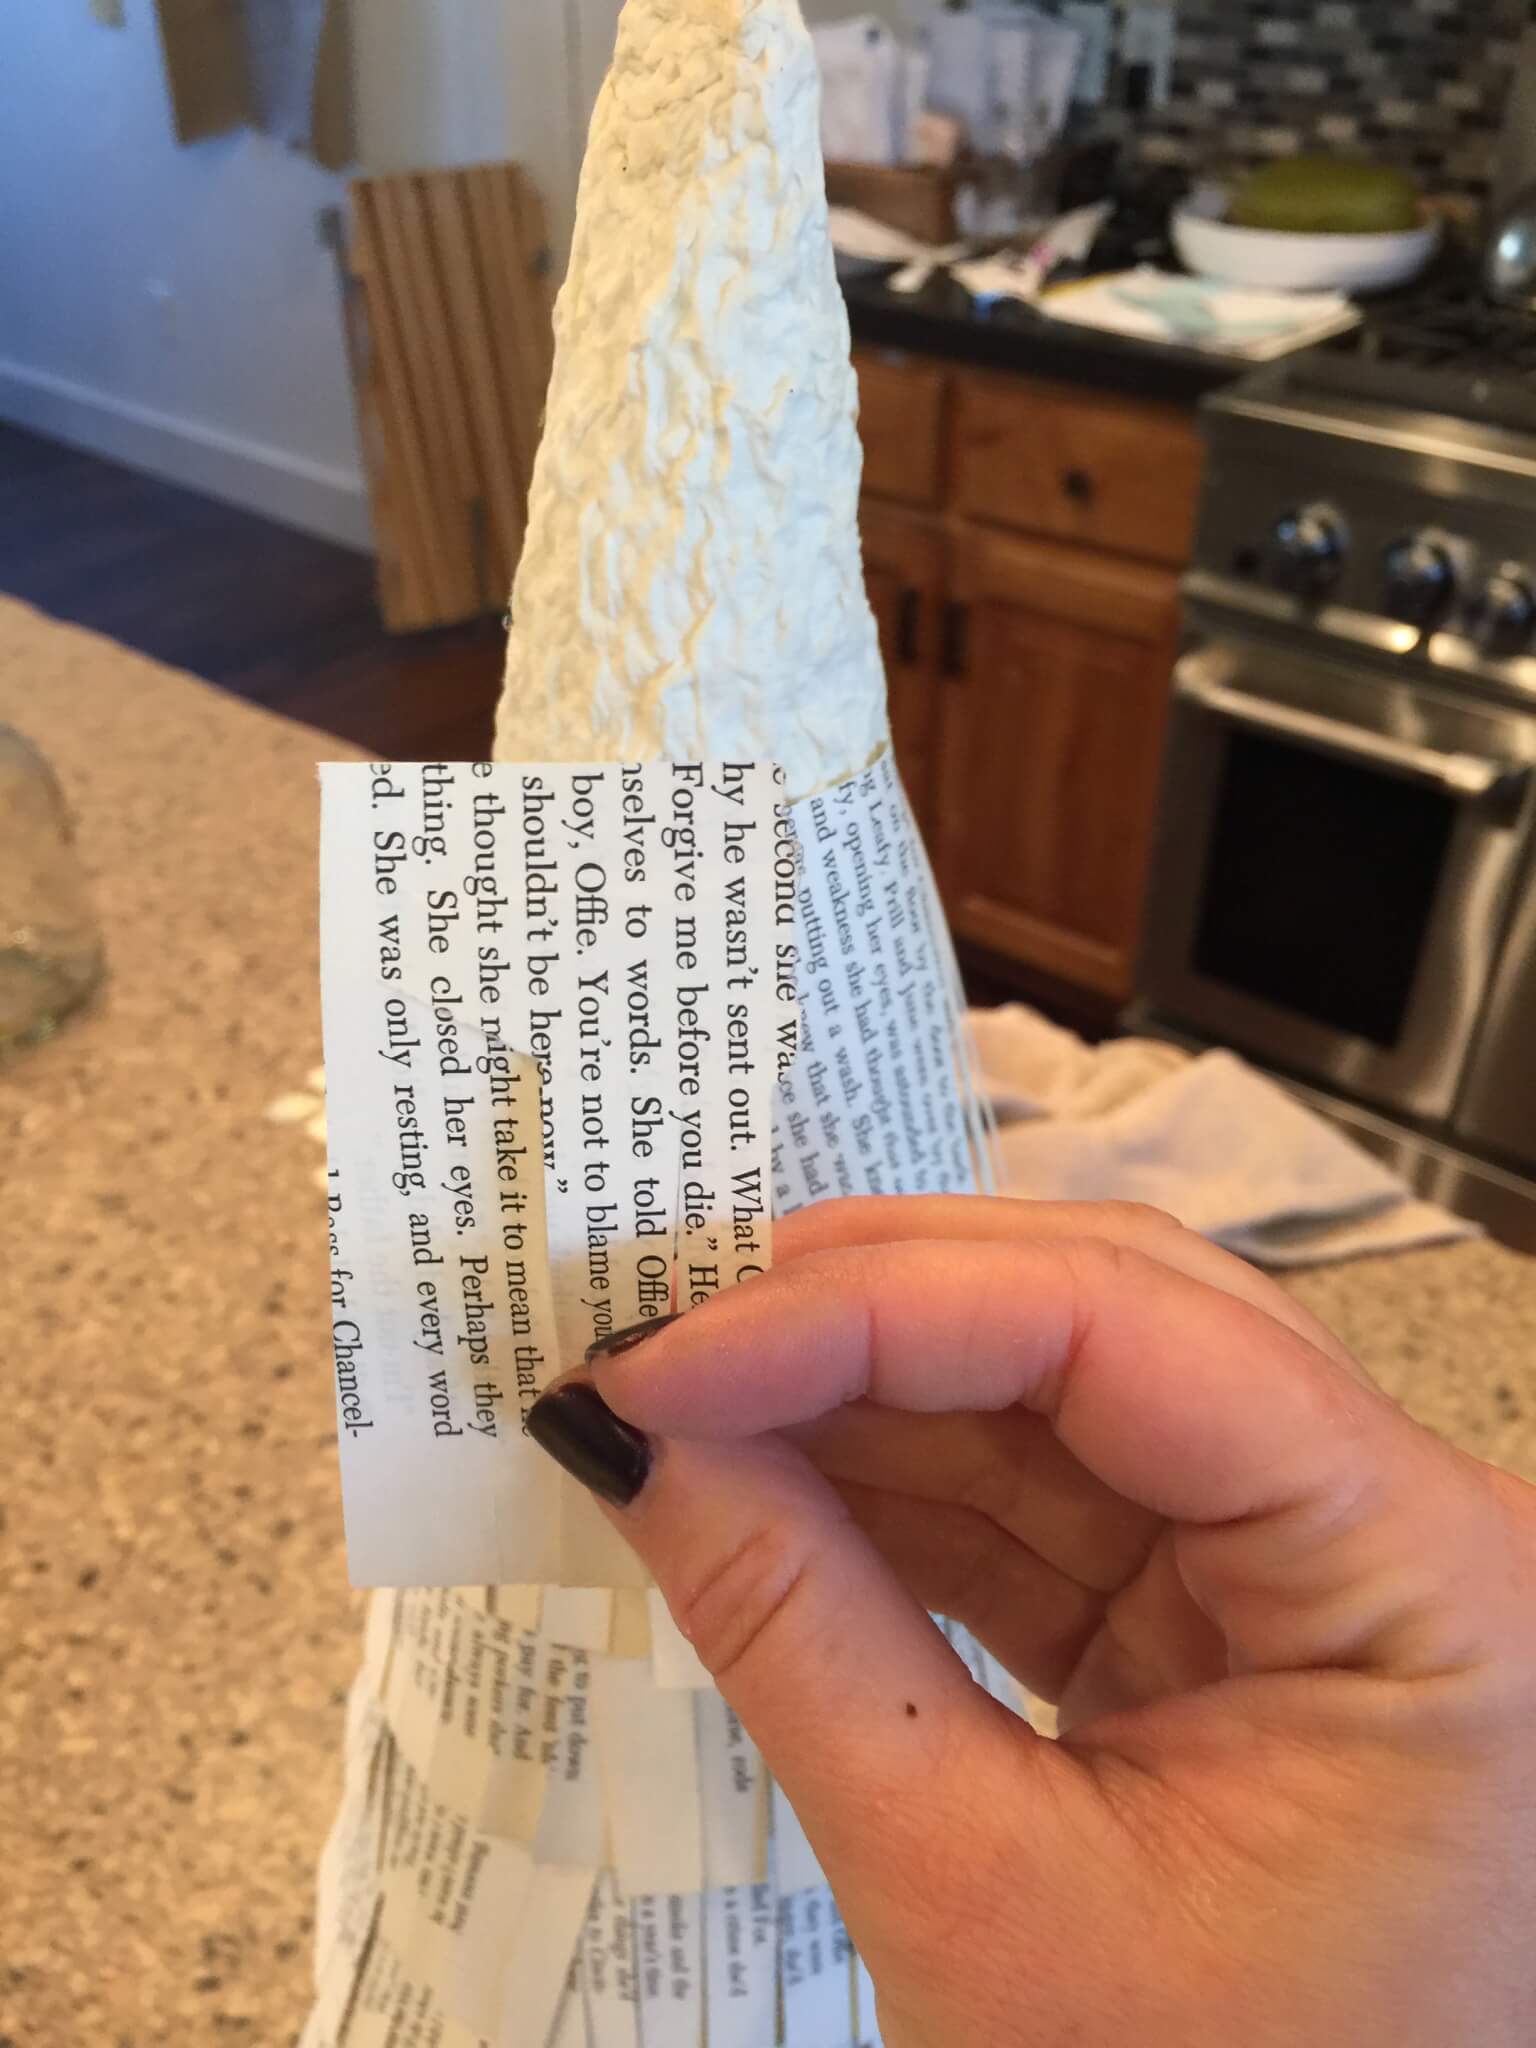
Start at the bottom, and make your first layer. Apply hot glue to the back of the paper and apply to the tree form. I overlapped each piece a bit to create a layered affect.
Once you have finished the first layer, just repeat the process for each layer, overlapping each layer a bit to make sure you have covered the cone form. Do this all the way to the top, repeating the process. Once I got to the top, I created a bow to cover the very tip of the tree.
That is it!
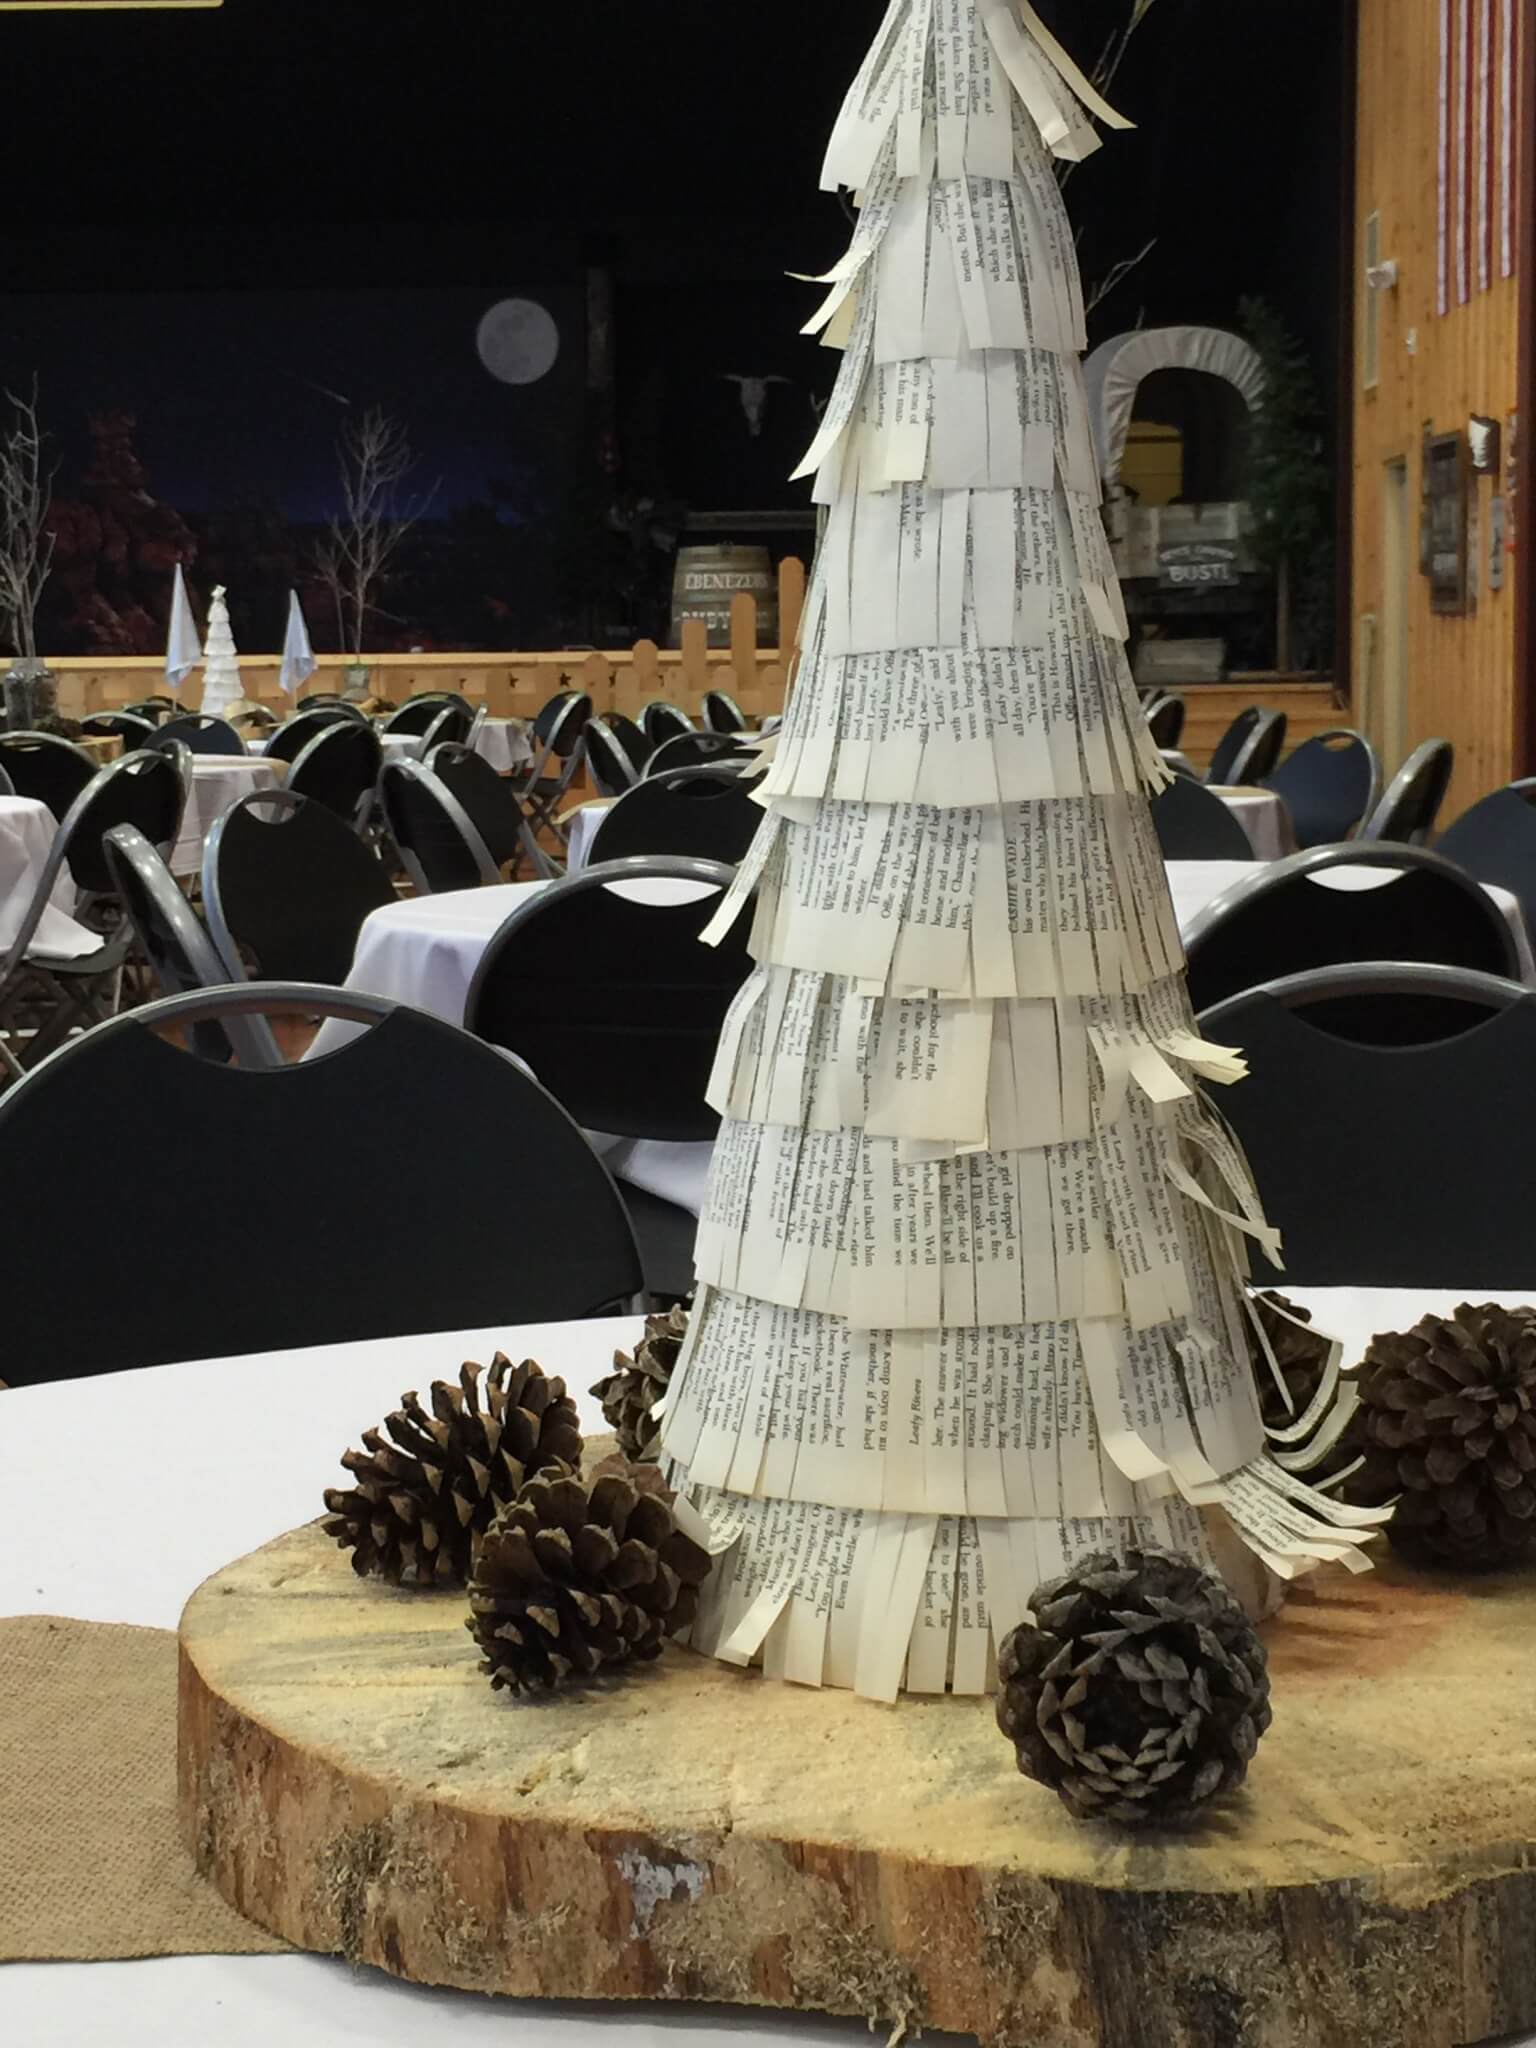
Here it is getting all dressed up at our hospital fundraiser. Some of the pages got bent, but that’s okay, they are easily fixed. See my woodland theme? My husband cut 43 log rounds for me. He must really love me. I also gathered a truck bed full of pine cones from our “backyard”.
I have some other great book re-purposing projects that will be coming soon. Man, I love this little tree. I think I’ll go make some more. See you later!


These are awesome! I know you stressed that you made 42 of them which is a LOT of work, but I can’t believe you hauled 43 rounds of tree stump too! That’s dedication, and I’m sure your décor was a big hit! XO
Ha! I know! The 43 rounds were quite the haul! I have to credit my hubby there! He cut them all and transported them.
I think your theme for the fundraiser was beautiful and I imagine it must have been gorgeous on all those tables. The little book page tree is so adorable.
I’m delighted to be featuring you at Shabbilicious Friday tomorrow. Pinned too. Merry Christmas – Kerryanne
Thank you so much! I am so excited to be featured! Happy Holidays!
I’m sure everyone at the fundraiser loved your centerpieces! Wow….42! If I knew I had to do that many, it would totally stress me out, but what I’m seeing looks beautiful. I love the natural woodland theme you have going on!