Make an Easy Decorative Drop Cloth Fabric Sign for Each Season
Guys! I am so exited to show you my newest project, my decorative drop cloth fabric sign. This was a totally spur of the moment project for me. Let me paint you a picture. I was supposed to be leaving for Alaska in less than 12 hours. I still needed to pack, but what am I doing? Playing in my art studio, whipping up not one, but two of these lovely fabric signs. I think you could say that I work well under pressure.
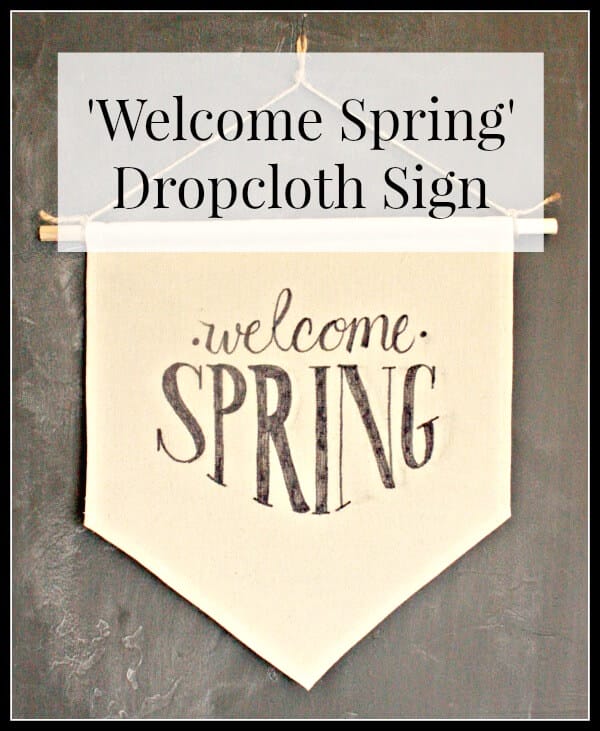
I have been wanting to create a few of these fabric sign beauties for my home for a while, and when I thought about what I could do for some new spring decor items in my home, these were at the top of my list. One of the reasons I wanted to show you this project was because of how easy they were. With something like this fabric sign, you could make one for every season, or even some with different quotes or designs just depending on what you love!
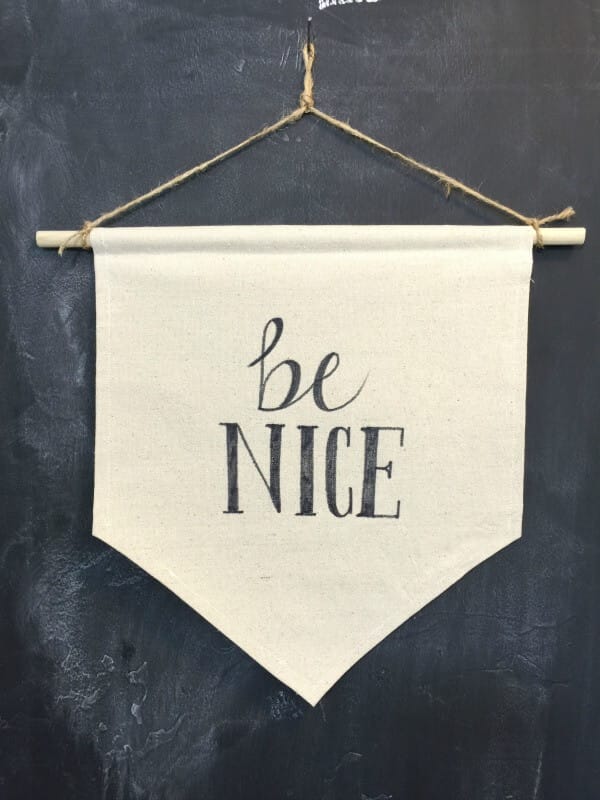
I focused on making a spring fabric sign, but I also made one for my kids that says “be nice” haha. I like to have little reminders around in hopes that maybe it will secretly seep into their brains. Maybe I need to make one that says “do the dishes” or “pick up your clothes”…how about “sit down to pee” haha. I am having way to much fun with this, and think I have a project for this weekend!
This is what you will need for the drop cloth fabric sign:
- Wooden Dowel Rods 3/4 X 36″
- 4′ x 15′, 8 OZ, Canvas Dropcloth
- Sharpie Fine Point Permanent Markers
- Stencills or designs to trace onto the fabric sign
Optional Items: I used my rotary cutter and cutting mat to cut out my fabric. You can use scissors, but I love using my rotary cutting tool.
Silhouette CAMEO Starter Bundle ( I did not use a this product, however bad I do want it, I was able to do some freehand scrip on my banner, but if that is not your thing, you most definitely could us this to create a stencil or vinyl lettering.)
OLFA Rotary Cutter
Cutting Mat
Omnigrid 12-1/2-Inch-by-12-1/2-Inch Quilter’s Square
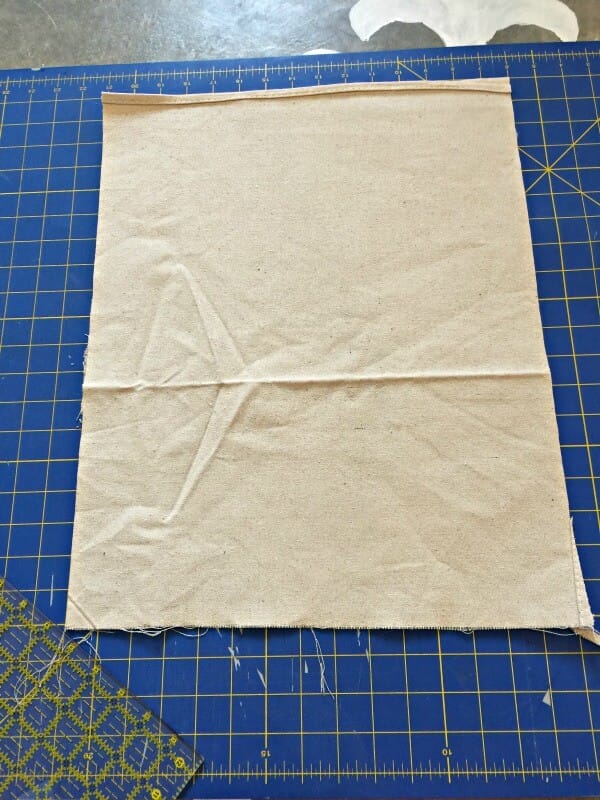
I started out by cutting my dropcloth to size. I decided I wanted it to by 16W by 18L.
The next step was to create the point at the bottom. I measured 8 inches into the center to find the middle of the fabric. I then marked it there. I measured up each side of the fabric at 5 inches and made marks on each side.
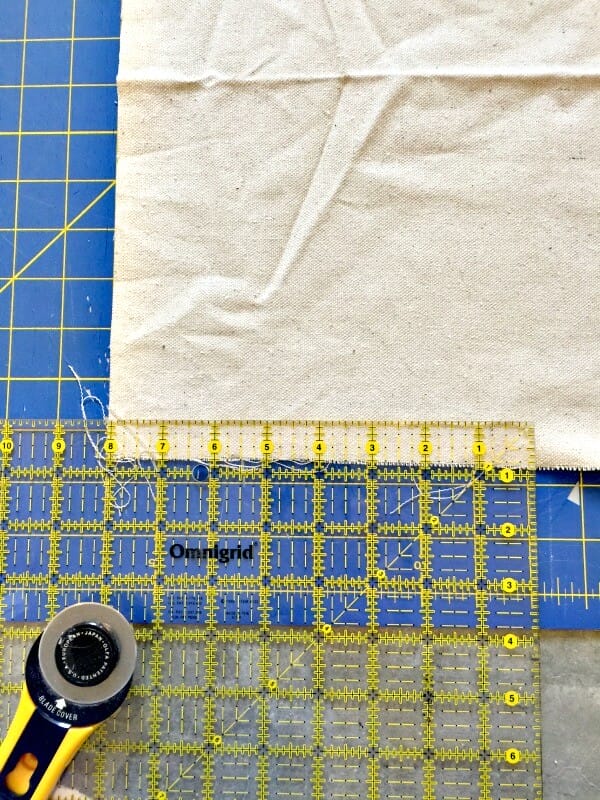
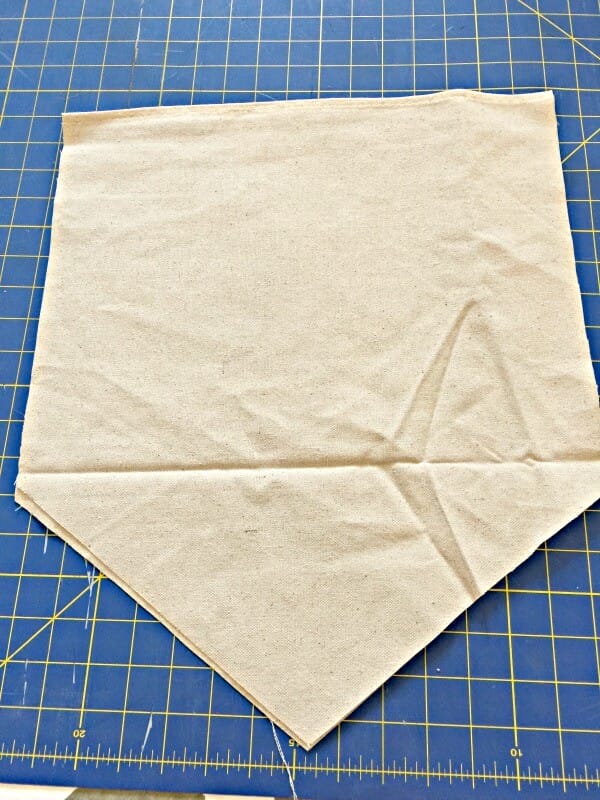
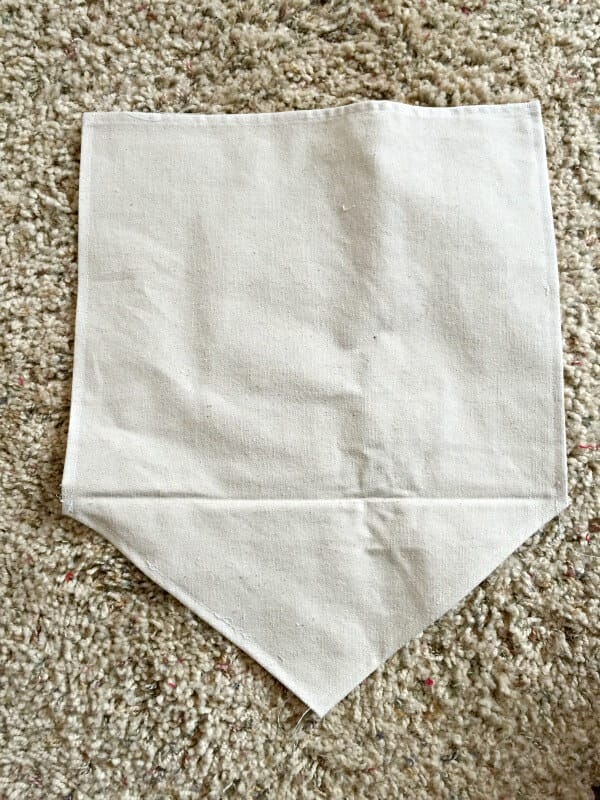
I then connected the dots with my quilters ruler and cut along the edge to create the angles.
Just like so.
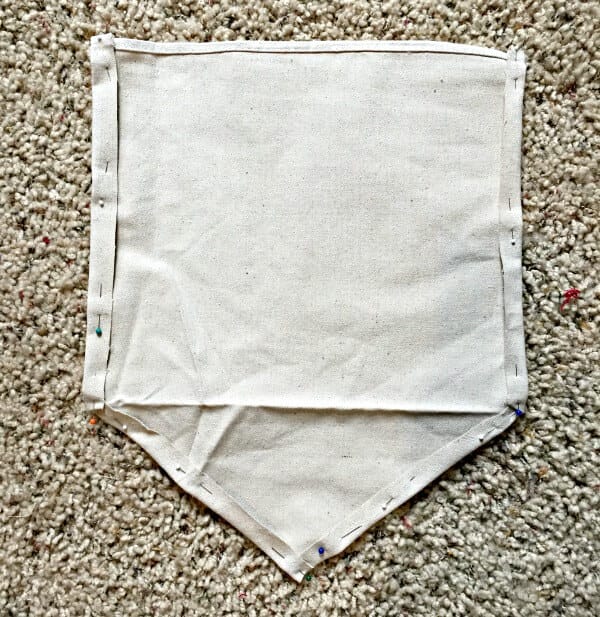
I then folded each side in 1/2 inch to hem the sign. Once the sides were folded and pinned, I did the same to the angled sides.
See, see?
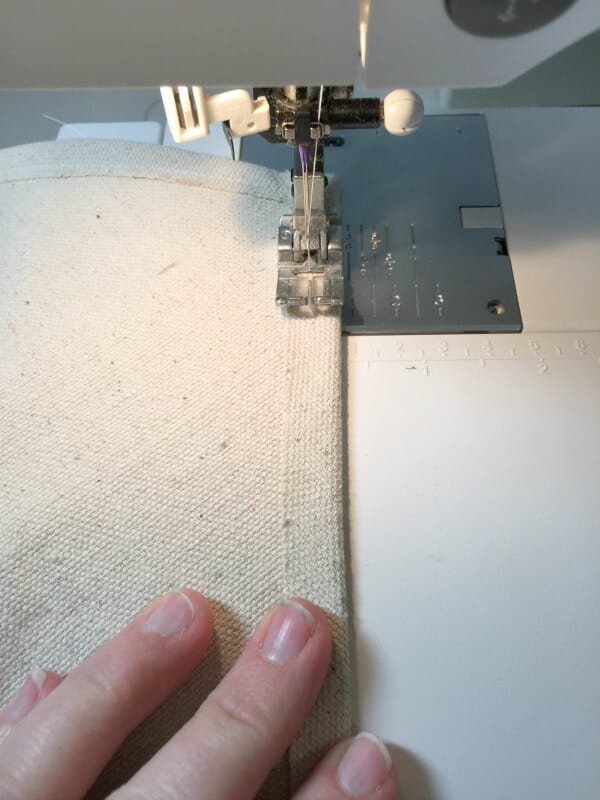
Once it was all pinned, I sewed it up.
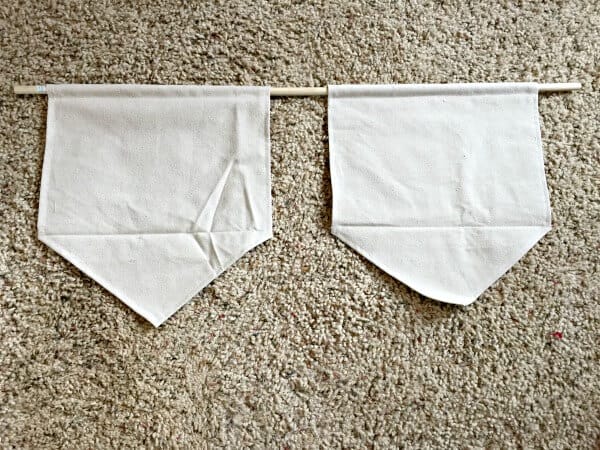
After I hemmed the sides I made a pocket for the dowel to go through. I folded the dropcloth over the dowel to get a rough measurement. I then pinned it and made sure it was even. A quick sew across the top and the pocket was created. I had enough dowel for two so I decided I better make an extra. You can never have too many dropcloth signs.
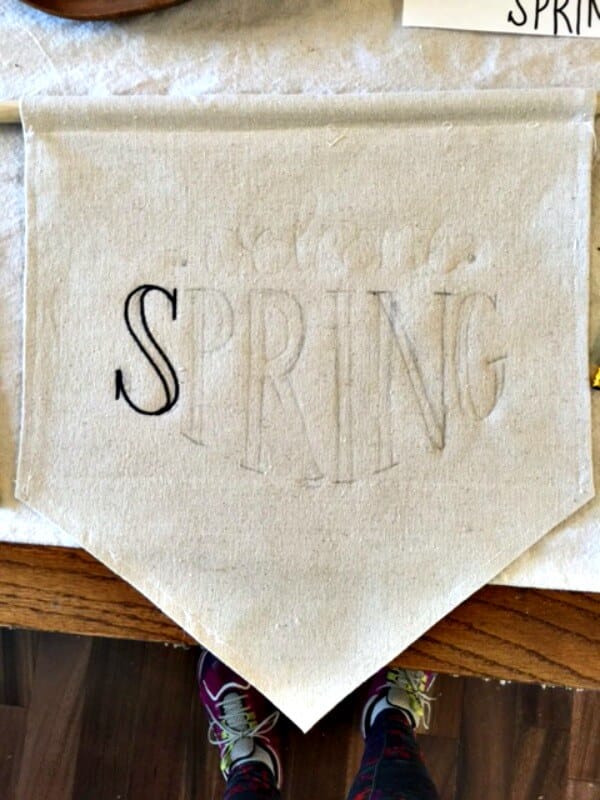
Now to create the script to go on the sign. I used a pencil to lightly sketch in my design, which I then traced over with my sharpie marker. This is where having a handy Cameo would come in handy since you can make a quick stencil or even use vinyl to create this sign. I am still a little old school. I like to freehand.
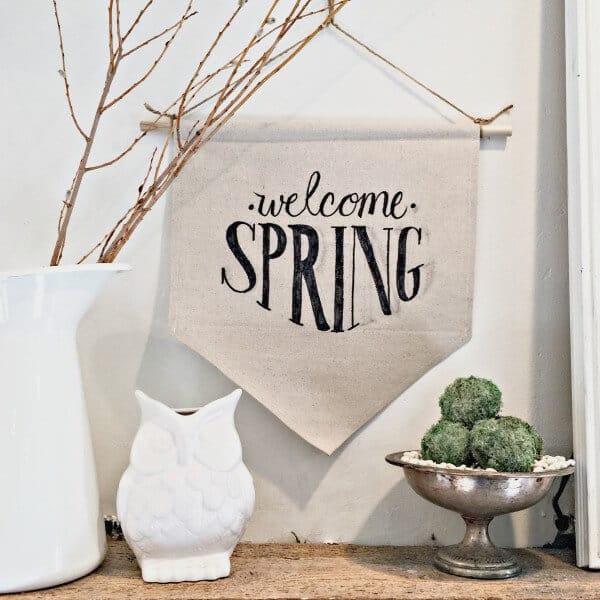
Here it is all done. Currently it is hanging above my mantle. I love it. I can definitely feel spring coming on slowly.
I also made this one that is going to be hung in my breezeway as a reminder for my kids as they come and go from school. Be Nice. Simple and sweet. I have a feeling I will be making more of these in the future for various occasions and holidays. It is a sweet and easy way to decorate without overpowering your home and in my opinion, they are quite stylish as well.
I hope you’ve enjoyed my dropcloth fabric sign, and I hope that you will make some soon!
If you want to see another one of my dropcloth projects, check out this video on how I created dropcloth Shibori!
Have a great day! If you like this post, check these out as well:
DIY Shibori Drop Cloth Pillow | Create & Share Challenge
How to Sew A Canvas Drop Cloth Envelope Pillow Cover
Make Simple Farmhouse Style Christmas Stockings
*This post contains affiliate links. Thank you for supporting my blog!*


These are so awesome! I need a few…or a dozen..in my home. So many possibilities!!
Thank you Amanda! I am so eager to make more for my home as well!
I am loving the Spring Banner Sara – thank you for sharing with Pin worthy Wednesday
Thank you AmberJane. Have a great day!
I am soooo in love with this DIY, Sara! Perfect for Spring or any time of year! Pinned, tweeted, and shared. 🙂
Thank you Chelc!
These are so cute, I feel the same way about drop cloths…I just covered a sofa with one (or 2.5 actually!) So happy you shared at Your Inspired Design!
Thanks Holly! I love dropcloth projects! I would love to see your sofa!
This goes so well with the lucky printables! Thanks for linking up at #ThursdayFavoriteThings! I hope you will join me at #OverTheMoon!
Love it Sara!! I think I will make my own inspired on your idea, thank you so much!
I want to let you know you are my feature next week, so don’t forget to stop by and grab your button 🙂
Have a wonderful week!
Love this idea! I’m a real fan of dropcloths. They can be used for SO much around the house. Thanks for sharing at Vintage Charm! Hope to see you there again this Thursday:) xo Kathleen
Thank you Kathleen! I will definitely be dropping by again. Thanks for a great party:)
Love this Idea!! It adds such a sweet touch! And can’t wait to try 🙂
Thanks Sam!
that dropcloth sign is cute , im going to get one for myself but will use red color instead of this color as i love red color more than any one! good luck to you