DIY Cotton Stems from Simple Household Items
I have been a busy little bee. This last week I have spent a little time creating these DIY cotton stems. I think it is not secret that I have champagne taste on a beer budget. Or I guess you could say, I would rather spend that money elsewhere, like on college classes. Ugh. I have been wanting to make these for a long time, and I am excited to show you how I came about making them, and exactly how you can make some yourself.
I have been a fan of these cotton stems for a while. They are a fun addition to your home, especially if you are looking for something to add to your farmhouse decor. The problem is, faux cotton stems can be quite pricey. More pricey than I would generally like to spend. Especially when I think I can make it myself. Now, if you could get artificial cotton stems wholesale, then you would be in luck, but that just isn’t the way it works.
I have been brainstorming for a while how to DIY cotton stems. I went through a few different phases. I started by creating the leaves around the cotton with craft paper. They looked great but did not look real enough to me. That is when it hit my as I was cleaning up some of my winter decor. If it was a snake, it would have bitten me….thats what my husband always says.
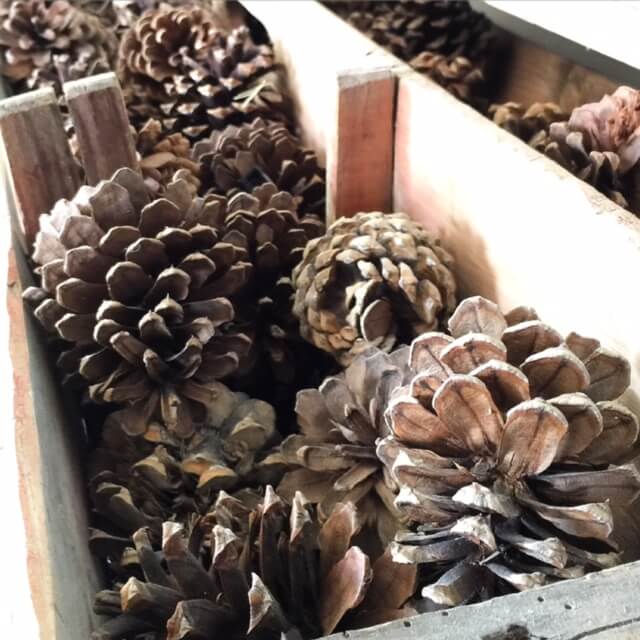
Hey pine cones! How are you doing? Ready to be transformed into cotton stem bundles?
It was like a light went on in my head! I started to figure it out. Honestly, this is why I love what I do. I am able to create and find ways to do it. I am able to take an idea or a theory, brainstorm and experiment and in the end create something really and truly cool. Sometimes it doesn’t work out that way and I end up scrapping the whole project, but that’s okay, because at least I learned something!
Trial and error is definitely part of building, creating, and you just have to be okay with that. That is how we grow and learn.
Now, lets see how we make these lovely cotton stems!
How to make DIY Cotton Stems
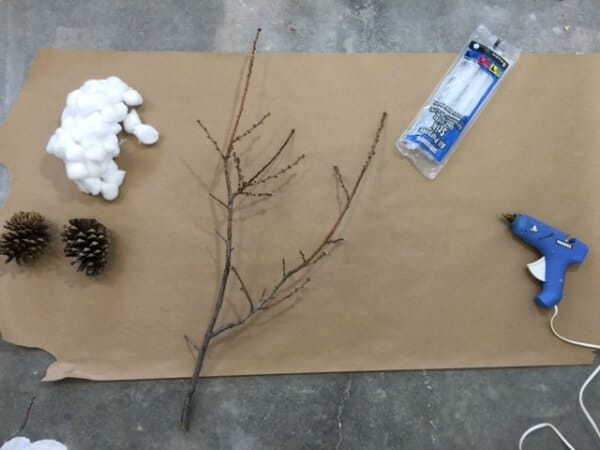
Here is what I used for this project:
- Tree branches ( if you cant find the real thing, use a faux flowers branch.)
- Pinecones
- Large cotton balls
- Hot Glue Gun
Now, I think we all have cotton balls kicking around in the bottom cabinet in our bathroom. Pull them out! They are so versatile and can be used for so many different things! So, the first piece of my supplies has been acquired.
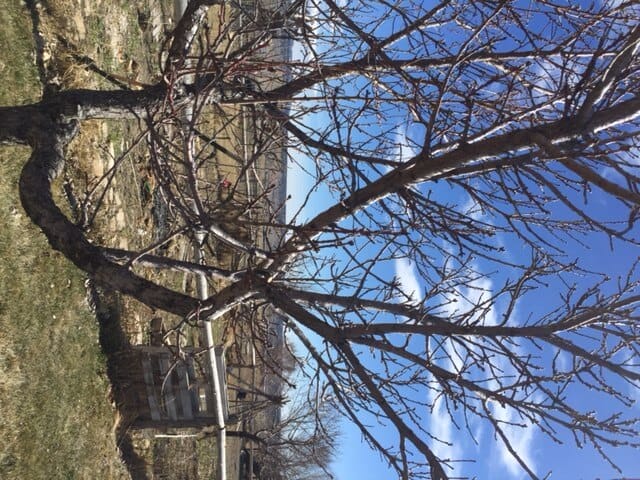
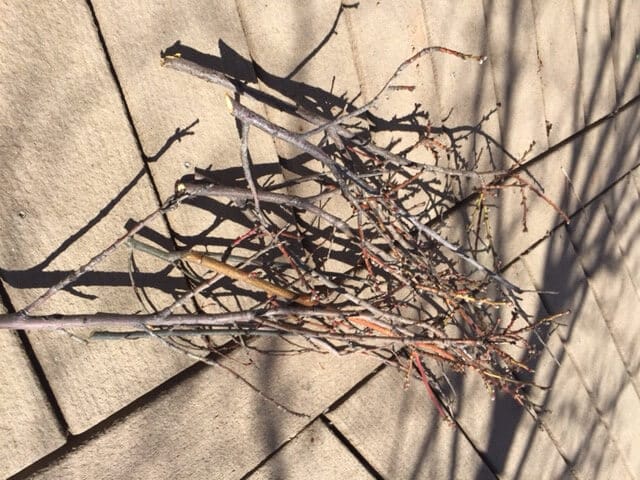
Now it was time to find the branches I wanted to use for my cotton floral stems. I wandered outside the other day and decided to trim a few of my peach trees. Now, we already needed to trim some of the branches off since it was pruning time, so I helped myself to some of the branches.
These are the limbs I used to create the DIY cotton stems. If you don’t have peach trees, you can really use any other type of limb. Really, ask a neighbor or maybe go to a nursery and see if they have any dead clippings you could use. What you do need to look for is a branch with many branches coming off of it. You want it to branch out. The more individual branches, the more cotton stems you will have. This will make these cotton stem bundles come to life and have more to them.
Also, if you have branches with long limbs, you will want to trim them. Trim them from the bottom so that you do not cut off any valuable branches at the top. Make sure that you pick a branch that is strong, not a more bendable type like Quaking Aspen( these will come in handy for one of my upcoming projects though). I do love my Quaking Aspens though…and they are so flexible you can use them to form a really cool twig wreath base!
Here I am ready to set at it. I started by laying a piece of brown butcher paper to protect my floor. I gathered up my hot glue gun, my branches, pine cones and cotton balls. It was time to create some cotton stems.
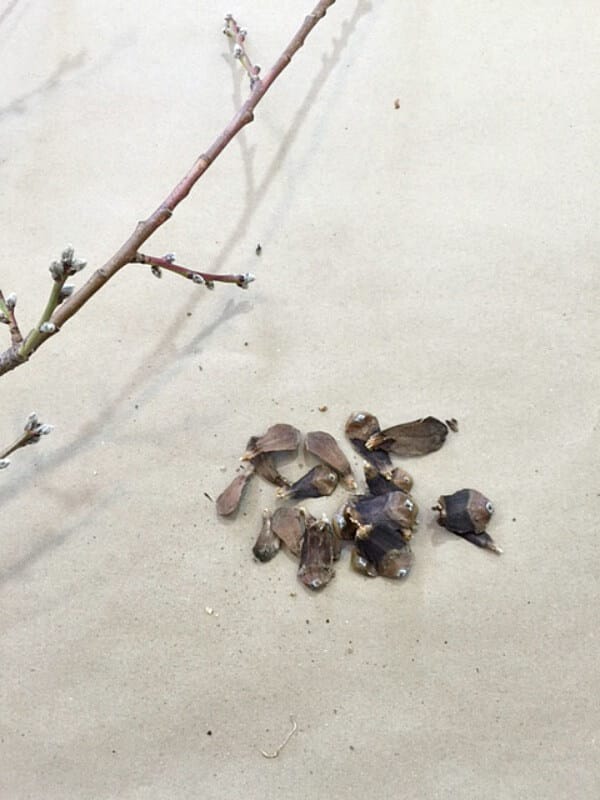
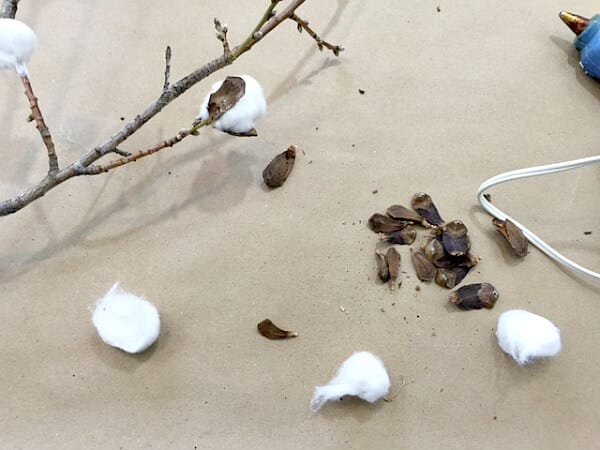
I started by pulling the individual pieces from the pine cone. Be careful, sometimes they can be kind of sharp. Start at the bottom of the cone. I would highly recommend either using gloves, or pliers to pull these apart. They are very rough and pokey and can really harm your hands if you do not take care…..trust me, I learned this the hard way. Plus they give you a bit of a time getting them off. They are attached pretty good at the base.
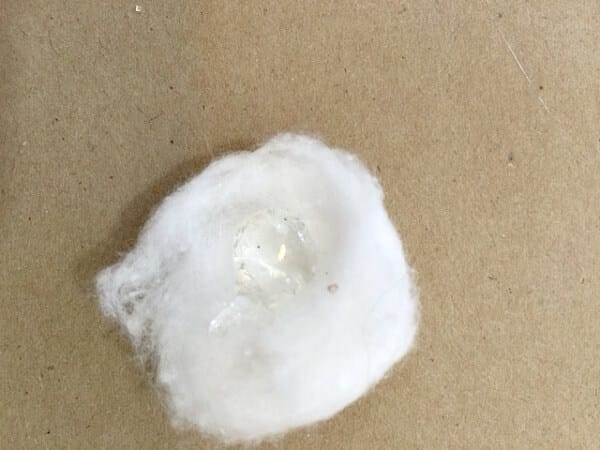
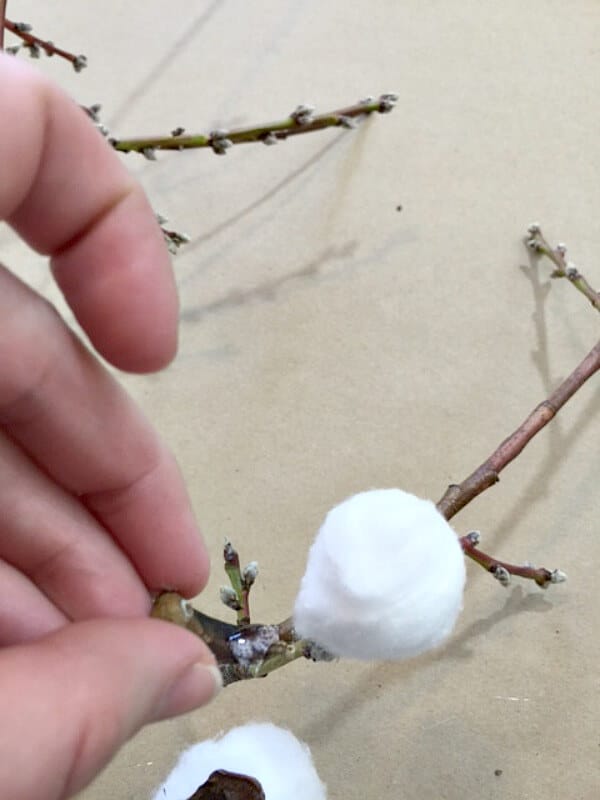
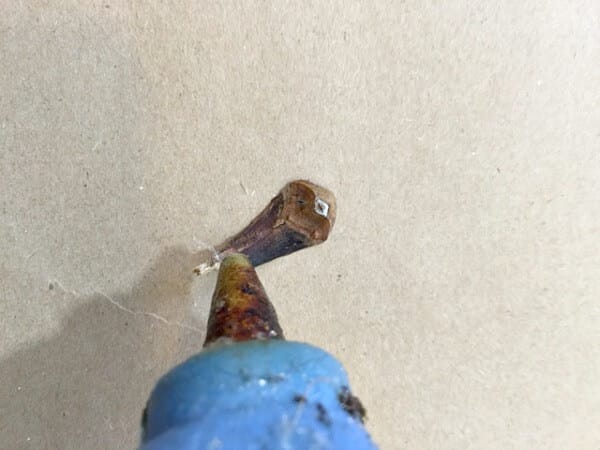
I applied a dollop of glue to the middle of the cotton ball. Be careful here because the hot glue can seep through and burn your hands. I would recommend using a low temp hot glue gun, so that the hot glue is not quite as hot. You can also use gloves at this point as well, just to protect your fingers from the heat. You could also use different glues if you so desire but I find that they will all take too long to dry and you will end up waiting and waiting for the cotton stems to dry, and if you try to mess with them before they are dry, you will have a big mess.
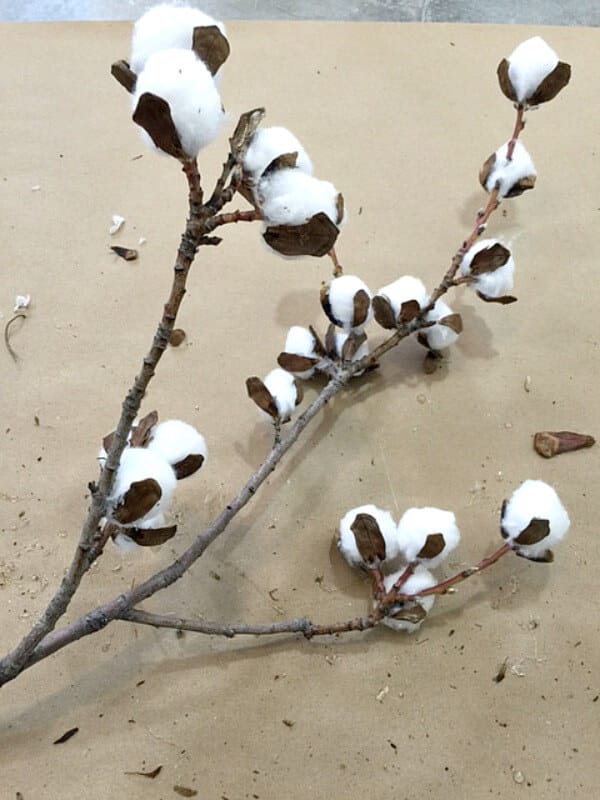
I then stuck the section with the hot glue onto the branch, wrapping and forming the cotton around it. Make sure its nice and secured. This is where you will form the cotton pieces.
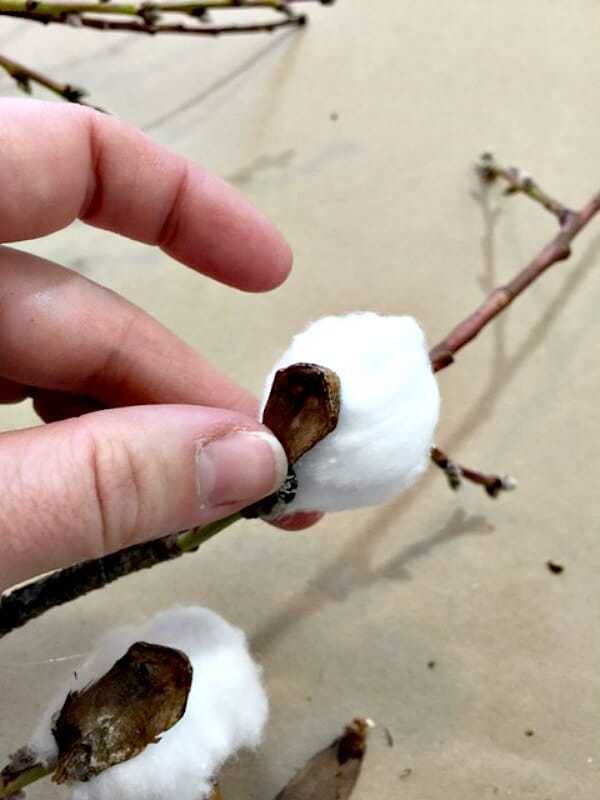
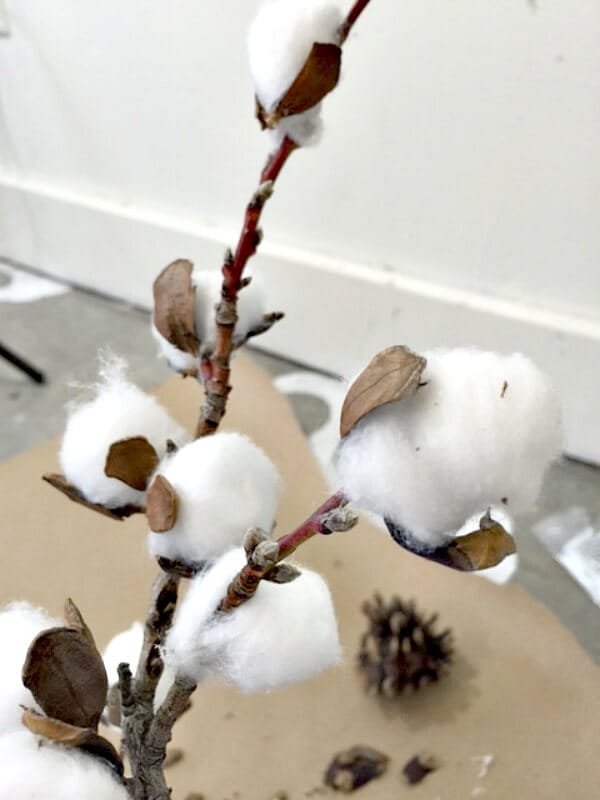
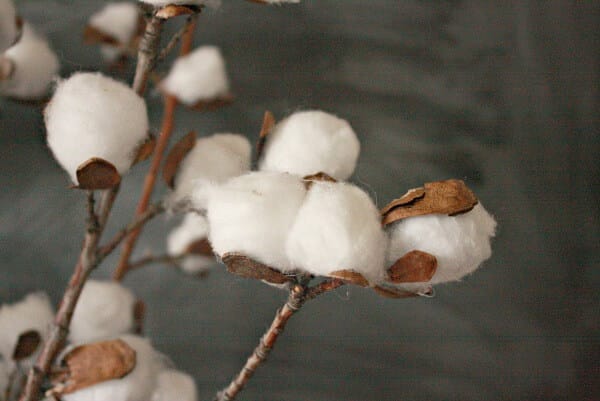
I then applied hot glue to the outside of the pine cone scale. I looked it up, this is what they are called. You want the pieces to curl around the cotton balls. Imagine that they are like flower petals. They will cradle the cotton ball.
I then applied it to the cotton, making sure to secure it at the base where the cotton meets the branch. Remember to be careful with the glue. It can stick to those fingers.
Some of the cotton I tore in half if they were too close together. I created small bundles together on some of the branches. You can add as many as you would like. This is your project!
I applied 3-4 pine cone scales to each cotton balls.
Repeat the process until you have filled all the individual branches. If you find a place on the branch that looks bare, you can glue the cotton ball to the main part of the branch. You will never be able to tell it didn’t have a branch there.
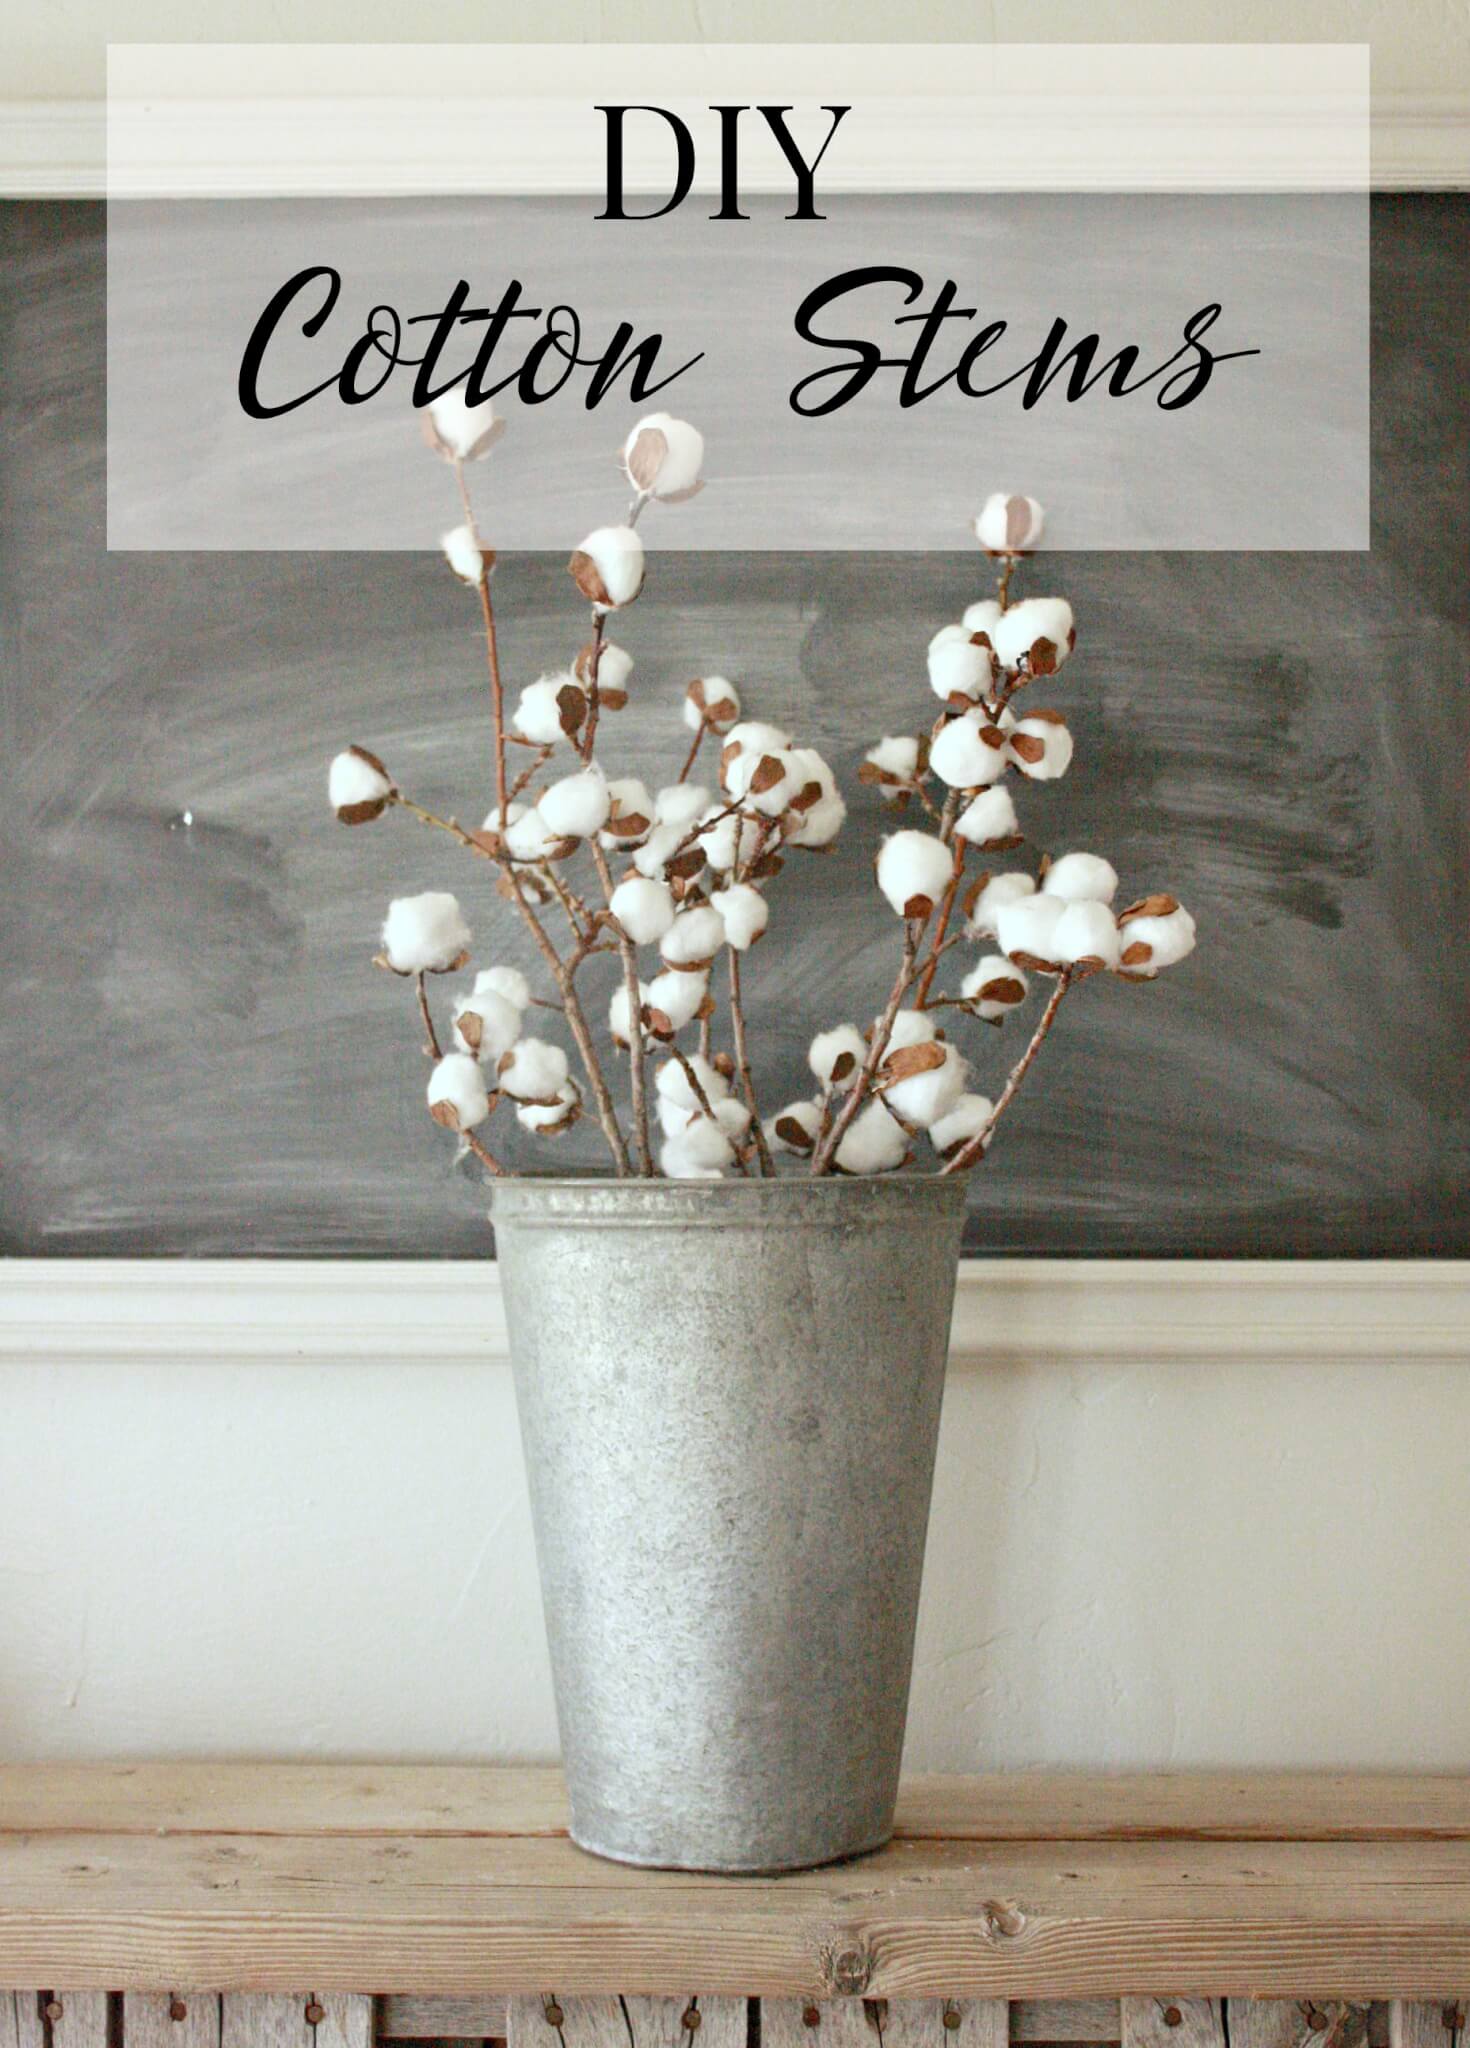
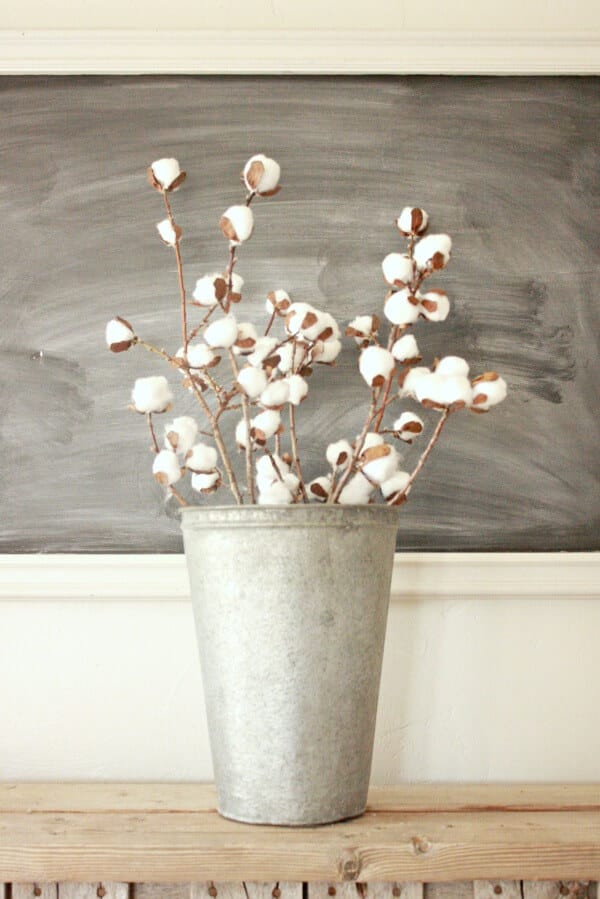
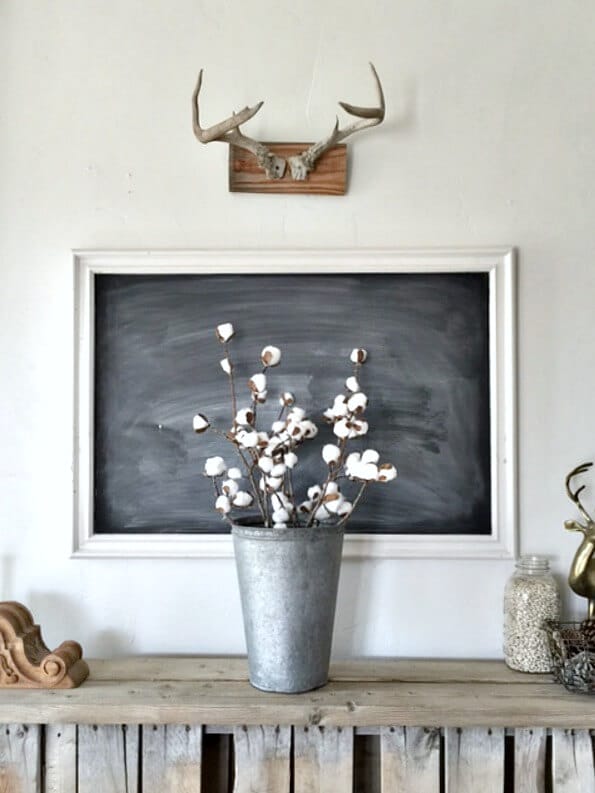
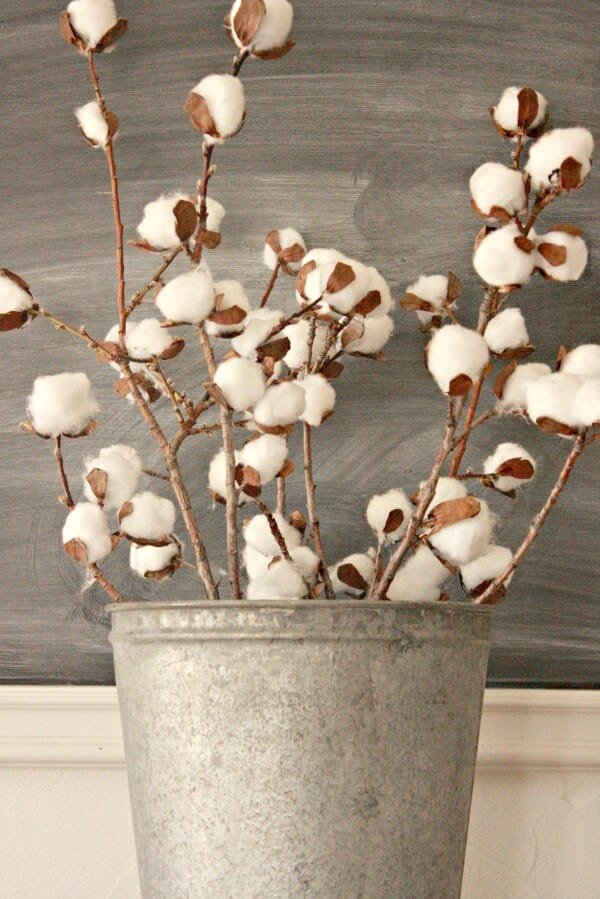
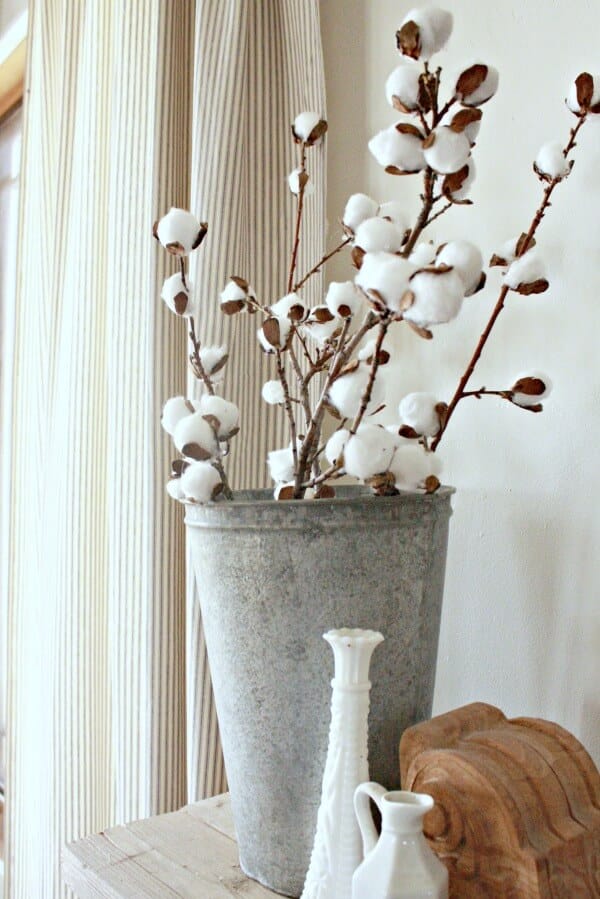
I set them in my trusty galvanized bucket. Don’t they look wonderful there? Decorating with cotton branches can be really easy! If you are looking for some farmhouse decor to add to your home this is the perfect way. I could spend all day buying galvanized metal accessories. Another reason I wanted to make these myself was that just in case, I got tired of having them in my home, I would easily be able to trade them out for something else without feeling guilty because I spent a ton of money on them.
What do you think? Are these cotton stems something you would make for your own home? They were so easy to make! I really could not believe how easy! You definitely should try this method out for yourself! I am sure you have most of the supplies sitting in your home somewhere.
This was a really exciting project for me. I love figuring out how to make something on my own. Now that I have an easy way to create them, you might see them popping up all over the place. Why not though? Maybe make some for your friends or family. I think this would be an awesome Christmas gift for a farmhouse loving friend. I know I have a few friends that would love them!
I hope you try this for yourself.
If you liked this post, you’ll love these….
30 Farmhouse Nightstands That Will Transform Your Bedroom
Over 30 Affordable Farmhouse Style Round Rugs
Have a great day and remember….
*This post contains affiliate links. Thank you for supporting my passion*



Girl!!! I would have never guessed those were faux…you did such a great job!!
Thank you Jamie! These have been something I have wanted to figure out for a while now! Thanks for stopping by!
These turned out gorgeous! You’re so smart! I love them. We’re going to have to go collecting pinecones so I can make some.
Thanks! They were so easy to make! Thanks for stopping by!
This is fantastic idea! They look amazing! Thanks so much for sharing!!
This is completely brilliant! I’m with you, in that I have a champagne taste on a tight budget – at first I thought this looked too complicated but after reading your post, I think it’s completely doable and I will be attempting this soon! Thank you so much for sharing!
Great tutorial! Thanks! Holly 🙂
Thanks Holly!
I WANTED SOME OF THESE COTTON, BUT THEY COST TO MUCH, NOW I CAN MAKE THEM WITH WHAT I HAVE IN THE HOUSE. TY
Yay!
Genius! Totally pinning this and making them! Thanks for linking up at the talk of the town party!
Thanks Rachel! Have a great day!
This is the best idea ever! I have been wanting an arrangement of these forever. But when I shopped for them I noticed how much they were. I would much rather make some myself!
Thanks Susan! I hope you have fun making them. It is much easier than you think.
Popping over from #2usestuesday to thank you for linking up this project with us! I would have never guessed they were fake!
Hope you have a fantastic weekend!
How cute are these? You make them appear easy to create. Pinned and shared. Thanks for linking up at #ThursdayFavoriteThings! I hope you will join me Monday at #OverTheMoon!
Oh my goodness Sara! You are so clever!!! These turned out lovely! Thanks for sharing your creation with us at #TALENTEDTuesday.
Hope you are having a lovely week!
Cheers,
AJ
Aj, you are too sweet. Thanks so much for stopping by and giving me some love! Hope you are having a great week as well!
These are so pretty Sara! Thank you for sharing at Dream. Create. Inspire. Link! I am pinning your post!
Cat
thank you for sharing at the Thursday Favorite Things blog hop. I featured you yesterday xo
I did 3 branches.wish I had read using pliers. Breaking the pieces off pinecones was not easy.
Hi Sara! i love this project! Just stopping by to let you know I’m featuring you this week on Pretty Pintastic Party! Thanks for stopping by and we hope to see you back this week!
Featuring your amazing idea on this week’s Making Broken Beautiful! Thank you so much for sharing your inspiring project! I hope you join in again soon! Have a gret day!
Smiles!
Terry
The Curator’s Collection & Making Broken Beautiful
http://thecuratorscollection.wordpress.com
This is so great to hear! Thank you so much for the feature! Have a great day!
Sara, your cotton stem project is amazing. I have 3 cotton branches I bought in Atlanta and carried home on the plane just because they were less expensive than ones I’d seen here in Dallas. I’m going to try my hand at making them. Thanks so much for sharing at Your Inspired Design Link Party #29.
How fun! Have to try it…pinning! Thanks for sharing, Sara!
What a great idea! I want to make a set for my home after seeing your tutorial. I’m featuring your project tonight for “Best of the Weekend.”
That is so great, thank you! I will definitely be stopping by!
Holy cow I L-O-V-E this idea!! You just saved me at least $30!! Thank you 🙂
Oh thank you! Enjoy making them!
You, my friend, are a genius. I love these cotton stems! They look so real, too. And the fact that they don’t cost an arm and a leg from craft stores is a huge plus. Can’t wait to make my own!
These cotton stems are gorgeous and I totally want to make some to put in my home! Thanks for the inspiration!
Thanks Katie!
This blog post is AMAZING!! I was just lamenting to my husband that after four weeks of searching I am not able to find cotton bolls anywhere. You have given me my answer.
Wonderful idea.
Oh I am so glad Leanna! Thanks so much for stopping by and good luck making yours!
Oh that is so great Leanna! Thanks so much for stopping by and good luck making yours!
How brilliant you are! Using the pine cone scales shows how creative you are! I’ve been wanting to make these, but I had no idea what to use for the bolls. Thank you!!! I might really give it a try now!
Awe thanks! I hope you give them a try! They are really easy and so worth it!
I do not often comment on blogs or posts but this is sheer genius! I have wanted cotton stems for years but just couldn’t bring myself to pay the hefty price tag. Thank you so much for being willing to share!
Oh that is so great! I am so glad you like the tutorial.
Hi from Ontario, Canada! Last year, I bought Cotton bolls from Michael’s even though they were pricy and wanted more this year but, unfortunately, I didn’t see any. My husband died two years ago and every Fall (sometimes Spring too), we’d travel south and did so for over forty years. I have a jug of Cotton bolls on my kitchen counter to remind me of him and our fun trips. As I said, there’s none available and I now want to make a wreath so … I’m going to try your ingenious idea! Thank you so very much!
PS: The only problem is my pinecone scales are small and I remember they are huge in the South! However, maybe I can overlap the scales, somehow, to make them look larger. Wish me luck!
Oh Elaine what a wonderful story. Sorry for your loss. I wish you good luck and definitely think you could overlap the scales. Good luck!
You just saved me $30+! Cheapest price I could find on Amazon was $29 for 3 branches. Spent $2 on pine cones at my local craft store. Had the rest of the supplies in my house or backyard. Super easy with your step by step instructions and they turned out great! Thanks for sharing! I also suffer from champagne taste on a beer budget! ???
Oh thats fantastic! I lvoe to hear from readers when they’ve been successful! Awesome!
I am completely obsessed with my cotton stems! Thanks for sharing!!
Yay! I am so glad! Thanks for stopping by!
Ohhh, love this!!! I volunteer at an awesome little thrift shop at my local Council On Aging, & someone had donated a bag of the cinnamon pinecones that they usually only have out around Christmas time, and I grabbed them, bc they had been sitting in the “craft” section for a while & nobody had grabbed them, (I’m thinking it’s bc we got them well after Christmas) and they were about to be shipped out to charity! The best part… they were only $1 for a bag FULL of them… And, I pay 1/2 if I buy things on the day I work! So now, I know Exactly what I will do w them! Not only will they be super cheap to make, and look just as good, but they’ll also even have a slight cinnamon scent, too! Thanks a ton for posting this!
Em @ Tin Crow Primitives
That’s Awesome! Love a good deal! Especially when you can make something so cool out of them!
I am late coming to the party on this, I do live in Georgia and there are an abundance of cotton fields in Statesboro, where my son goes to college (Georgia Southern) and I am always begging him to meet one of the farmers to just get his mama a few sprigs…. this is a very serious crop! I LOVE this idea, I have mini peach trees and pinecones and cotton balls so, am going to give this a try! Thanks so very much for sharing this with the rest of us…. cant wait to get started!
Blessings,
Jennifer Hughes
Marietta, GA
Oh, I’d love to have real ones close by! These are the next thing! Good luck, they will turn out great!
oh my gosh, this is so smart! thank you for sharing!
Thanks Hannah!
You, my friend, are a genius!
Thank you!
This is so cool! perfect for me since i have tons of pine-cones and cotton. You are so smart!
Maria
This has to be my most favorite craft ever! I have purchased a few cotton stems , but way to expensive to make any thing. I have made beautiful cotton stems, thank you for sharing!
Yes, Sarah, I knew about making your own cotton stems! I found another tutorial telling me about this “trick” a couple yrs ago and made some. I placed them in a glass bottle and gave them away at our family reunion (we do door prizes.) Anyway, this is a fantastic idea, although I still ordered real cotton stems on-line, only to receive them and find out they were made in China and were also faux! The ones you make are just as realistic and nice as any you buy.
I discovered a far less painful way to remove the scales from a pinecone – it was by pure accident! I was all set to make these, and found a long-ago project I’d made, using pinecones, so decided to repurpose those. Unfortunately, I’d painted the outermost tips of those pinecones, with white Acrylic paint.
No problem, I thought – I’ll just run hot water with a good amount of dish soap, and “scrub” out those white painted tips, using a denture brush. That worked very well, and all the paint came off.
After I set the pinecones out to dry on the kitchen counter, I decided I’d try to peel off some scales. They came right off!!! I’d had the pinecones under water long enough that the scales were very pliable! After I removed most of the scales off my first wet pinecone, I realized my 2nd pinecone had started drying out. So I ran very hot water in my faucet, and put that pinecone inside a spare Mason jar, immersing it completely. Screwed the lid on tight, did some other things and 30 minutes later, it was very pliable, and the scales peeled right off. So, try this hot water trick. It makes removing pinecone scales, much easier and faster, too!
This is amazing! Thank you for the tip!
I have been brainstorming for a while how to DIY cotton stems. I went through a few different phases. I started by creating the leaves around the cotton with craft paper. They looked great but did not look real enough to me. That is when it hit my as I was cleaning up some of my winter decor. If it was a snake, it would have bitten me….thats what my husband always says.