DIY Farmhouse Nightstand from a Ladder | Trash to Treasure
Its been a week since I unveiled my new farmhouse style master bedroom for the One Room Challenge. It is something I never dreamed of having. This bedroom is a getaway for me from our crazy lives, and its nice to have a space that is not only clean and organized, but is cozy and relaxing. One of my most favorite features in my new farmhouse bedroom is my DIY ladder farmhouse nightstand.
Ladders are being used it all sorts of home installations and decor these days. You can use them to store blankets or hang towels like I did when I made this easy towel ladder storage. You can also hang them on walls, build books shelves out of them, or simply use them as home decor all by themselves.
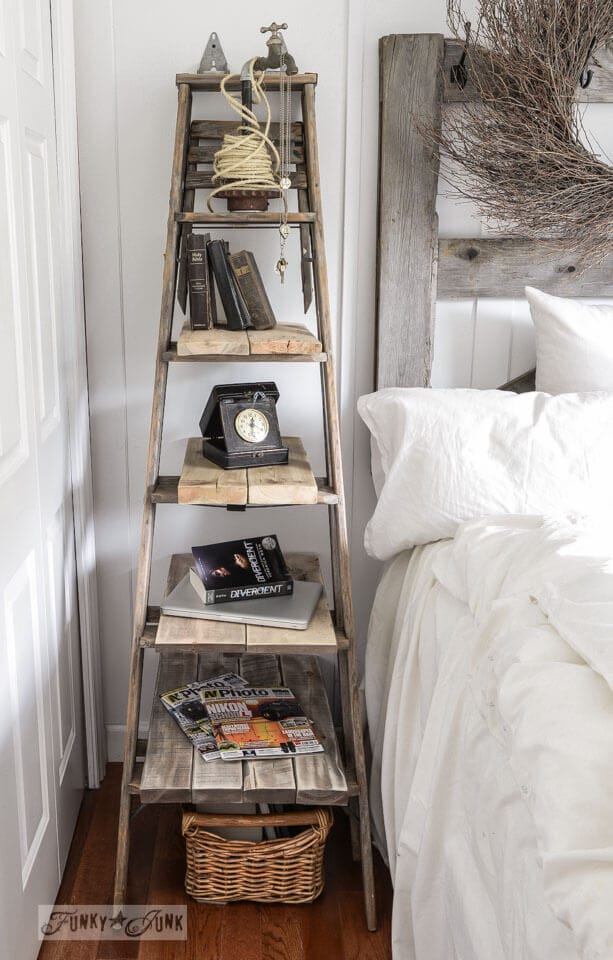
I fell in love with the idea of a ladder farmhouse nightstand when I saw this one on Funky Junk Interiors. I was inspired by this incredible ladder nightstand.
When I began my master bedroom remodel, I had made a trip to the city to do a little shopping, and I stopped by one of my favorite spots, an antique and salvage yard so full of all rustic, antique, and old objects, it makes me swoon! I always manage to find some glorious pieces there, and most of the time, I find a piece of gold in a trash pile. This ladder was one of those things I found.
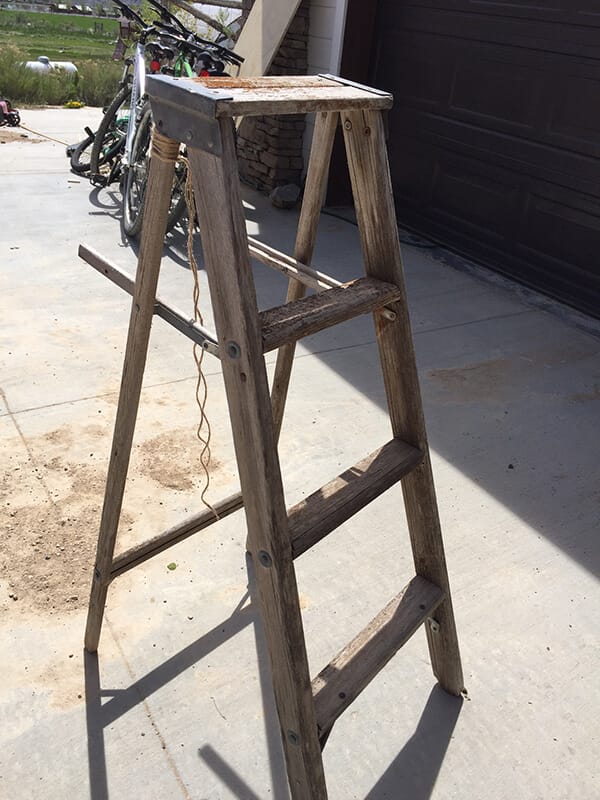
The weather had been rainy and windy that day, and the owner of the salvage yard had covered some of the piles of treasures with tarps and atop the tarps, holding them down was this rickety old ladder. I stopped in my tracks. Upon further inspection of the ladder we noticed that one leg was broken from the metal hinge at the top. It was in quite a state of disrepair, and I think many may have never even given it a second thought.
But, the size and height was perfect for the DIY ladder farmhouse nightstand I had in mind for this do it yourself project. I ended up getting it for less than 10 bucks. I can say I was quite pleased by that, since I knew what I was using it for, it was much more valuable to me.
I took the ladder home and began the transformation of this ladder by cleaning it, and sanding down all the surfaces. It had grown algae and other things on it, so it needed a good cleaning. Once it was clean, I took stock of how I wanted to turn this into a ladder nightstand.
This is the most im portant part of turning this into ladder into a farmhouse nightstand. So, if you want to create a ladder nightstand like this, you will want to look over the ladder and decide what you want to do with it.
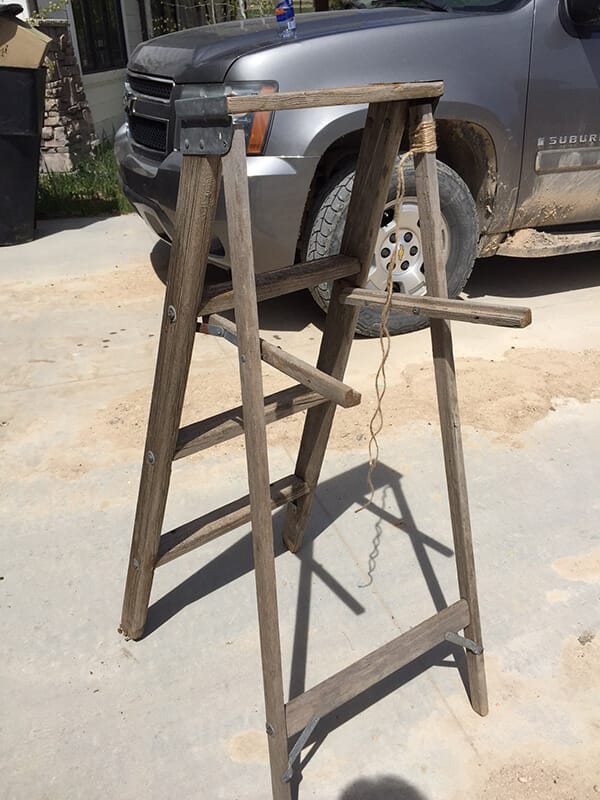
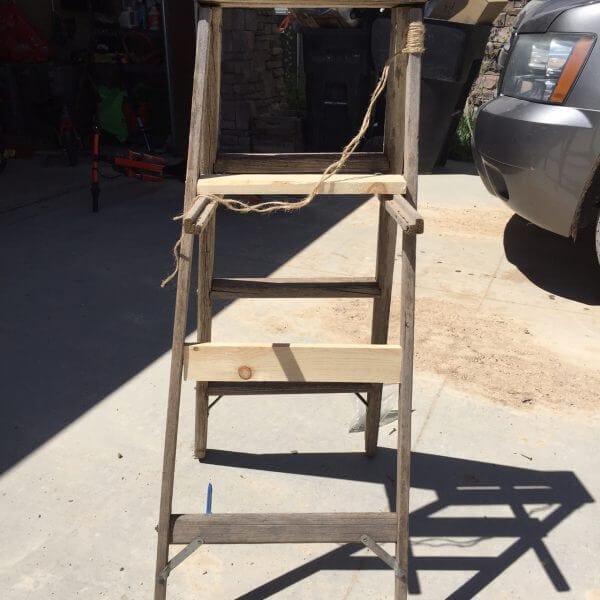
My ladder had 3 rungs on it. One side had the 3 rungs, and the other side had only one. it was missing the middle piece and there was not a top rung, only two flimsy pieces of wood that were connected to the top front rung.
So, I needed to sure up the ladder, make it strong and sturdy once again.
I started by fixing the leg that was loose from the meal hinge. It turned out that the hole was split through the wood so I was able to get the leg reattached and then I actually tied the split leg tightly together with some twine. It may not be the perfect way to fix it, but it worked, and it looks cool too.
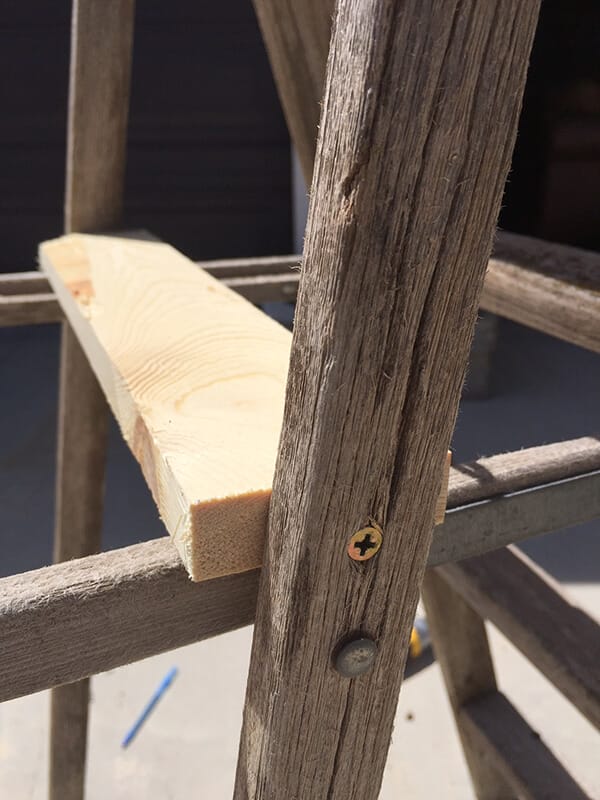
I used some pieces of 1 by 3 1/2 inch wood to replicate the rungs on the backside of the ladder. You can see how lopsided the ladder was. It was still a bit rickety.
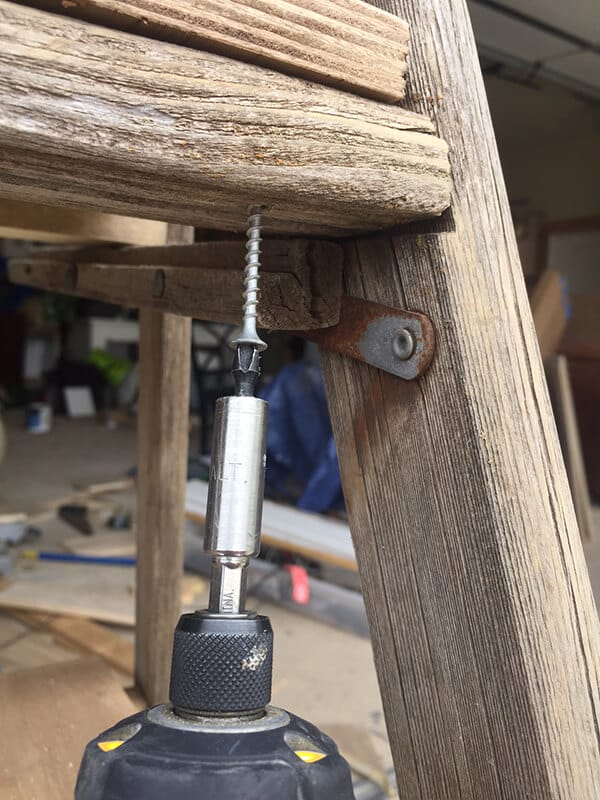
I used a level to find the spot where the rungs should be secured. I then pre-drilled some holes, so that the ladder wood would not split, since it was somewhat delicate.
I wanted the ladder rungs to be level so that I could place shelves onto them.
I measured the width of the ladder rungs, and then measured from one rung to the opposite one.
This will create the size of the shelf. Each shelf will be bigger than the other since the ladder gets wider as it goes down.
This is not going to be an exact science or perfect, because, well, the ladder I started with was far from perfect, but that’s the way I like it.
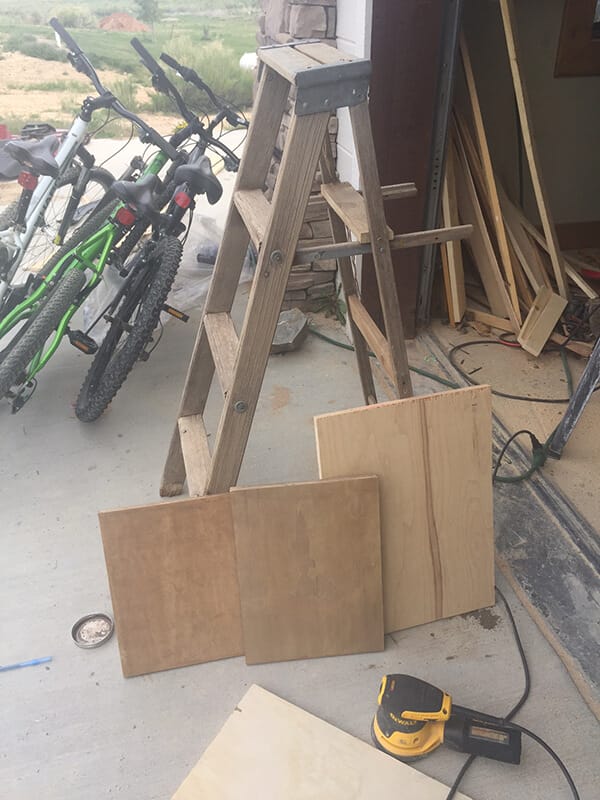
I used some 3/4 inch plywood for the shelves. You could use pallet planks, or a large piece of wood, but I wanted a nice straight shelf, and I did not have any good wood on hand, so I used plywood. I stained the plywood and the additional pieces of wood I added to the ladder with my DIY weathered wood stain. it was a perfect match for the weathered look of the ladder. I promise, this stain has been perfect every time I have used it.
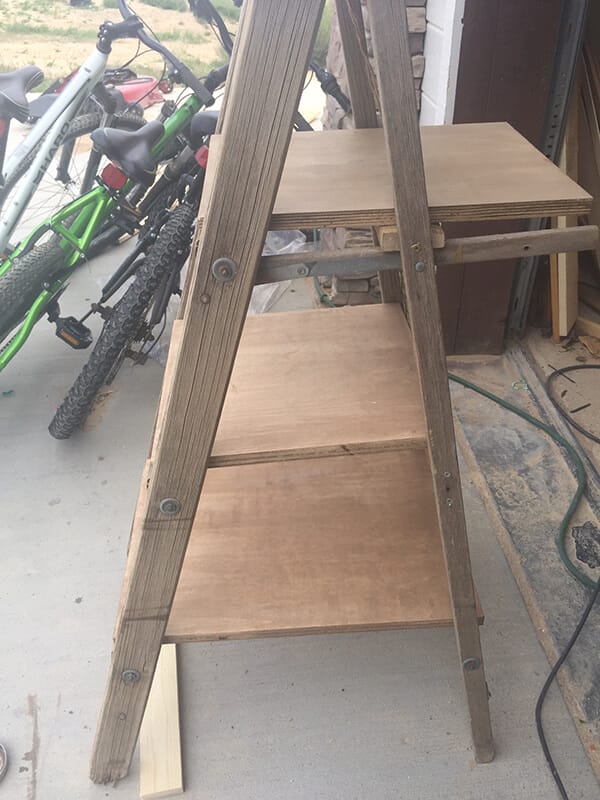
Once the shelves were stained, I set them across the rungs, and lined them up where I wanted them to be secured.
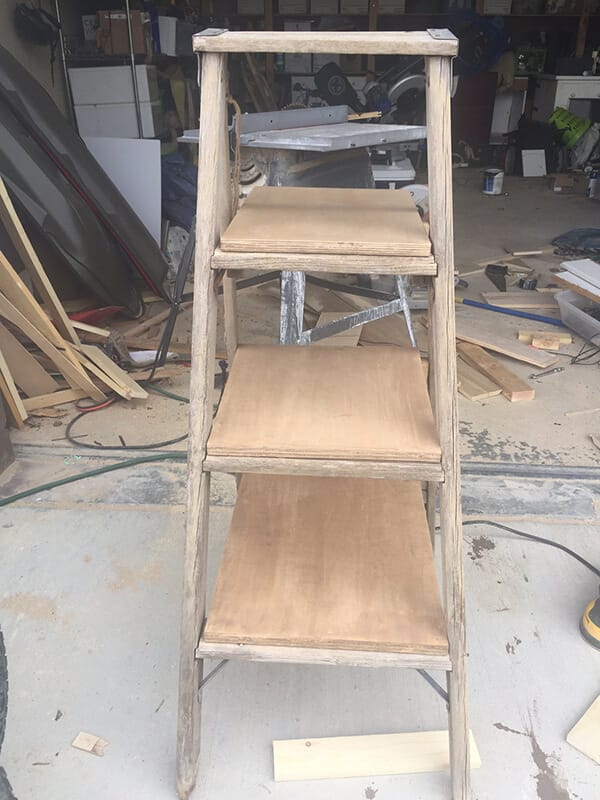
I then pre-drilled some holes that I could screw into. I secured most of the pieces from the bottom since then I wouldn’t have to see the screws. There were a few places where I had to since the rungs were a little narrow.
Adding the shelves have the ladder nightstand so much more strength and stability.
This is where I was able to straighten up the ladder, since it was on a tilt. I made sure it was straight, and then screwed the shelves on. This allowed the ladder to have some strength. Once they were secured the DIY ladder nightstand was done.
Shop Amazon Warehouse Deals – Deep Discounts on Open-box and Used Tools & Home Improvement
Its perfect in my bedroom. I wanted something different, and the rustic and unique look.
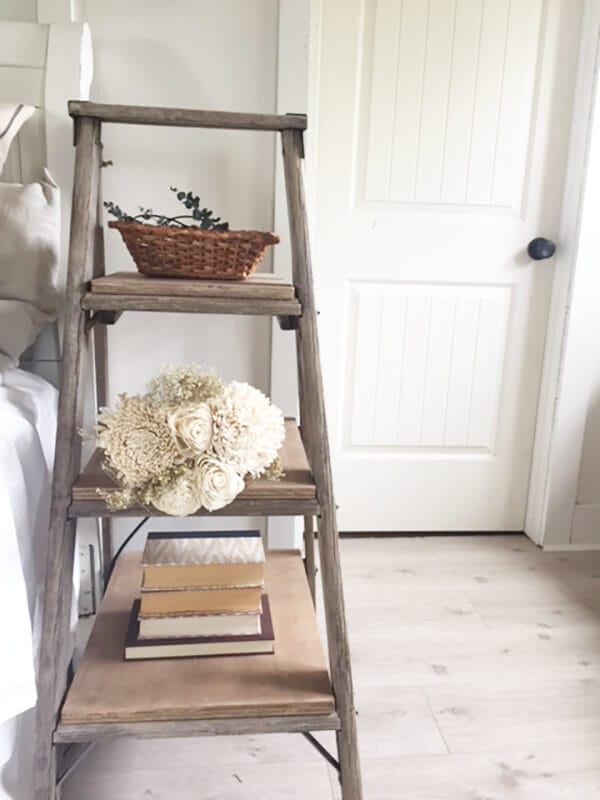
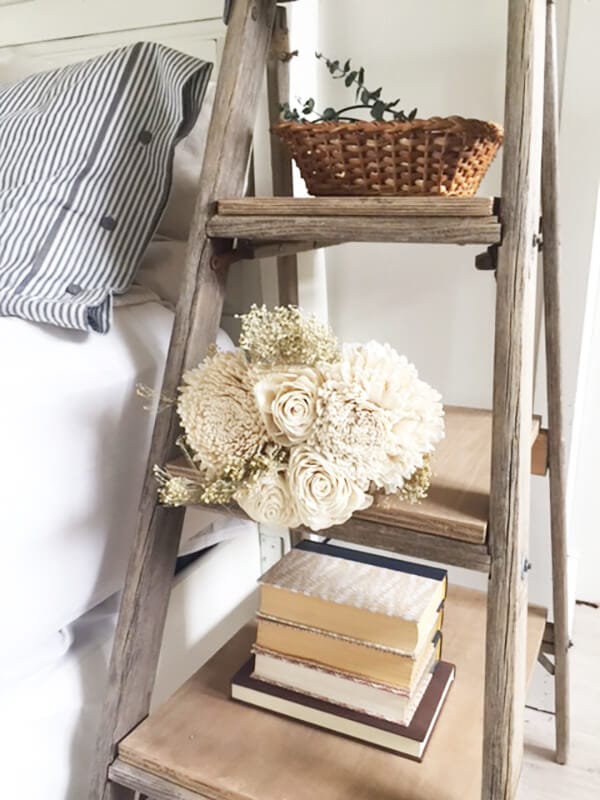
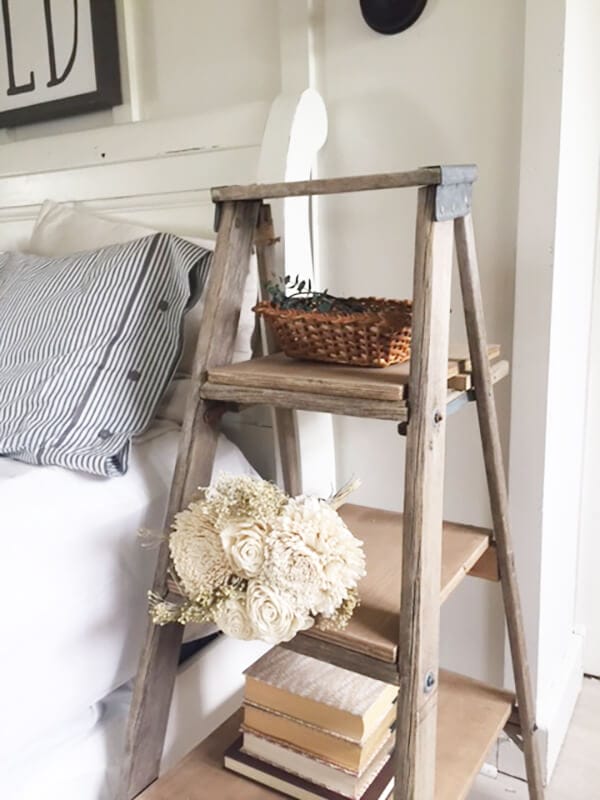
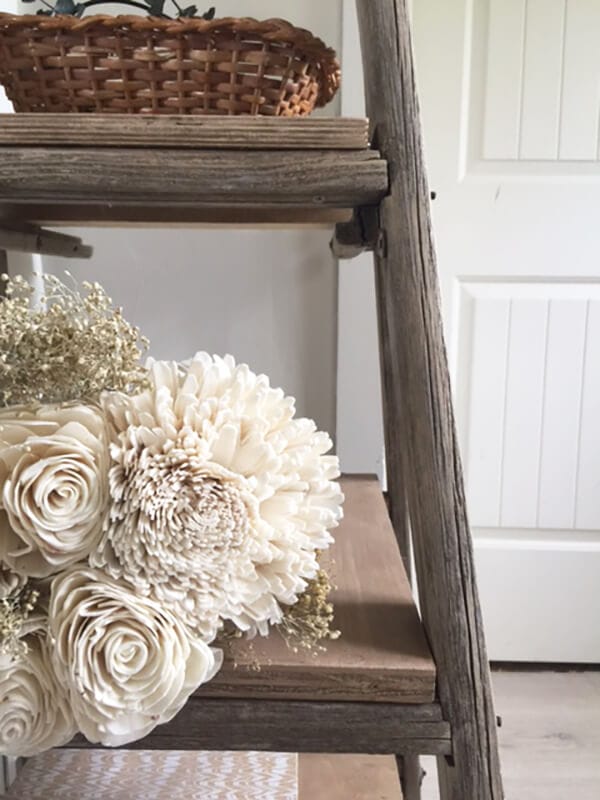
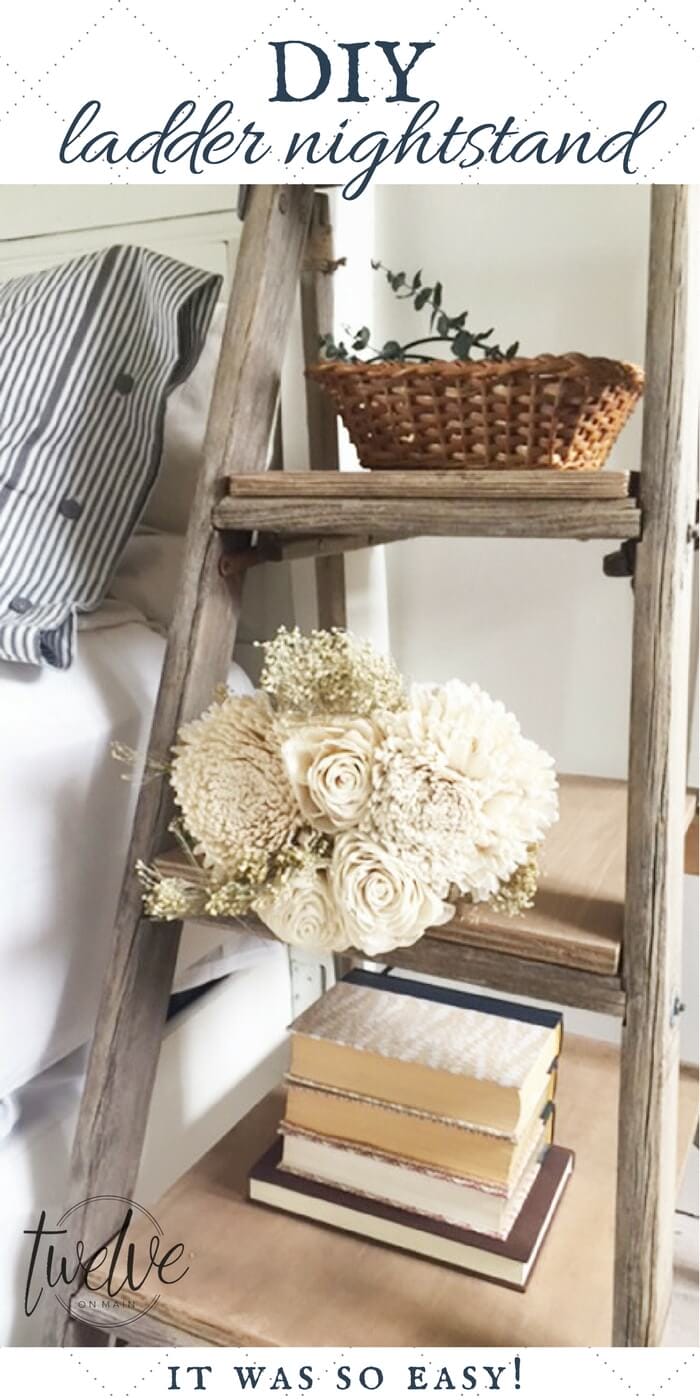
I love that I have 3 different shelves to set things on. I added a basket to the top shelf of ma farmhouse nightstand to hold my phone charger and other odds and ends that I like to have by my bed. I also added some books and dried flowers to my DIY ladder nightstand for well, mostly just to look pretty. I like my things to look pretty:)
And boy is this DIY farmhouse nightstand pretty! The rustic and aged look marries so nicely with the accents in my room. The chances of finding 2 ladders like this was not that great, and I wasn’t sold on having matching nightstands anyways. I like the look of unmatched farmhouse nightstands. I think as long as the scale, and style seem similar and compliment each other, its great to mix and match. I used one of our old white ones on the other side of the bed and they look really nice together.
Creating nightstands out of unique pieces creates a bounty of interest in bedrooms is a great way to put your own stamp on your space. Buying a beautiful nightstand that works with your design is always a great idea, but creating something that is all your own, something with a story, or part of your heart, gives a story to the space.
I love the story I have made with this DIY farmhouse nightstand. I will always remember that feisty old lady that ran the salvage yard where I found it. I have spent many hours there, chatting with her, listening to where she found each piece that she sold. Now, one of those pieces that had traveled across many lives, is now sitting in my bedroom, getting a chance at another life.
Make sure you SAVE IT FOR LATER!
This is why I do what I do, and why I am so passionate about it. I am not particularly special or talented, I know many others who can do things far better and are more skilled than I. I do it for the thrill of the find, the excitement in the discovery, and the satisfaction in the transformation. You don’t have to be the best, or the most experienced. You just have to have heart, and a desire to try. That can make all the difference.
Thanks so much for stopping by today to see whats been happening at Twelve On Main. Our life is always crazy, loud, and never boring. Our life works for us and I hope you will follow along. I am so very grateful that this is what I get to do everyday. I could not do it without each and every one of my readers, and that is you. So thank you, from the bottom of my heart.
Have a great day and remember….



Oh wow, this is lovely! It might have taken a bit of TLC, but you really made this a beautiful piece of rustic furniture for your home. Thanks for sharing!
This one looks really nice! I just wish that it didn’t consume so much space. Thanks for sharing! Looking forward to more.
You have a great eye to have realized that the old ladder could be turned into something so fantastic.
Thank you Lisa!
I love having a unique piece with history. It is always a conversation piece and one of a kind. Your table looks great.
It looks beautiful Sara. You did Donna proud!! I want to make one too!!
Wow, Sarah; it should be nice to know all the pieces!