Tips for Organized Farmhouse Style Closet Design
When I was remodeling my master bedroom for The One Room Challenge, I really wanted to include my walk in closet. It was a mess….like I mean, a mess. Anything I share with my husband ultimately is a mess…..because for all his wonderful and good qualities, he doesn’t have the “clean gene”. Don’t tell him I said that! I wanted to create an organized farmhouse style closet design that would work well for both of us.
*This post was sponsored by Lowes Home Improvement. My opinions are my own, and I will not endorse any product I do not wholeheartedly believe in*
Since the timing of the One Room Challenge came and went while still waiting for the closet organizers to show up at my house, I decided to dedicate a separate post to reveal what I did to create an organized farmhouse style closet design.
I obviously wanted my closet design to be organized and functional…I mean that’s the most important, right? But, I also wanted it to be stylish. And farmhouse style was on the menu, of course. I wanted it to flow from my master bedroom and look like it was an extension of the room.
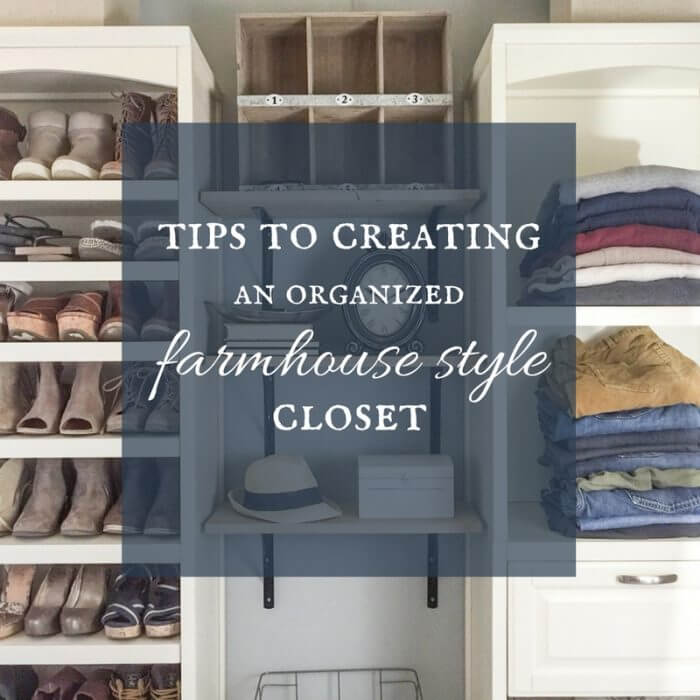
Tips to an organized farmhouse style closet design
This had to be the most difficult room I have ever done. Its also the smallest! I think it was so difficult, because there is so much to take into consideration. I want to go over a few tips that I used when deciding my closet design.
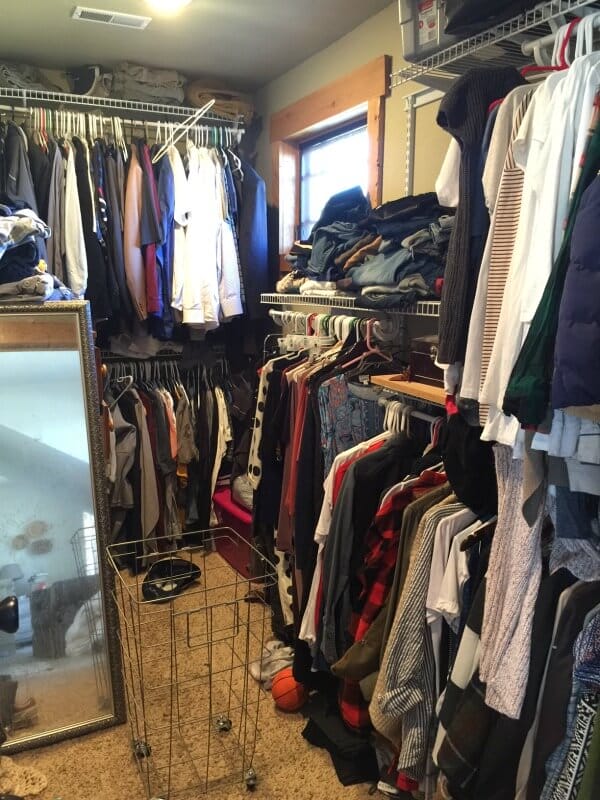
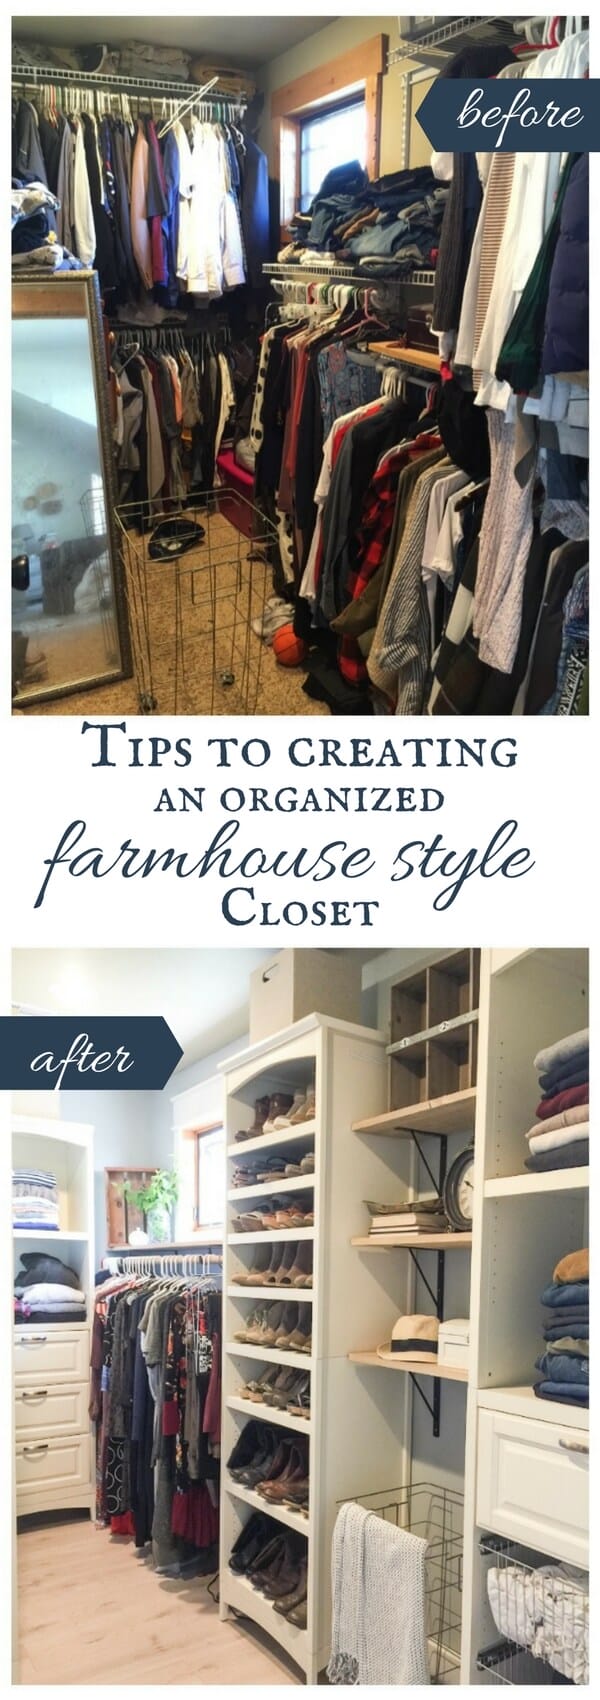
If you are curious, here is a before. This is what our closet looked like before the transformation began. Not very organized. Not very farmhouse!
It lacked a lot of functionality. We had old dressers that took up way too much space, as well as wire shelves which were bent, and falling off the walls. They sorely needed to be replaced.
I worked with Lowes Home Improvement for this project. They were wonderful!
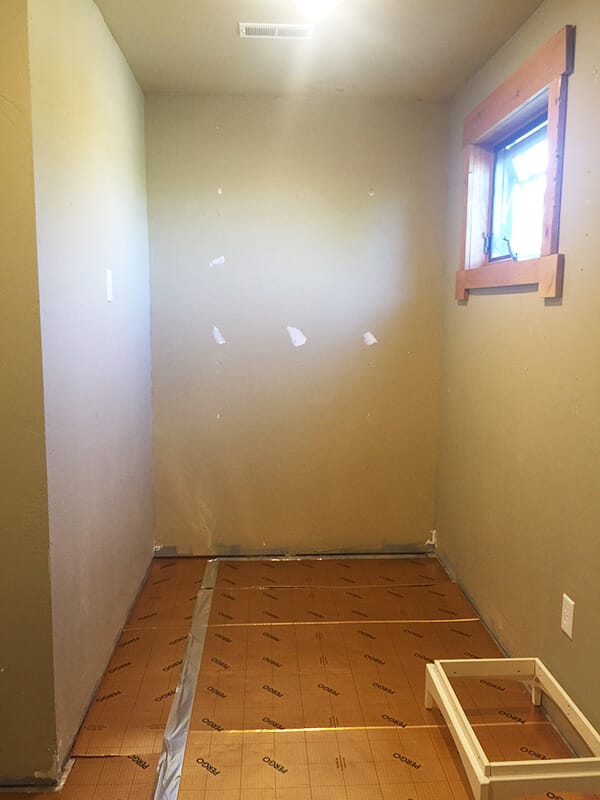
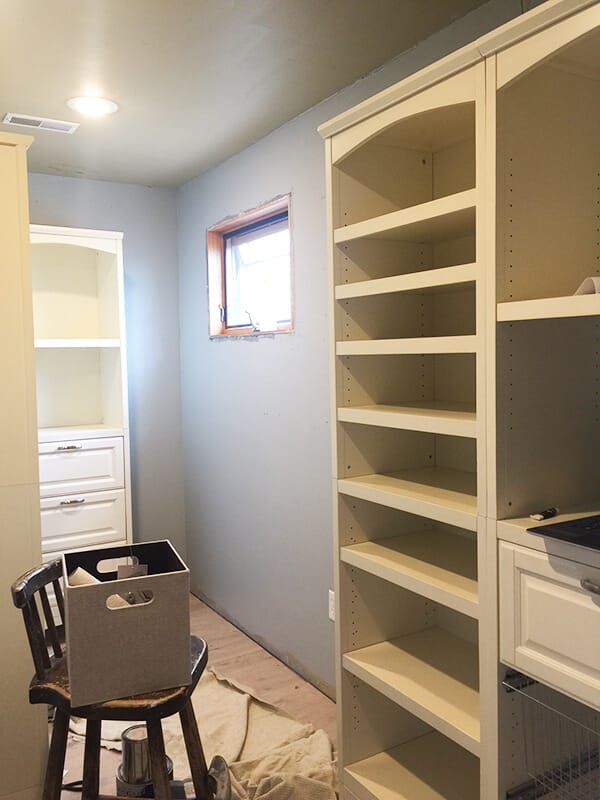
The first thing we did was completely gut the room. I tool everything out, including hanging rods, dressers, and shoe shelves.
With an empty space, I was able to really plan out the layout.
Lowes had a lot to choose from. Anything from wire shelves to complete wood closet kits. I, however could not use the closet kits since none of the walls in my closet were long enough, and we had a window right in the middle of the one wall that was long enough. Plus, our closet isn’t necessarily just a square box, it has a lot of angles to it, which make creating a closet design difficult. I had to come up with some sort of semi custom, semi out of the box.
Before we decided on our closet design we needed to make a list of what we needed:
We needed to know:
- How many shoes we planned to store
- How many of linear feet we needed to hang our clothes
- How many drawers did we need
- Do we store our jeans/pants on shelves
- Do we need hanging for dresses/taller garments
- Miscellaneous storage for hats, belts, other odds and ends.
I knew I wanted drawers for:
- underwear/unmentionables
- socks
- pajamas
- exercise clothes
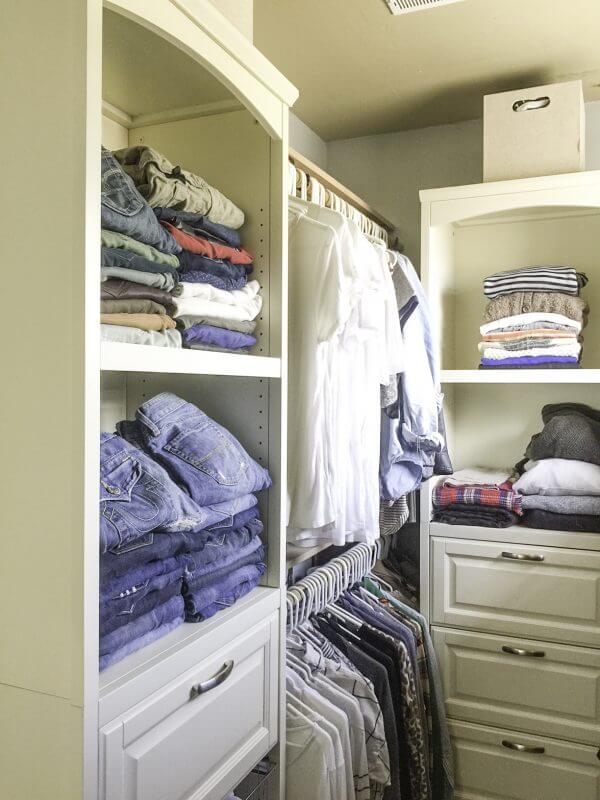
I wanted shelves for:
- jeans
- sweaters
- hats
- shoes
I also wanted some baskets for:
- hats
- belts
- swimwear
- other random items
We needed a lot of hanging space as well.
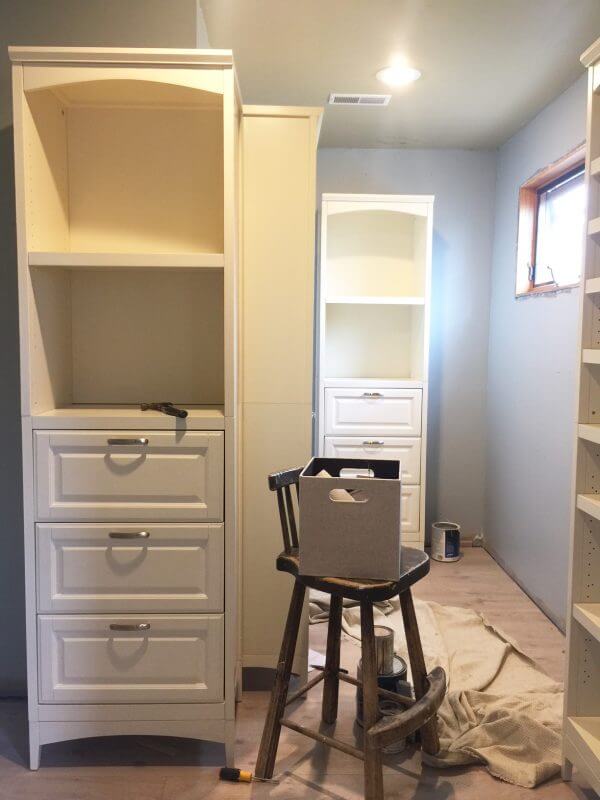
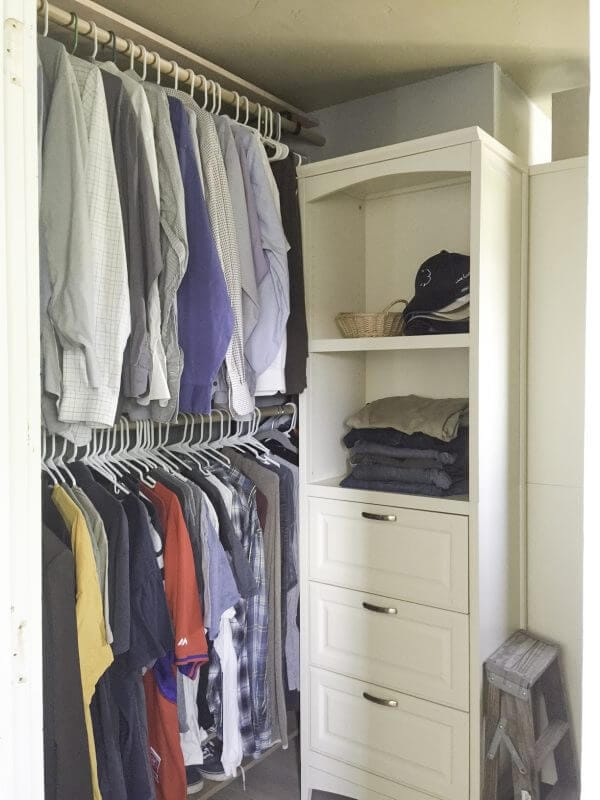
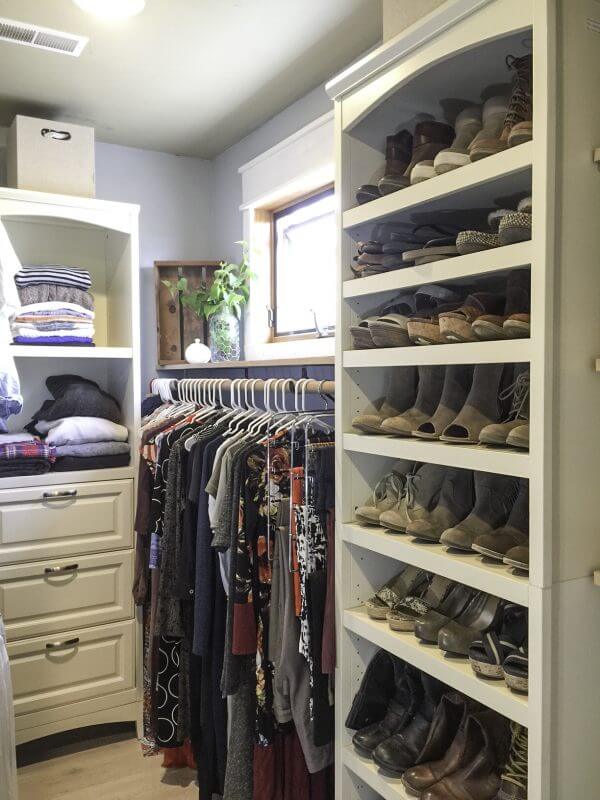
I picked this organization system from Lowes to start out with. These shelving systems were a great option. You can easily add drawers, shelves, and basket drawers easily.
We calculated how many shelves we would need and added the amount of drawers we needed.
I opted to have a few basket organizers as well to hold socks and other items. I like the look of them, and they break up the long line of drawers.
Once we knew how many shelves we needed, I drew out my closet, placing the shelving units along the walls, while trying to configure the hanging rods.
Before installing the closet units, we installed out Pergo Modern Oak Flooring, so that there was a nice seamless look from the master bedroom. Plus, keeping this clean is so much easier than carpet in my opinion. Do you know how many parts of our closet never saw the light of day before? How much dust there was in the corners in the carpet that was hidden by clothes? And yes, I vacuum…..a lot!
So okay, I love my flooring. Its the best. Be on the lookout for a post all about them!
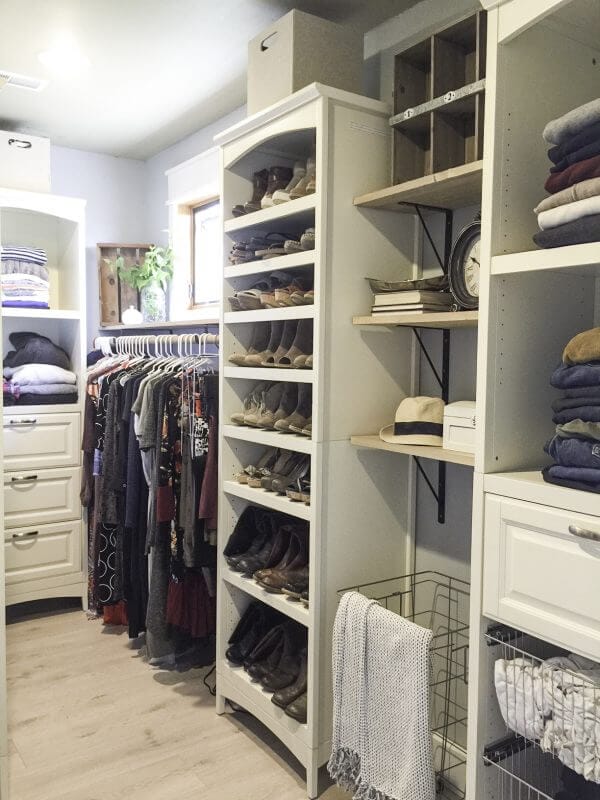
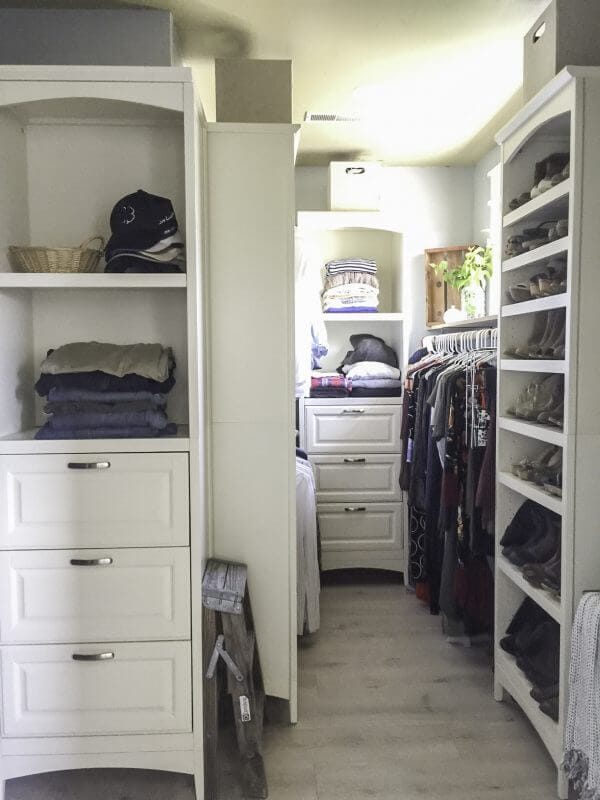
Ultimately, once we had all the closet shelving units built, we brought them into the closet and moved them around, re-configuring them until we had a layout that felt right, and was functional.
It took a little trial and error.
We ended up using:
- 5 Closet shelving towers
- 5 wooden dowel hanging rods ( I like the warmth of the wood)
- 10 hanging rod shelving brackets
- 2 sheets of 4ft by 8ft plywood (for shelves and shoe organizer)
- 6 black metal shelving brackets
- 3 shelves ( for shelving brackets)
- 8 drawers
- 4 wire drawers
- 4 square baskets (to hold hats, belts etc)
Organizing our closet took a lot of thought and planning because I wanted to get it right! By making lists of what you have in your closet, and then make a list of what you want and how much storage you will need, will help tremendously in creating and organized and functional closet.
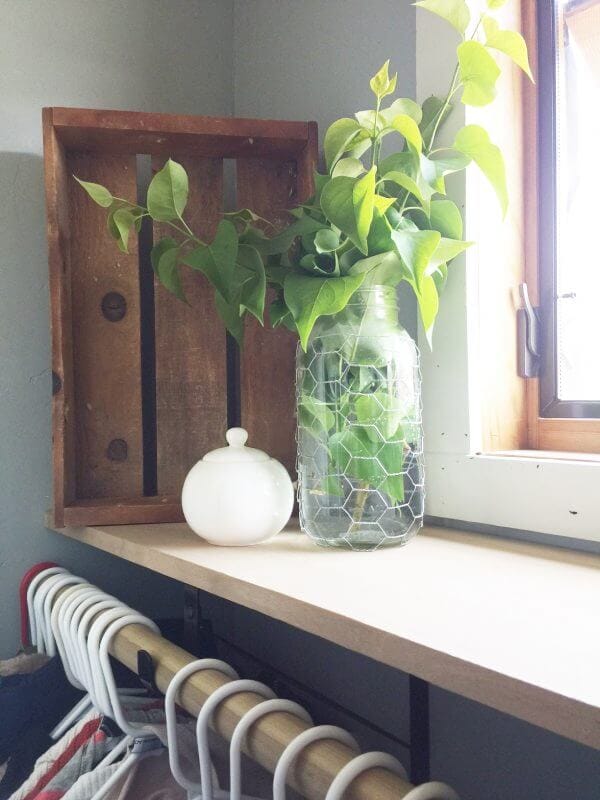
Once we had the closet shelving secured to the walls, we installed our hanging rods with the metal brackets. I then added 11 inch deep shelves to all the hanging rods, as an extra source of organization, as well as to finish out the look. We used 4ft by 8ft sheets of 3/4 inch plywood and cut them down to size on our tablesaw.
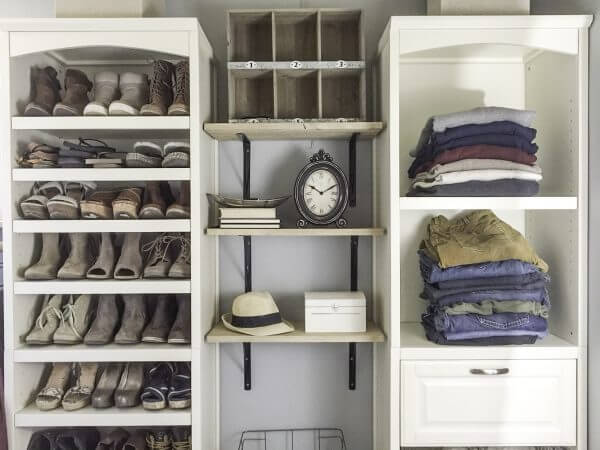
I then added some separate shelves between 2 of the closet shelving systems. This is a spot where I keep my Jewelry, my favorite hat, and other important items that we want to display or keep accessible. Below the shelves is the perfect space for a laundry hamper. I am hoping my husband will eventually figure out how to get the dirty clothes into the actual basket.
By staining all the wood shelves, including the plywood ones, and the wooden closet rods, there is a sense of continuity and the soft weathered wood finish was created by using my DIY weathered wood stain.
By using the white shelving, along with a soft blue on the walls, contrasted with black shelf brackets and raw wood accents, I feel like I was able to create an organized and stylish closet desgin, with a definite farmhouse style. It blends so well with the rest of my master bedroom, and I find myself spending time in here, just keeping it organized, clean and pretty. Because we all know, it has to be pretty.
And speaking of pretty, can we just take a moment to see how pretty my shoes look? After going through them all, I came to the realization that I have a problem….I buy waaaay too many tan shoes. But, hey! They are the perfect accessory for this closet design!
And that my friends is my newly organized farmhouse style closet! I hope you’ve enjoyed the tour!
Make sure you save this one for later!!
Now go on, and have a great day!!
If you want to see more farmhouse inspiration, check out these other room makeovers!
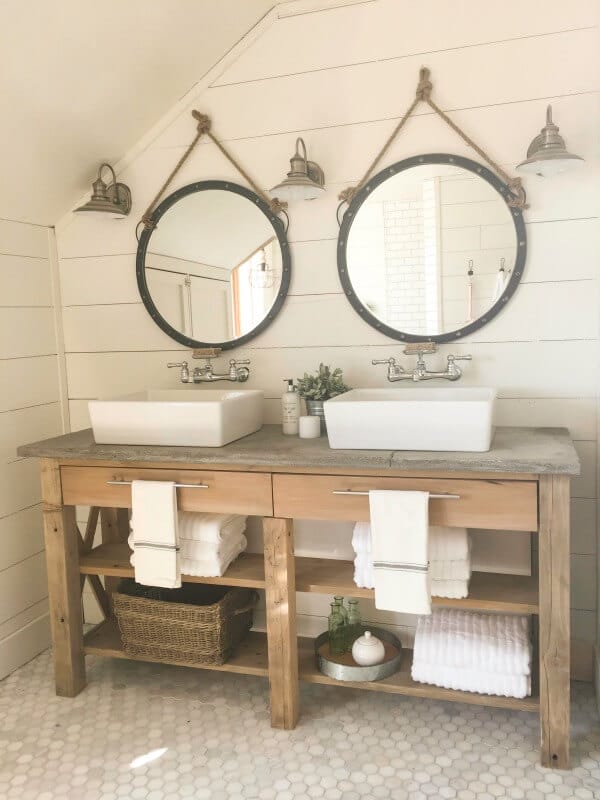
Farmhouse Master Bathroom | Final Reveal
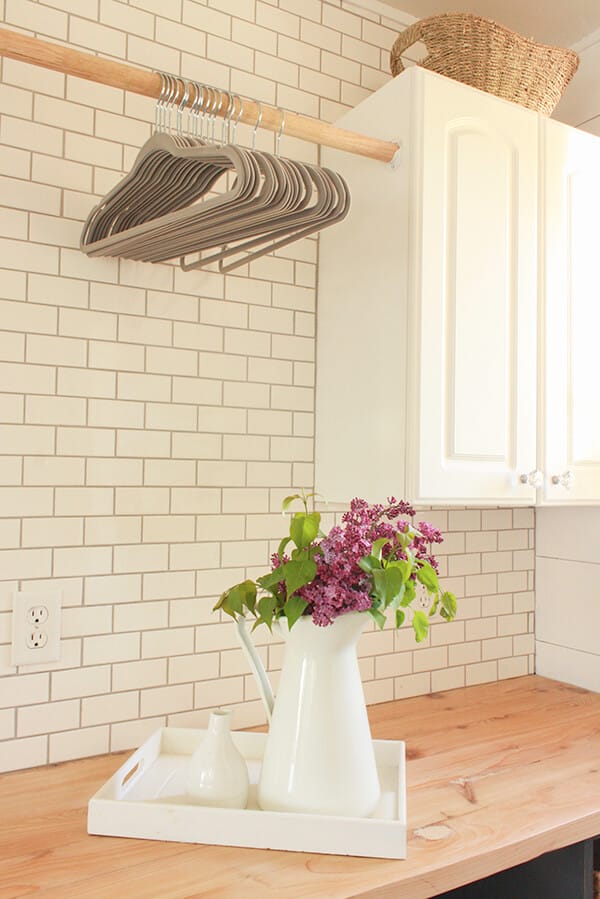
One Room Challenge- Farmhouse Laundry Room Reveal!
Check out these budget friendly room reveals as well!!
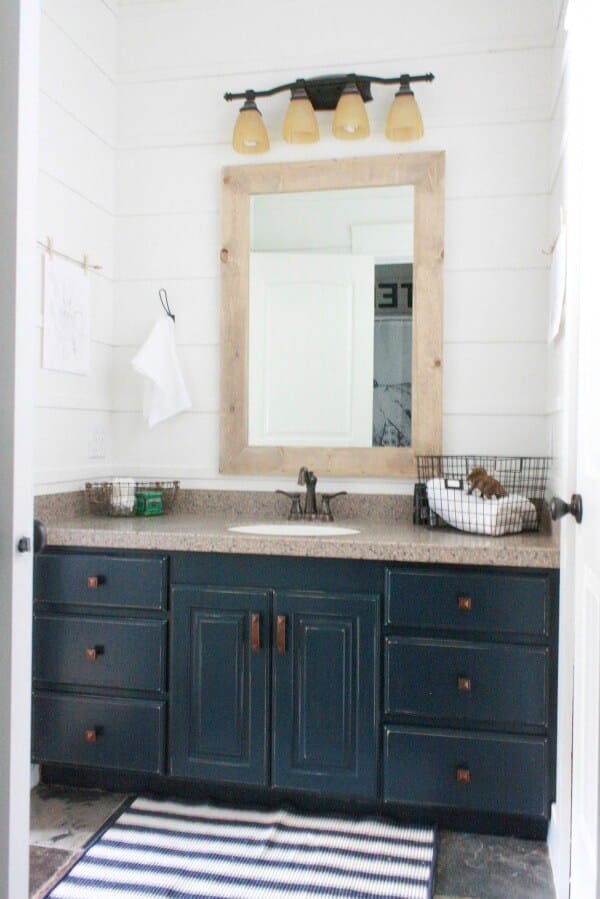
My Budget Friendly Bathroom Makeover | Reveal



Hi, Thank you for the tips! This is really informative and useful for our project.
Thanks for stopping by!
It looks beautiful and practical! As always, you did a great job.
Thank you John!
This is making me want to go home and redo my whole closet! So modern and clean looking =)
Thank you!
Wow that looks great my closet is the next project I am about to tackle. Do you have an estimated cost for it that you spent? Thanks keep up the great work!
Amazing. I always wanted, that I will have an organized farmhouse for me and, I was searching for this only, thank you so much for writing about this.
Your projects turned out gorgeous!!!! Every one I looked at!
Thank you!
What are the measurements of your closet? We are starting to work on ours and I really love the way yours is set up.