DIY Faux Fireplace and Mantel | Complete Tutorial
Well this has been a long time coming. When we remodeled our master bedroom for the One Room Challenge, I was bound and determined I was going to include a DIY faux fireplace and mantel. Now, if we had all the money in the world, we would have build a real fireplace with real brick, a real wood burning stove, and all the farmhouse goodness we could muster.
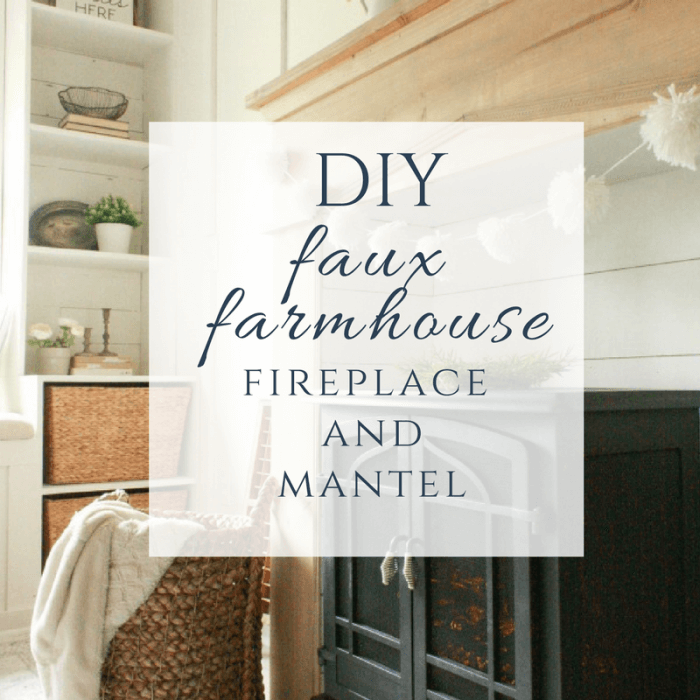
Alas, we are not made of money, actually, our money tree, that seemed to be doing okay the last few years, shriveled up and died! So, since all those elaborate steps were out of the question, I needed to come up with some other idea for how to create this cozy space in our bedroom. Not only did I want it to look cozy, I wanted it to be functional, with a freestanding fireplace that actually let off heat. You see we have very frigid winters, and I am a hater of forced heat. I cannot stand having the furnace on.
We currently try to heat our home with a wood burning stove on our first level, and a pellet stove on our second level. It had worked out pretty great, especially since we like our bedrooms on the chilly side. But, sometimes its just a bit too chilly, and it seems ridiculous to turn on the furnace just to take the edge off. You see, our room seems to stay the coldest, so having something that could produce some heat, while not kicking on the entire furnace seemed to make sense.
Now lets be real for a minute, I also wanted a fireplace in my room, because well, I wanted one. I have never been one to give up on something I want. I will find a way, no matter how difficult or how many times my husband cusses my name.
This may or may not have been one of those instances.
And you should be thanking me! This is something that anyone……ANYONE can do in their bedroom, living room, heck you could even do it in your dining room. Umm excuse me while I go jot that note down for future reference. Fireplace in the dining room…I can hear my husband cussing me already:)
Inspiration for my DIY fireplace and faux mantel
This DIY faux fireplace and mantel was actually really easy to put together…well, it would have been even more easy if I could have picked a mantel up off Amazon, but I like to be difficult. Well, I call it being original.
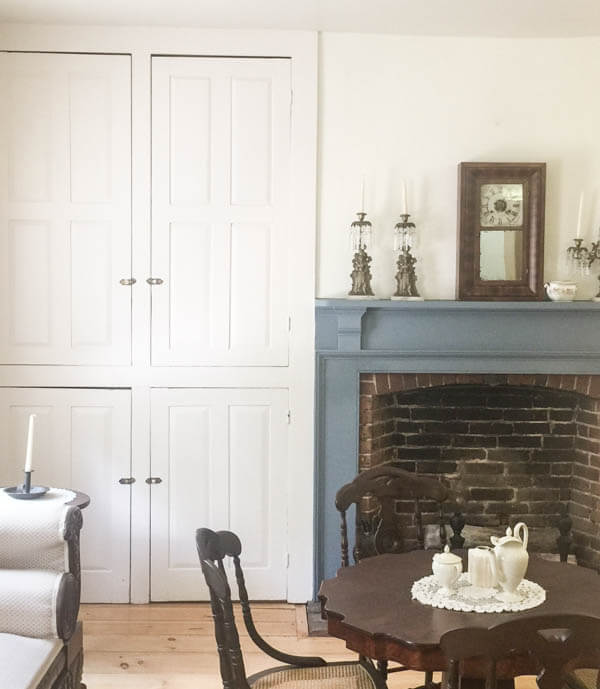
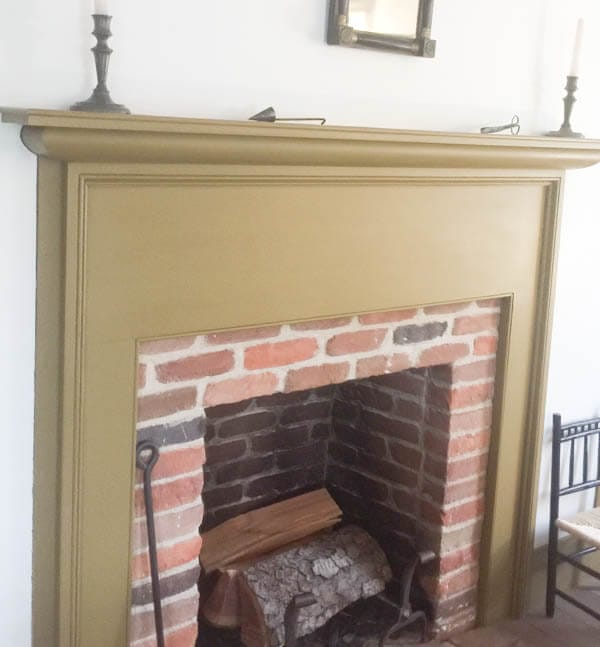
When I began thinking about what I wanted this farmhouse fireplace to look like, I remembered a few pics I had taken on a recent trip. I am inspired by the old primitive farmhouse style brick fireplace options. You know the kind, the ones with a large mantel, and an even larger fireplace. The ones you could practically walk inside. Since there was no chance of doing anything like that I used them as my inspiration. I wanted the old fireplace with an electric fireplace insert. The best of both worlds,
Here are a few pictures from trip we recently went on. These were taken in some very very old historic homes and my eyes were all heart eyes.
The incredible attention to detail, and the simple design is what I love so much about them. I also love imagining those families down through history using this fireplace to cook their meals, and heat their homes.
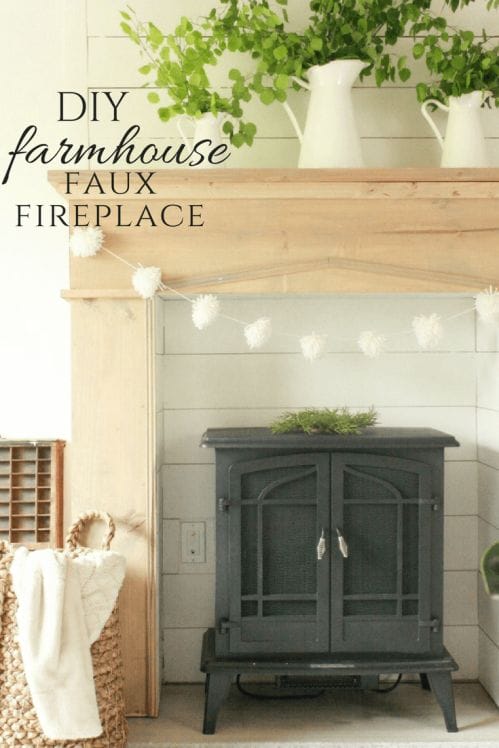
For my own fireplace and mantel, I wanted to create a look where the mantel was substantial and the freestanding electric stove sat inside the fireplace, similar to a wood burning stove(without all the work of using wood). I did not want it to stick out. So we made sure to create a deep fireplace and mantel, one that we could hang a Christmas stocking or two on. If you don’t want this, you could easily build or purchase a pre-made mantel for a different look.
How to build a DIY faux fireplace and mantel
To start building a faux fireplace and mantel, you first must assess the space that you want to use to install it. I chose a blank wall in my bedroom. You want to look for a space that is central to the room, where it can become the focal point, because you certainly want it to be seen and to stand out. Mine is visible from my bedroom door and commands the space. That is what I wanted.
You also should consider having an electrical outlet and make sure the wall is a nice flat surface. With so many different options for building a fake fireplace in your living space, consider all scenarios prior to construction.
Decide how big you want your DIY faux fireplace surround:
We had plenty of space for our entire fireplace, so take that into consideration when you are deciding to build something like this. We also needed to take into consideration the size of our freestanding stove. So we wanted it to be to scale. Not too large, and not too small.
You also want to consider a power source. Our freestanding stove needed to be plugged in, so we made sure that the space we were installing had an outlet. If the space you want to install one does not have power, you can easily have an outlet moved or installed.
Now its time to talk about what we used for this project:
This post contains affiliate links for your convenience
Here is a list of supplies and tools we used to build our farmhouse style fireplace and mantel:
- 1 by 12 inch planks of wood- we used 3 10 ft lengths pine boards from The Home Depot
- compound miter saw
- table saw
- 1 by 1 inch square trim
- optional decorative trim
- shiplap for the inside of the fireplace
- brad nailer
- air compressor
- sander
- DIY weathered wood stain
- freestanding fireplace
We had to decide the height, width, and length of the fireplace.
Our own faux fireplace dimensions:
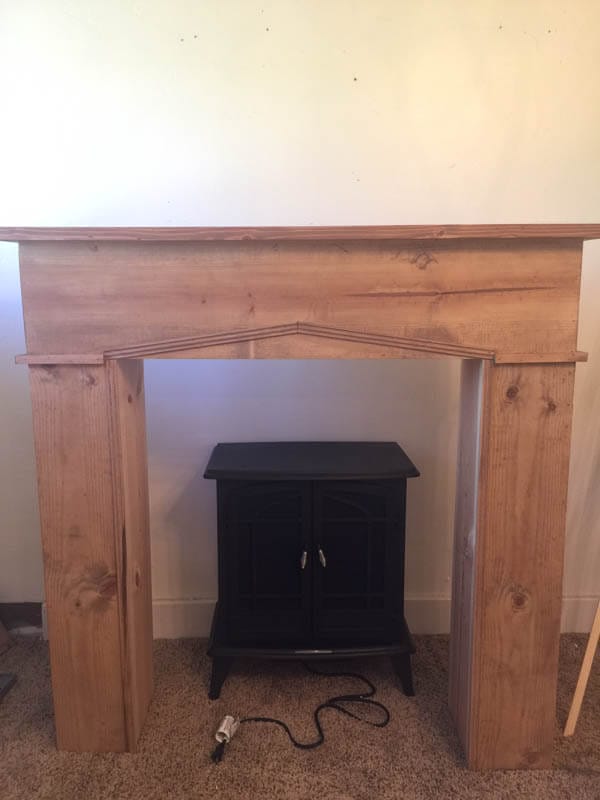
The height of the fireplace came out to 54 inches with all the trim, etc.
The width came to 50 inches long
The depth was 11 inches deep
So this is how we broke it down.
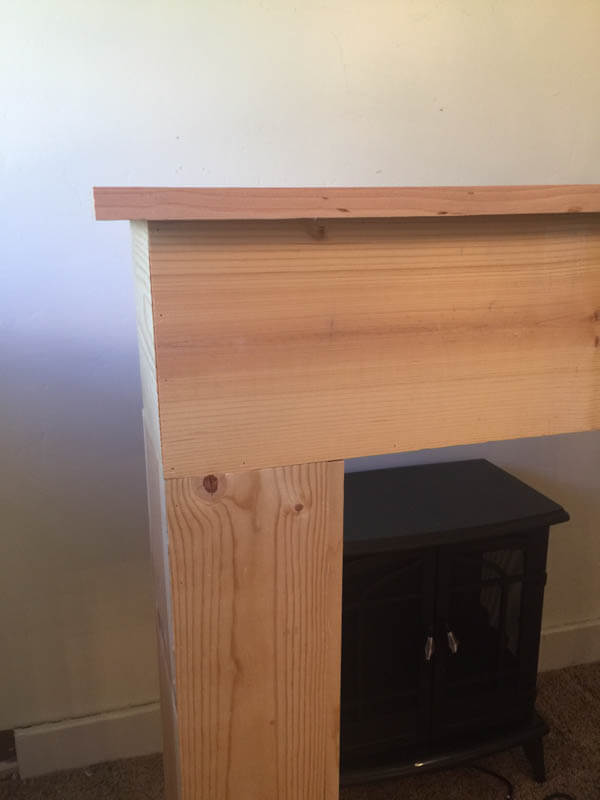
Our faux fireplace mantel was build into three pieces: the top, and the two sides.
First we build the two sides:
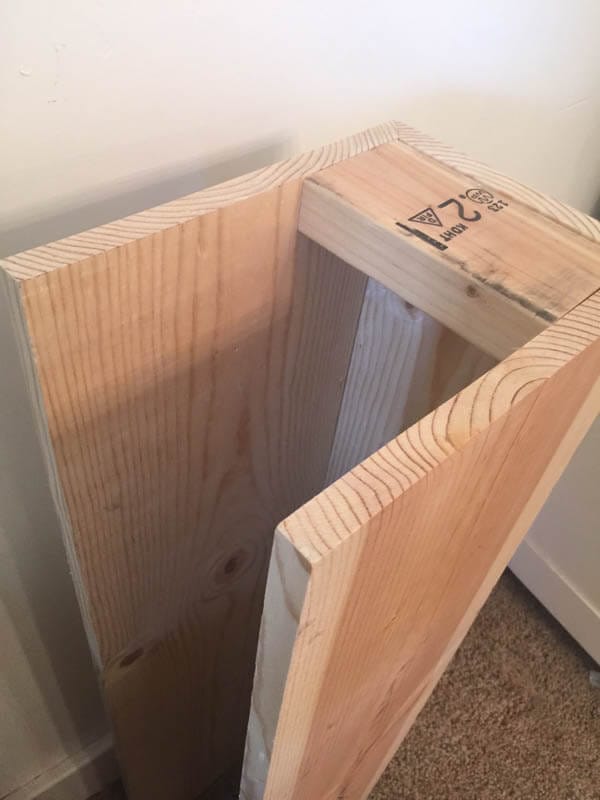
We started by cutting 4 pieces 11 inches deep and 42 inches long, with one of the long sides mitered at a 45 degree angle.
We then cut 2 pieces 8 inches deep, and 42 inches long with both long sides mitered at 45 degrees.
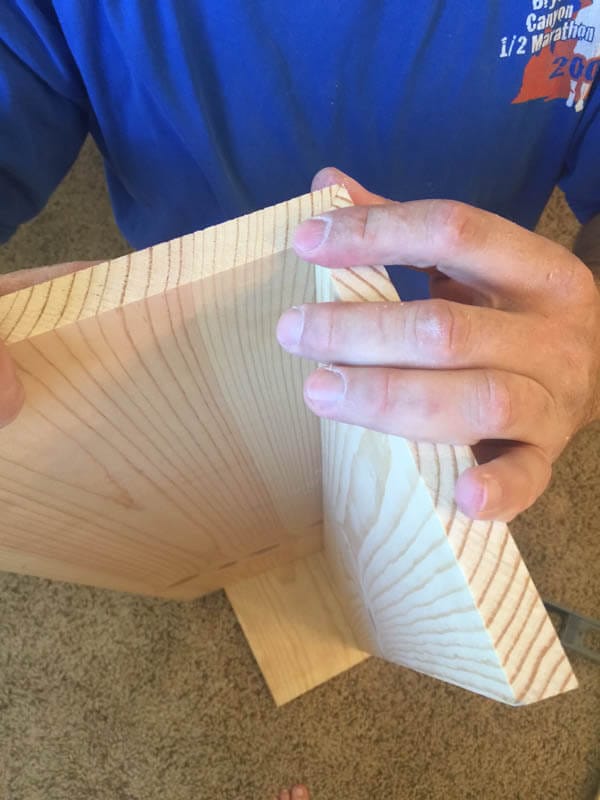
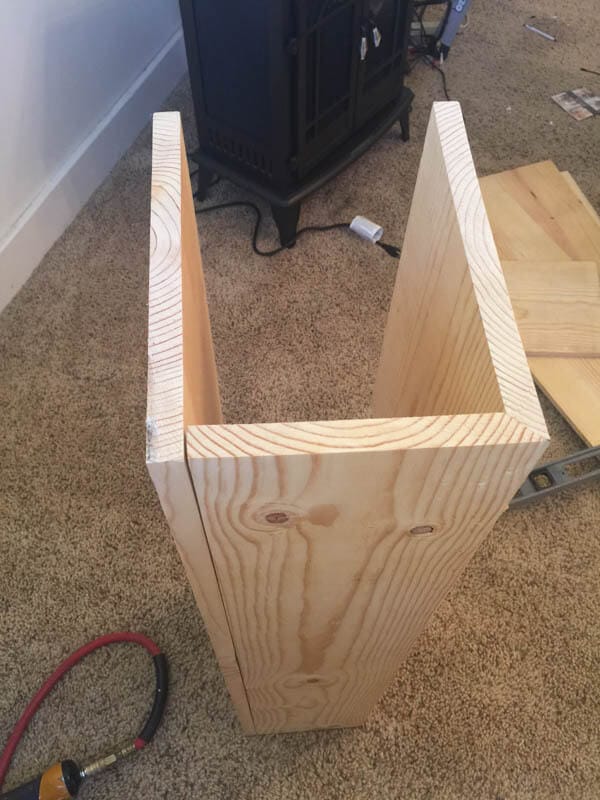
Now, you will take two of the 11 inch deep pieces and one of the 8 inch pieces and you will make a U shape with them. Use wood glue as well as nails to secure these together.
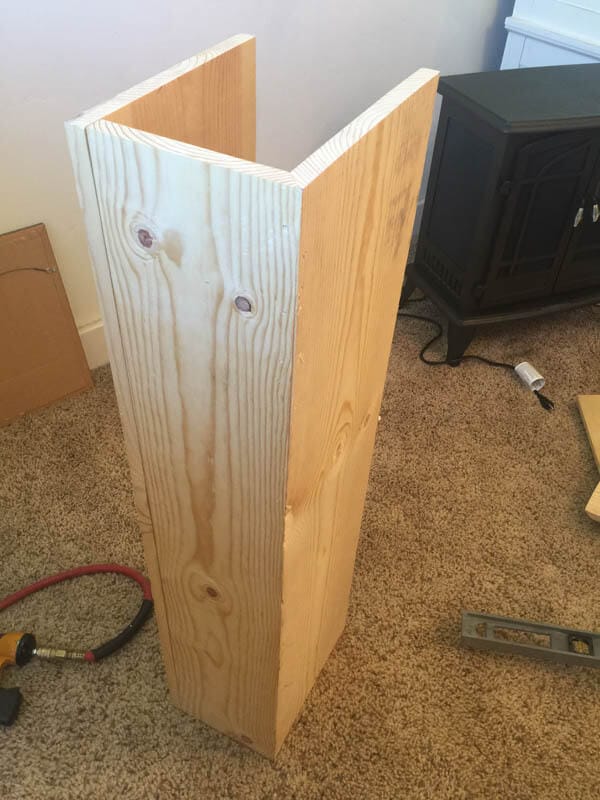
Now do the same with the other remaining 3 pieces. These are the starts to the vertical pieces of the fireplace.
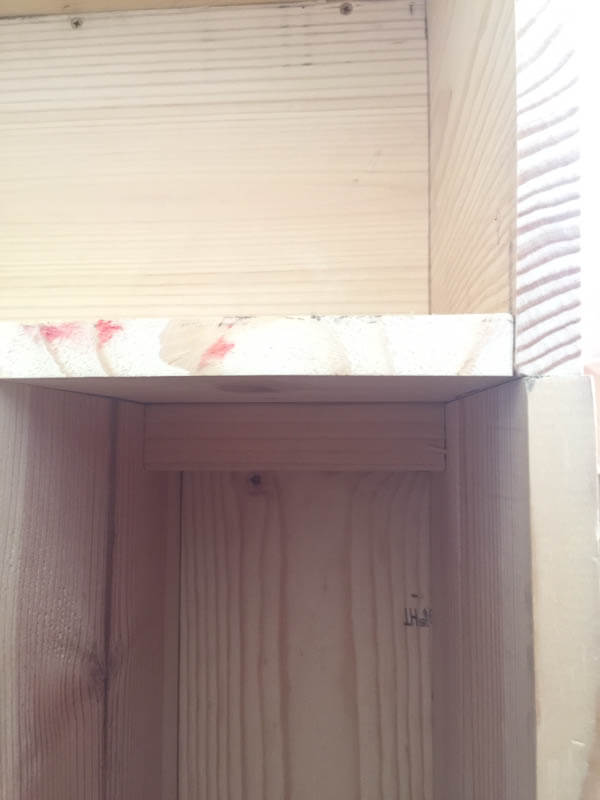
Once they were put together we used a small piece of a 2 by 4 stud, and nailed that into the inside of the vertical pieces at the very top.(this is what you will use to secure the top to the bottom.)
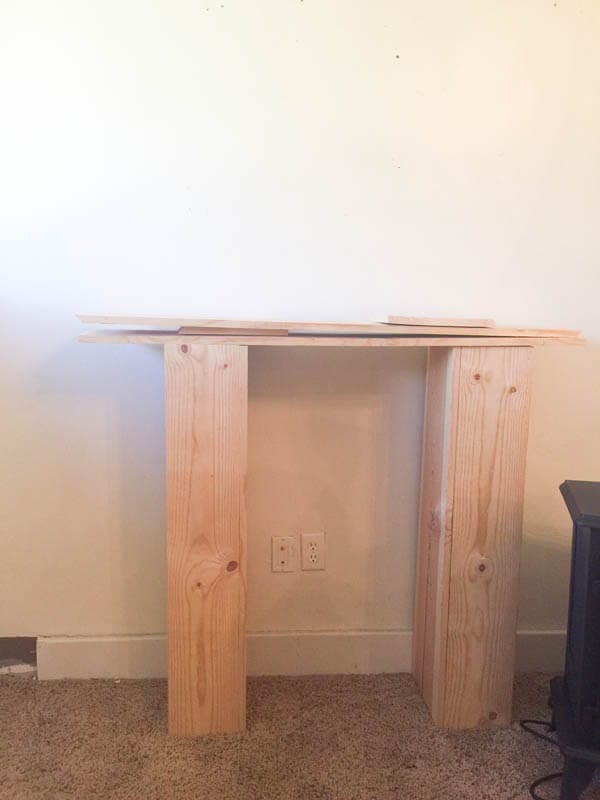
We sat these up against the wall, and measured how far apart we wanted them. The full length being 50 inches.
Now build the top
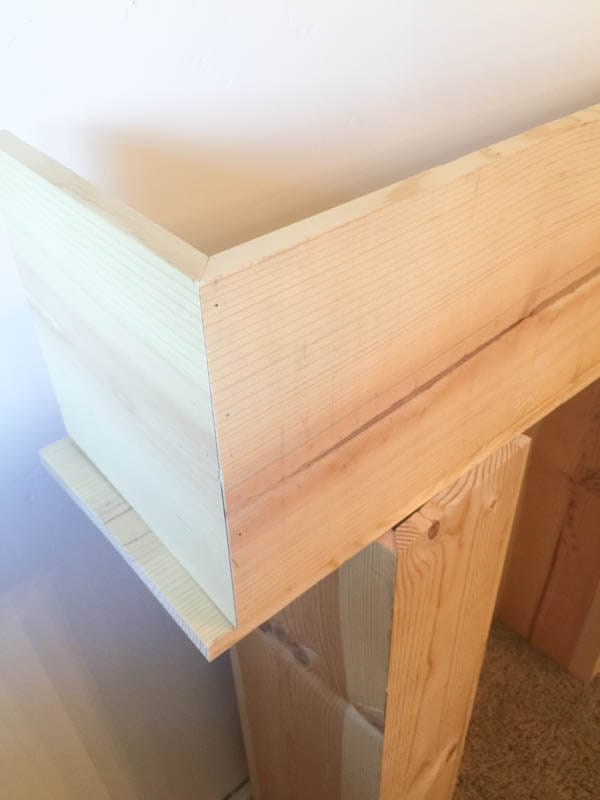
We then cut one piece at 10 inches deep, and 50 inches long with the short ends mitered at a 45 degree angle.
Then, we cut two pieces at 10 inches deep and 11 inches long. We mitered one end on both pieces where it measured 10 inches long.
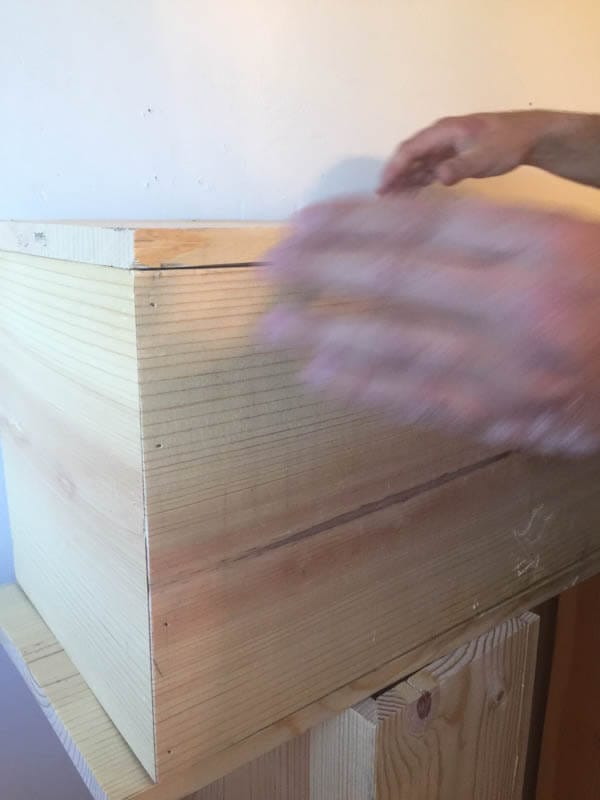
Next we nailed the mitered pieces together. This will become the front and sides of the fireplace top/mantel.
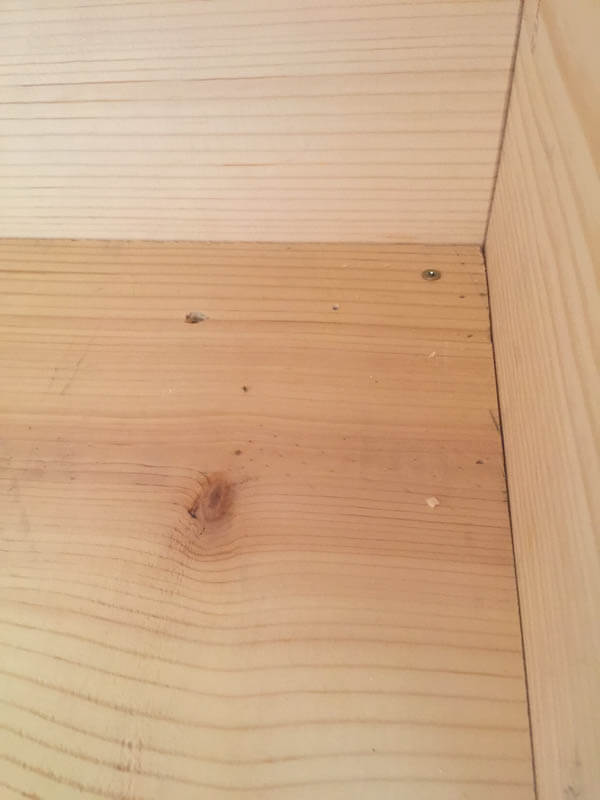
After that, we cut 2 pieces 1 inch smaller on all sides, so that it could fit snuggly into the top and bottom of the top/mantel/
We nailed these from the front.
So as you can see we are essentially building a fireplace “shell”. Since we didn’t need it to be solid, since it was more decorative that structural.
Connect the pieces of the faux fireplace and mantel
We sat the top piece onto the two vertical pieces and screwed down through the inside of the top piece into the vertical pieces below.
Now that the main shape is built we added a 1 1/2 inch thick by 12 inch deep by 52 inches long. This will be the mantel. It will give an inch overlap on the front and the sides.
We also added an angled piece under the mantel to give it a more substantial look.
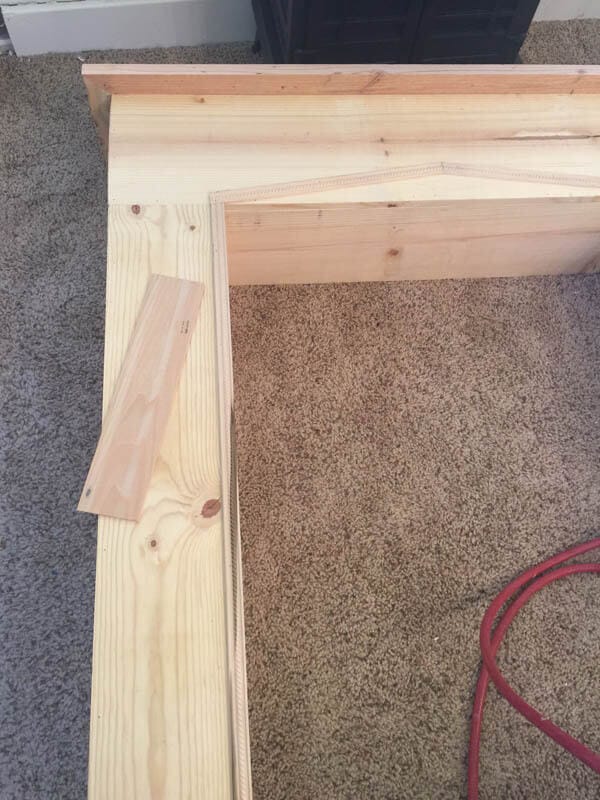
We also added our 1 by 1 inch piece of trim to the spot where the top connects with the vertical pieces.
Now its starting to take shape!
The last few things we did was add trim and shiplap.
Secure the farmhouse style fireplace and mantel against the wall
We installed a few small blocks of 2 by 4 to the wall, where we wanted to secure the fireplace. We then placed the fireplace over the blocks and nailed into them. This will keep the fireplace securely connected to the wall.
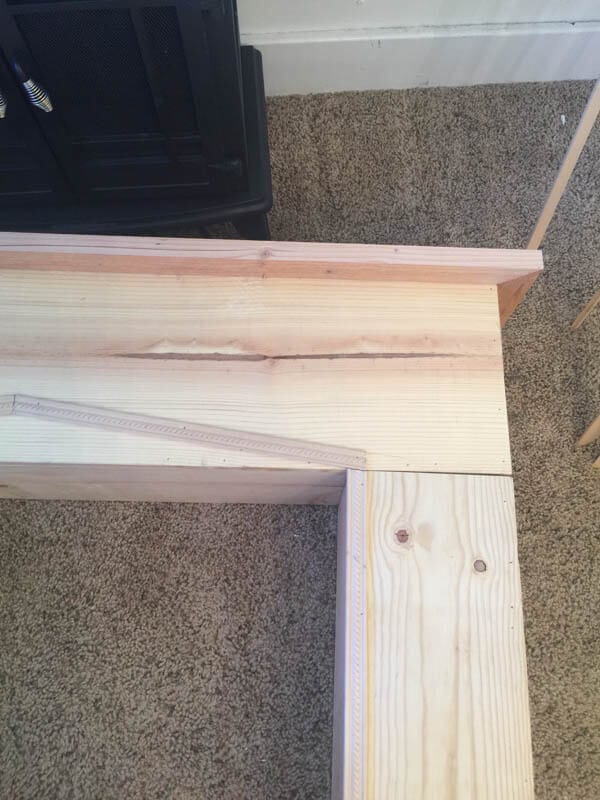
Now its time for shiplap. We ran trim along the inside edges on both sides of the fireplace. We left a 1/4 inch overlap so that the shiplap would fit snug inside it.
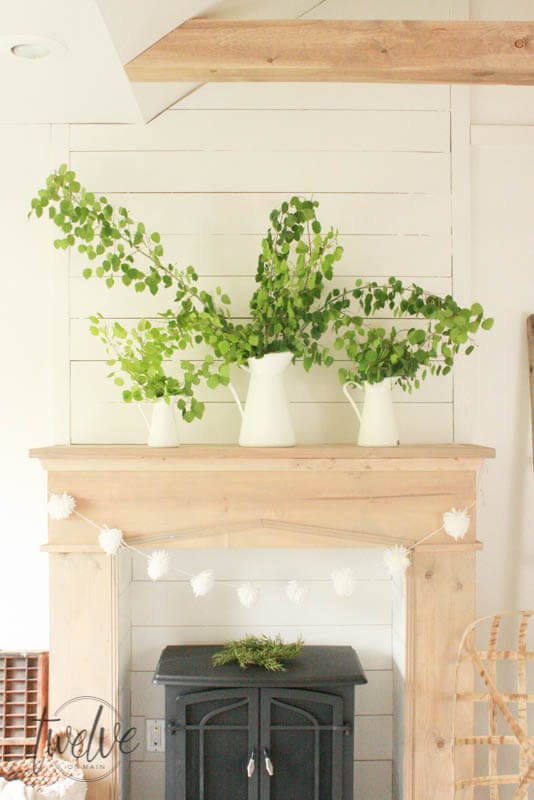
Next we decided to install the trim at an angle on the top, so that it came to a point. It broke up all the square lines.
Last thing we did was install the shiplap, which we cut at 5 inches wide. We used 1/4 inch plywood for the shiplap, hence the 1/4 inch overlap with the trim that I stated earlier.
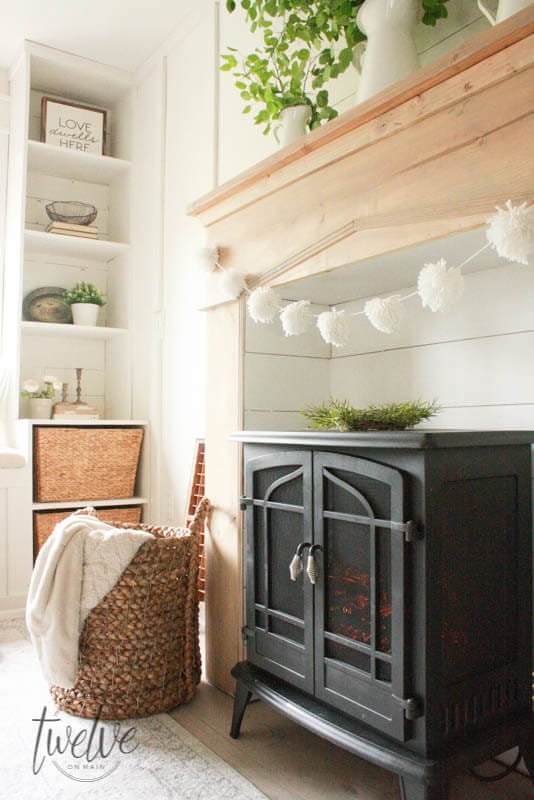
I painted the shiplap white, so that the freestanding fireplace would stand out.
Other options for this space could be:
Faux brick
Faux rock or
wood slices
I went through all these options before landing on shiplap.
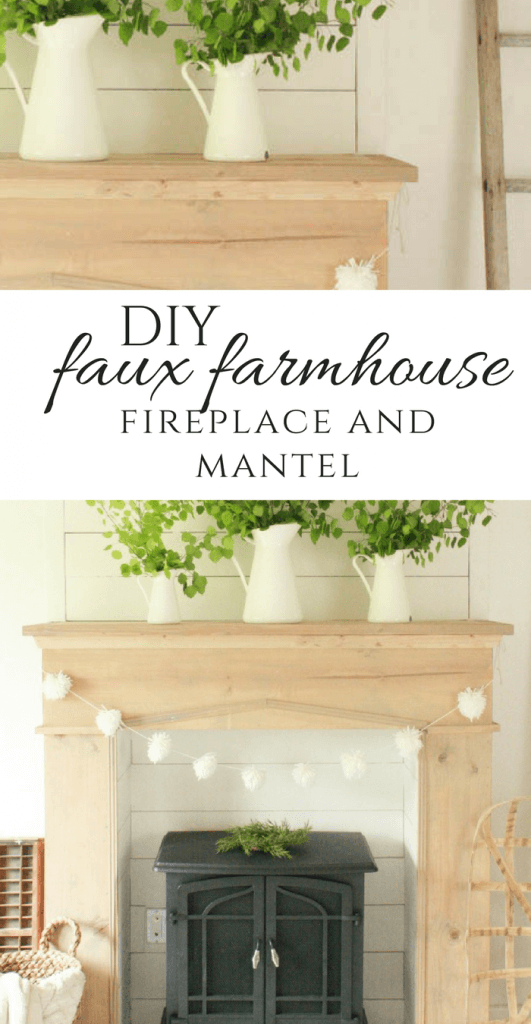
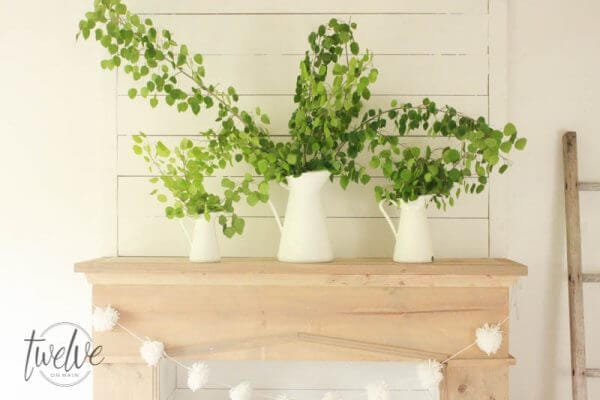
I finished off the mantel by staining it with my DIY weathered wood stain.
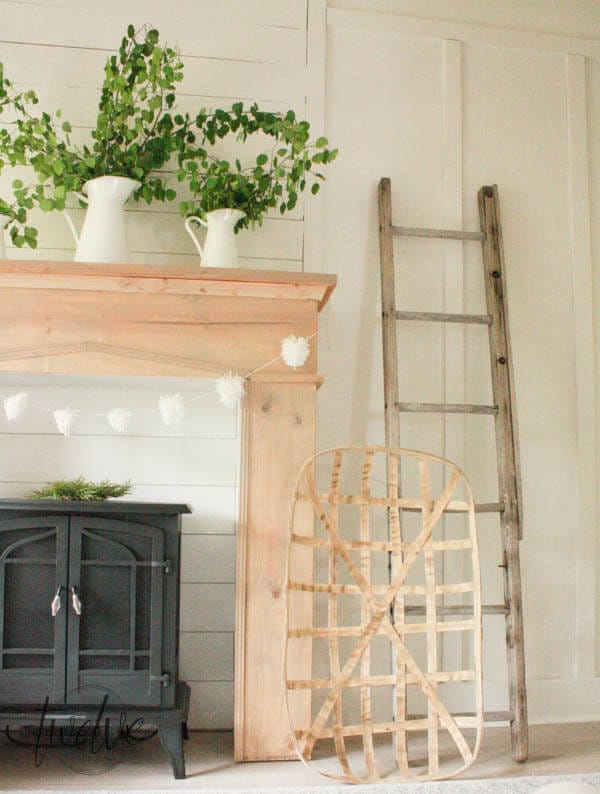
We also added shiplap above the fireplace that goes all the way up to the ceiling. This right here is my brag moment. I installed it all! I am horrible at cutting angles, and I never seem to get them right, but this right here, I accomplished without making any mistakes!
Creating and installing a DIY faux fireplace and mantel for your home is a great way to add character, warmth(literally and figuratively) and it can give your space a great focal point, which is a really important element in any design.
The freestanding stove was inexpensive, and adds another source of heat in our home. I can’t wait until the fall weather starts creeping up and we can kick this baby on.
I have always wanted a fireplace in my room, and for a small cost, we were able to accomplish this.
This is a great thing to add to your bedroom, a family room, or even a dining room. The beauty of a fireplace never goes unnoticed. They give that cozy look and and is an easy way to get your dream fireplace.
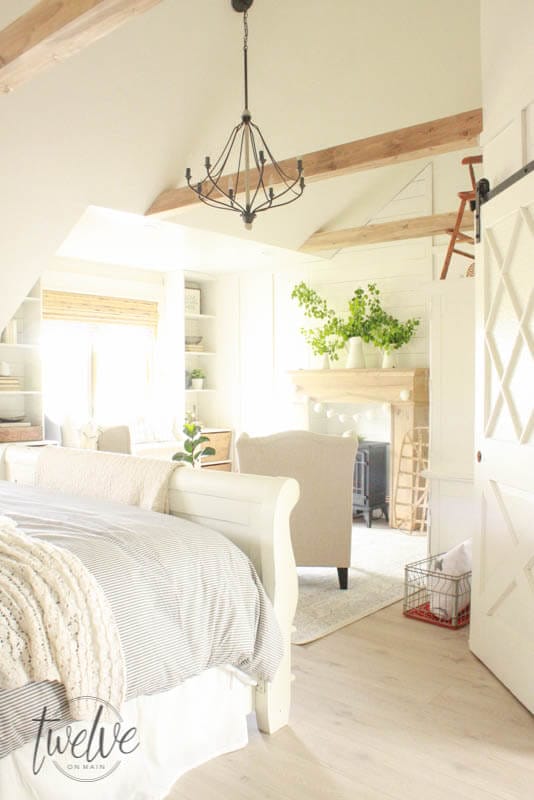
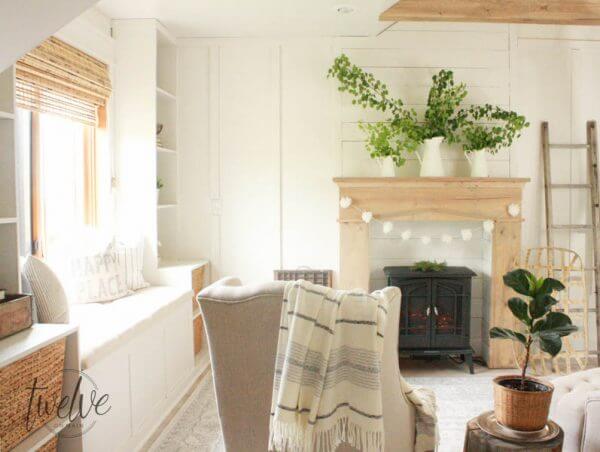
This is one of my favorite features in my master bedroom.
Right now it the perfect time to think about doing this since fall and winter are heading our way. What a better way to be ready that to have a cozy space to curl up, read a good book or watch a movie. Did I mention that my freestanding electric fireplace heats up to 1000 square feet? Well, how awesome is that for an extra heat source? I think it will be a great addition to our second floor, which always stays a bit chilly. I love the cozy feel the fireplace gives off.
Whats your favorite element of my faux fireplace and mantel? I have rounded up some of mine, and if you are looking to shop for some of them, they are all provided with links. Simply click on the image to be taken directly to it.
We have updated our fake fireplace over the past couple of years! We added a fake brick paneling
I and painted the mantel black! It gave it a new look to our fireplace mantle at hardly any extra cost. Click here to see the new updated fireplace and mantel.
If you like this post, I would love it if you PIN IT for later!
Make sure you check out these other projects from my master bedroom remodel:
Tips to Create an Organized Farmhouse Style Closet
Install Pergo Laminate Flooring for A Farmhouse Look
DIY Ladder Nightstand | Trash to Treasure
How about more great fireplace and mantel inspiration ideas? Check them out below:
Over 30 Amazing Fireplace Makeover Ideas
How to Paint a Stone Fireplace with a Paint Sprayer
Gorgeous Office Bookshelves with a Built In Electric Fireplace
13 Stunning DIY Fake Fireplace Ideas to Make Now!
Stone Fireplace Surround Gets a Farmhouse Facelift



If I was the judge, I would have declared you the winner straight away, your bedroom looks like coming straight from the paradise and how effective our modern electric heaters may be, they can not beat the glamour and style that a proper fireplace adds to a room
Thanks Ron! Such sweet words!
I just love your fireplace, looks so so pretty. I just love your master bedroom, it looks just so cozy.
Judy
Thanks Judy!
What a darling fireplace! You are so creative!
Nancy
wildoakdesigns.blogspot.com
Thanks Nancy!
It turned out beautiful, Sara! This is one of the best, and probably the best, faux fireplace I’ve ever seen. Visiting from Best Friday Features.
Thank you Erin!
This looks great! How much clearance do you need between the heater and the top of the box? Also, did you put anything special on the floor inside it? Thanks!
We used a clearance of about 2 feet. The heater said 3 feet, but we felt pretty comfortable with how we did it, since it doesnt come into contact with anything. We have ran it many times for a long time and it does not get hot at all! I would recommend following the owners manual however, and not mine. Just to be on the safe side.
This looks GREAT!!! We live in Florida, I’ve always wanted a faux fireplace in our living room…but probably won’t happen. Still, I read through your whole post. Your directions are so well written and understandable! I am going to go back & look later at some of your other posts!
Thank you so much Cherry! You made my day! And good luck on that fireplace:)
Hey Sara! I love this so much, I featured it today on my round-up of farmhouse style DIY projects at http://www.PopItUpGirl.com
Come take a look!
Yay! Thanks so much!
Love it!!
Thank you!
I want one!!!!! And I think we have almost exactly the same electric heater too. Love what you did Sara and most houses in South Africa don’t have a proper fireplace since it’s so hot most of the year but I’ve always wanted one.
Thank you Michelle! I love our fireplace. We have used it so much this winter! I cant imagine it being hot most of the year!
I love how this turned out!!! You have inspired me to make one for our fire in our dining room!
Thank you so much for sharing your awesome project with us over at Waste Not Wednesday!
OMG…this is amazing. You did a great job and your step by step instructions were easy to follow. Thanks for sharing this with us at the Waste Not Wednesday link party. Can’t wait to see what you are up to this week.
I love your mantel/fireplace! I would like more information on the heater you purchased. I love love love the mantel!
Thank you! I got my freestanding fireplace from Lowes. I have linked to a similar one in my post.
It appears that you installed crown moulding just underneath the mantel. This step was not covered in the tutorial. Is it indeed crown moulding, or do the photos simply distort the image so that it appears that way? It looks amazing, by the way!
We added a small piece of angled trim to connect the top to the front of the fireplace. Thank you!
You did a GREAT job with your faux fireplace!
We have 2 faux fireplaces one in the eat in kitchen table area – instead of a hutch we have a mantle to store/show things like candlesticks, soup tureen, etc.
The other faux fireplace is in a bedroom that serves as an office/den/man-cave/guestroom with a flat-screen TV set over it.
We saved a few bucks on lumber found 2 1950s Faux Fireplaces on Craigslist CHEAP!
Back in the day the 1950s Faux Fireplaces had been VERY popular they have a cut out in back to accommodate the baseboard you can find them on craigslist, Salvation Army, thrift stores, etc,
We jazzed up each fireplace boosted one up higher off the floor created a raised hearth about 15 inches off the floor built a wall around the wood base/hearth with bricks painted same black as the wood slab hearth – y’all could use a large slate or 2 smaller slates, etc. instead of wood for the hearth look around the garden center at Home Depot for ideas,
We bought a cool space heater from Wayfair looks like burring logs for the fireplace in the man-cave NEVER use the heat option to keep the electric bill lower the lit-up logs with NO costly heater look pretty.
The dinning room fireplace we used the original set of logs that came with the 1950s Faux Fireplace with 2 red light bulbs.
We seek one more 1950s Faux Fireplace for our sons room we plan a coastal nautical theme the mantle will be a place for him to show his awards, trophy’s, etc. eventually we will spot one CHEAP on craigslist.
We saved money and labor using the old 1950s Faux Fireplaces NO costly lumber, etc.
Nothing life a fireplace to add charm to any home a real wood burning fireplace or a gas fireplace of a faux fireplace y’all must get a fireplace!
Kevin