
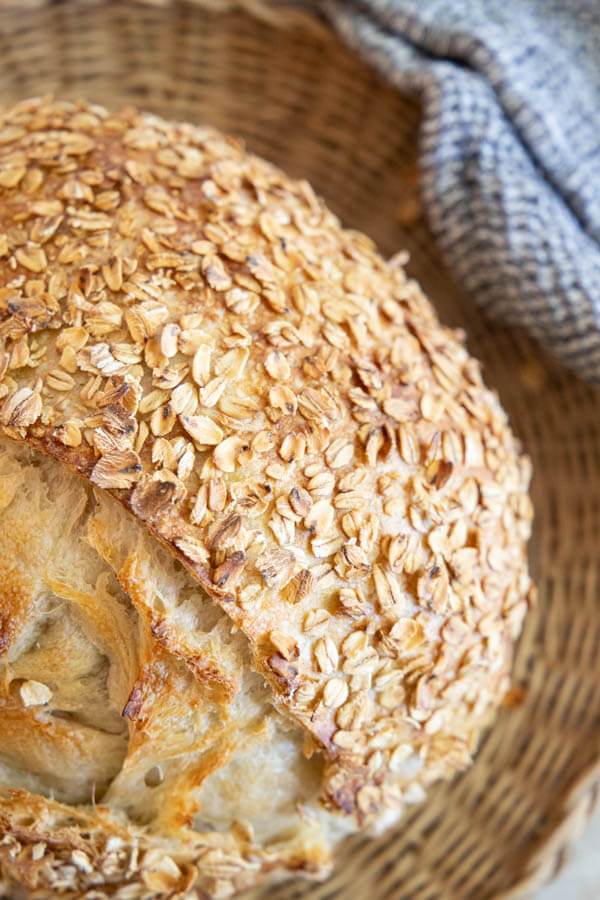
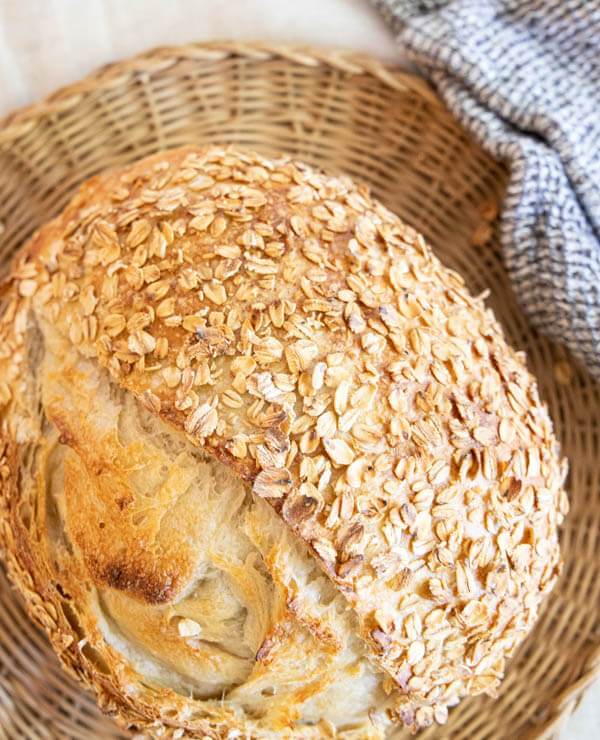
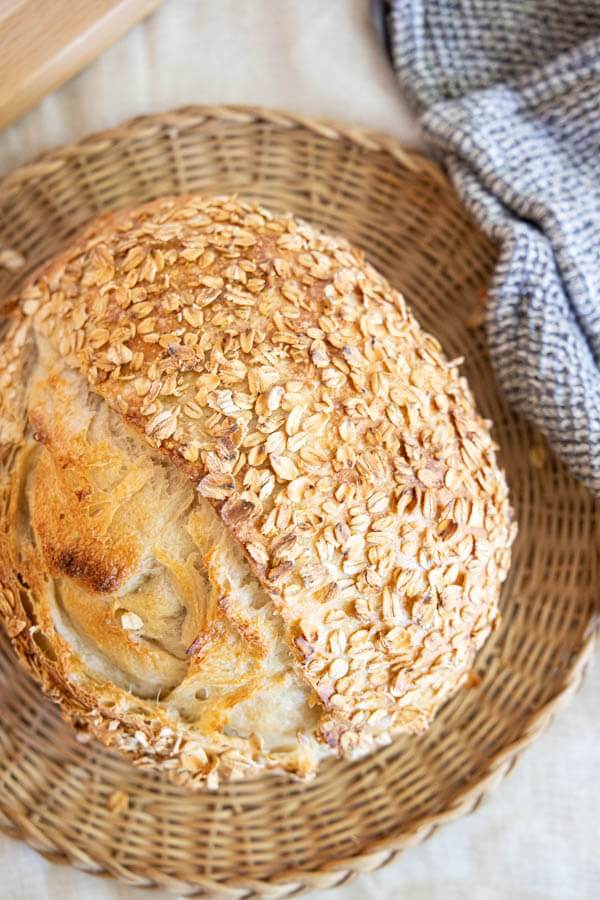
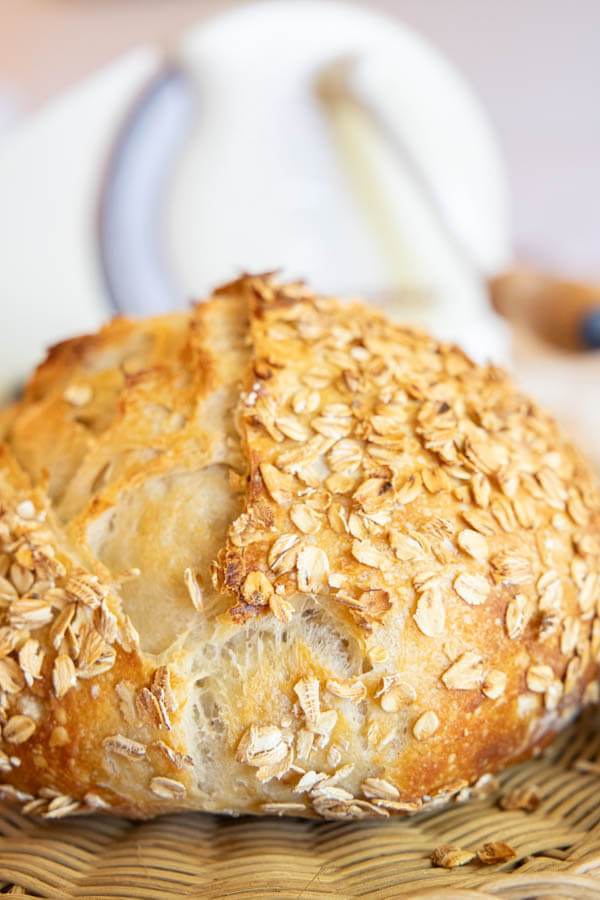
Amazing Honey Oat Sourdough Bread

The great thing about sourdough bread is the freedom to experiment and create new and amazing recipes using base sourdough recipes that I love. Today I want to share my honey oat sourdough bread. This is a great take on a standard sourdough boule, and we love it here!
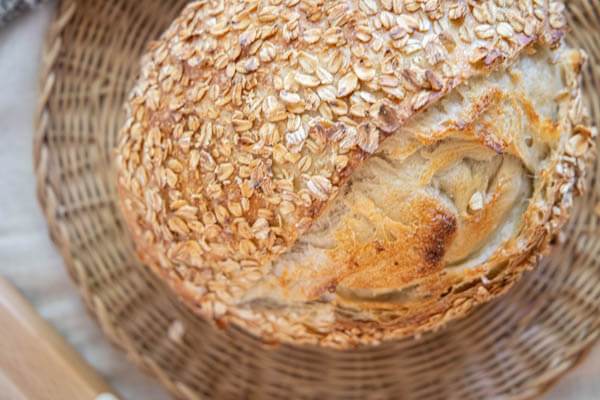
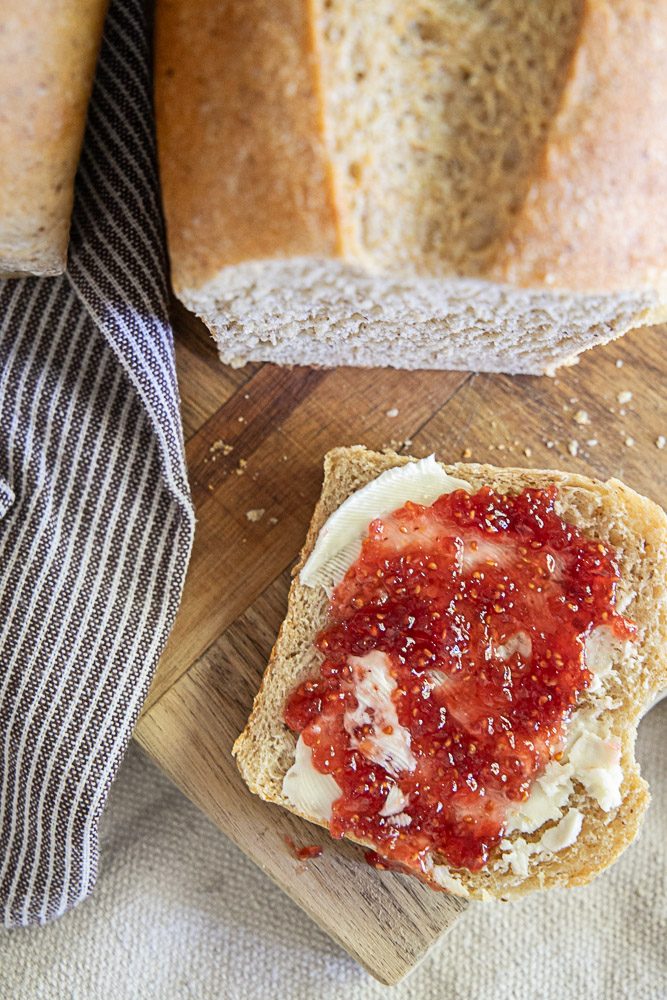
Its always fun to try new variations of bread. They can allow you to create some amazing things. This honey oat sourdough bread is slightly sweeter than my standard sourdough bread because of the use of the honey and with oats mixed gently throughout the dough as well as a nice crust on top, they are a great addition to this bread. You can use it for sandwiches, toast, or even french toast. The options are endless.
TOOLS YOU’LL NEED

The process of making this bread is very similar to making my easy beginner sourdough bread in the dutch oven, with just a few changes. You will notice them in the recipe.
NOTE: You can use whole-wheat flour for this recipe, but it will result in a heavier, more dense loaf, which is totally ok~
Honey Oat Sourdough Bread
Ingredients
- 625 grams bread flour about 4 cups
- 100 grams active sourdough starter about 1 cup
- 10 grams salt about 1 3/4 teaspoon
- 450 gram water about 1 1/2 cup
- 30 g honey
- 50 g rolled oats extra for topping
Instructions
- To begin this bread, you need to set aside about 1 hour at least to take the time to knead and let the dough rest. The rest of the time will be more passive time.
- This recipe only has a small amount of active effort. You need to let the dough sit and take its time. You also need to plan time for this bread. It needs at least 12 hours in the fridge and at the least 3 on the counter.
- What I like to do is to start this dough in the afternoon around 1. I can get all the kneading in by 1:30 and then it needs some rest time. After that it will be sitting in the fridge overnight.
- Take your sourdough start, water and flour and put them in a large mixing bowl. Use a wooden spoon or dough spoon to mix the ingredients together.
- It will begin to be too sticky and dense to manage with a spoon. Let this sit for one hour. This is the autolyse stage. Once the hour has passed you will add the salt, honey and oats and let it sit another 30 minutes.
- Now you will do your first stretch and fold or coil fold. There are two different options. You can stretch and fold which means you pull the dough up from one corner and stretch it and then fold it over the top fo the dough, rotate and do the same action 4 times for the dough.Coil fold is where you lift the dough from underneath with two hands, pulling the dough up and then folding it down in half on itself as you let it back down. I You then rotate the bowl and repeat this 3 more times rotating the bowl each time.
- Let the dough rest another 30 minutes and repeat the coil fold or stretch and fold. (having wet hands makes this so much easier)
- Repeat this 3 -4 more times at 30 minute intervals. You can do it up to 6 times.
- Once you are at this point you will notice the dough has a very different texture and should be very jiggly. Let it sit in a warm place and bulk ferment.
- Once it had doubled in size, its time to shape your dough and prepare it for the fridge! This will make one large loaf or two smaller loaves.
- Now, you are going to form a ball, first by rolling the dough in on itself. Then flip it over and use the countertop to create tension. Push on the dough ball while rolling it under. You want to turn and roll. You can watch my video to see how to do this. This creates tension on the dough surface and gives it that good crust.
- Let the dough sit and rest for a couple minutes.
- While it rests, its time to get a bowl ready. You can use a regular large mixing bowl, but it is recommended to use a bread banneton proofing basket.
- If you use a bowl, line it with a towel, and flour the towel heavily to prevent the dough from sticking. I like to use wheat flour for this because it tends to not absorb into the dough.
- If you use a bread banneton basket, flour its as well.
- Take the dough and lift it up, flip it over and put the finished side of the dough down into the bowl. Cover with plastic wrap and use a rubber band to secure the plastic wrap around the bowl.
- Put the bowl in the fridge and let it sit in there for at least 12 hours. You can go as far as 24 hours.
- When you are ready, take the bowl out of the fridge. Preheat your oven to 425 degrees with a dutch oven if you choose to use one.
- Lay out some parchment paper, and take the dough gently out of the bowl and flip it over so the smooth side of the dough is on top. Lay it on the parchment paper. I like to spray my dough with some water at this point and then sprinkle the oats over the top of the loaf.
- Cut some slits or designs in the dough to allow for more of a rise. You can also cut a deep score along the length of the middle of the dough to help when it expands. You can use a scoring lame or a sharp knife. (Another option is to bake the bread for 7 minutes and then cut the deep cut that will allow the bread to rise and create that gorgeous rounded belly on it. This allows the dough to form a bit of a crust making it easier to cut and keep a uniform loaf.)
- Immediately take your hot dutch oven out of the oven and take hold of the parchment paper with the dough. Put it inside the dutch oven and carefully place the lid on and put it in the oven to bake.
- If you want, you can add a couple ice cubes on the outside of the parchment paper between the pan and the paper. This will give the crust a bubbly surface and allow more of a rise!
- Bake the dough for 35 minutes. Check around 30 minutes and see if it is done. Tap it, it should feel hollow. You can take the top off of the pan and let it bake if the top is not golden brown. Cook with the top off for another 15-20 minutes.
- Take it out of the oven when it is done and let it cool completely on a rack before cutting.
Tips & Tricks For Successful Sourdough
- Understand your sourdough starter. Everyones starter is different and behaves different. What and how I feed my starter will be different than yours. Keep that in mind. I prefer an active starter when making my sourdough, but I have seen many use an unfed starter with success.
- To piggy back on the previous point, dont be afraid to experiment with your starter. Its okay if you have something not turn out as expected. This helps us to understand what works and what doesnt work.
- Be aware of the temperature of your kitchen when proofing your sourdough. A warmer kitchen will proof and bulk ferment your bread dough much faster than a cold kitchen. If you want to speed up the process you can by proofing it in your oven. But watch it, you do not want it to overproof.
- Bulk fermenting is important because it helps the gluten proteins break down making it easier to digest. it also helps the dough to hold its shape and create a flavorful loaf.
- You want your dough to almost double in size. If it does more than that, it is possible that it has over-proofed.
- Be patient. One thing I have learned with sourdough is to have patience. You will be rewarded for it!
- Plan enough time. Sourdough is notorious for needing time to develop. This doesn’t mean you need a lot of active time working with the sourdough. It requires a good amount of inactive time.
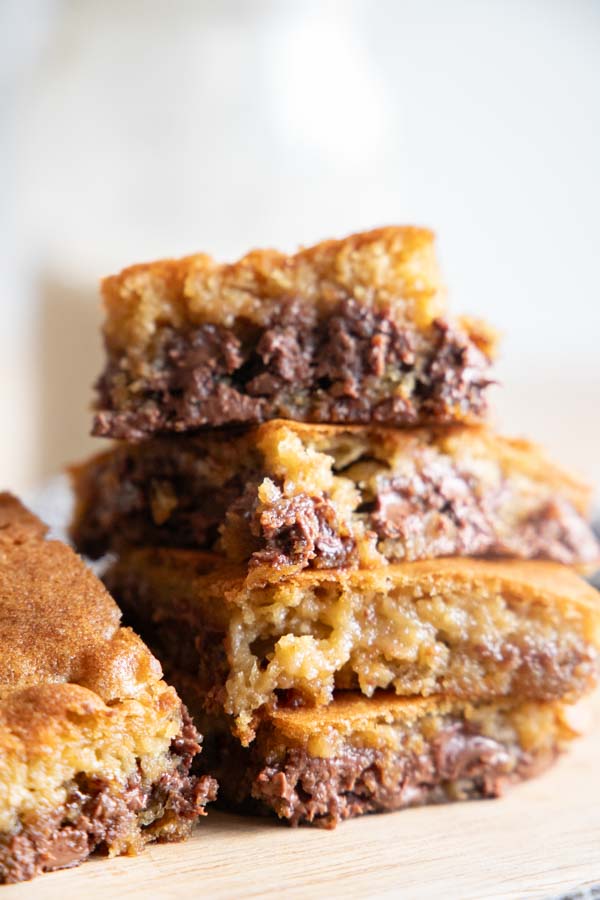
Want more bread recipes? I have tons of amazing sourdough recipes right here on the blog! Check some of them out below or click the link at the upper right to see all my sourdough recipes. I have everything from sourdough sandwich bread, muffins, pancakes and so much more!


Don’t forget to pin this for later!

This looks wonderful but you didn’t indicate what temp to bake the bread at. I’m about to bake and I have to go off of what I’ve done in the past!
Outstanding recipe! Easy to follow with great results. The flavor was very good/-soft but chewy crust and soft, pillowy interior.
Hello, what is the oven temperature for preheating and baking? I’m excited to see how it turns out.
Post has been updated, 425 degrees
I’m making your recipe now but didn’t see a temperature listed to preheat my oven to. Am I missing that somehwere?
This was the softest and best tasting loaf I’ve made! Will definitely be making it again!
There is no temperature in the recipe. What temp do you bake this at?
Post has been updated. Bake at 425 degrees
New to sourdough and this has been my favorite recipe. I’ve tried it multiple times and it’s really foolproof! Everyone I’ve made it for loves it and asks for a loaf.
Made this recipe over the weekend, it was lovely – may be my new favorite!! I had baked it as one large loaf, and now I’m wondering what the bake time would be if you split it into two smaller loaves (especially if baked separately)? Considering doing that next time. Thanks!