Amazing Soft Sourdough Sandwich Bread
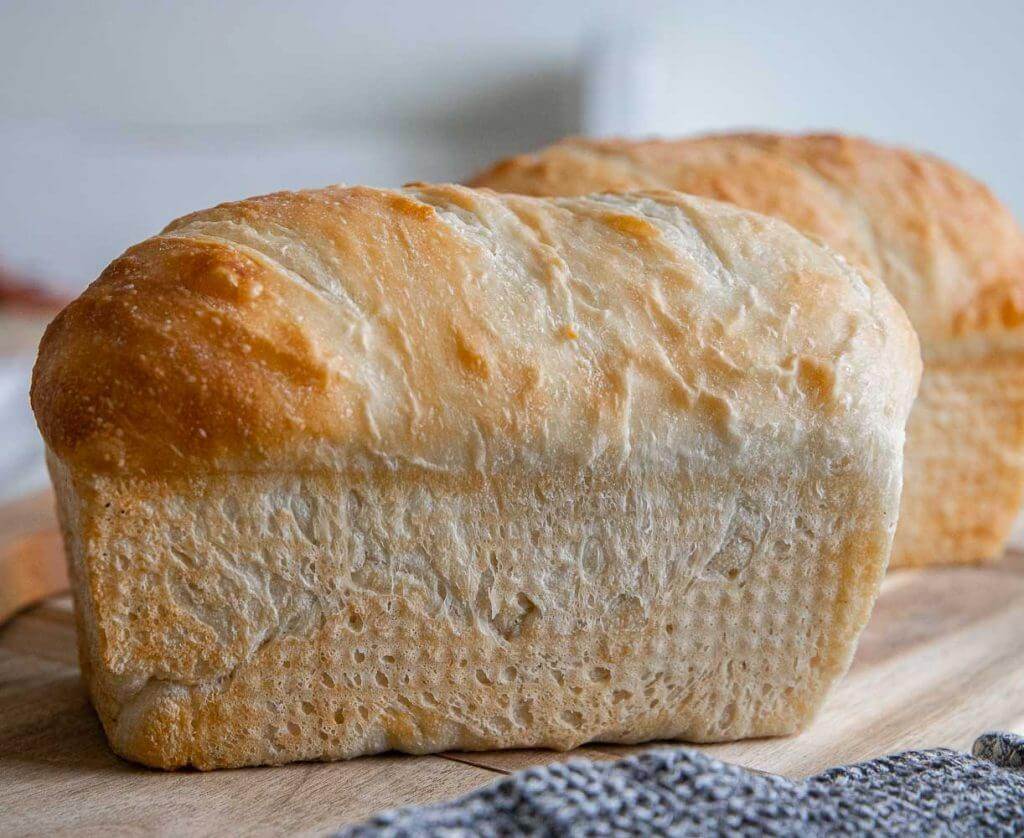
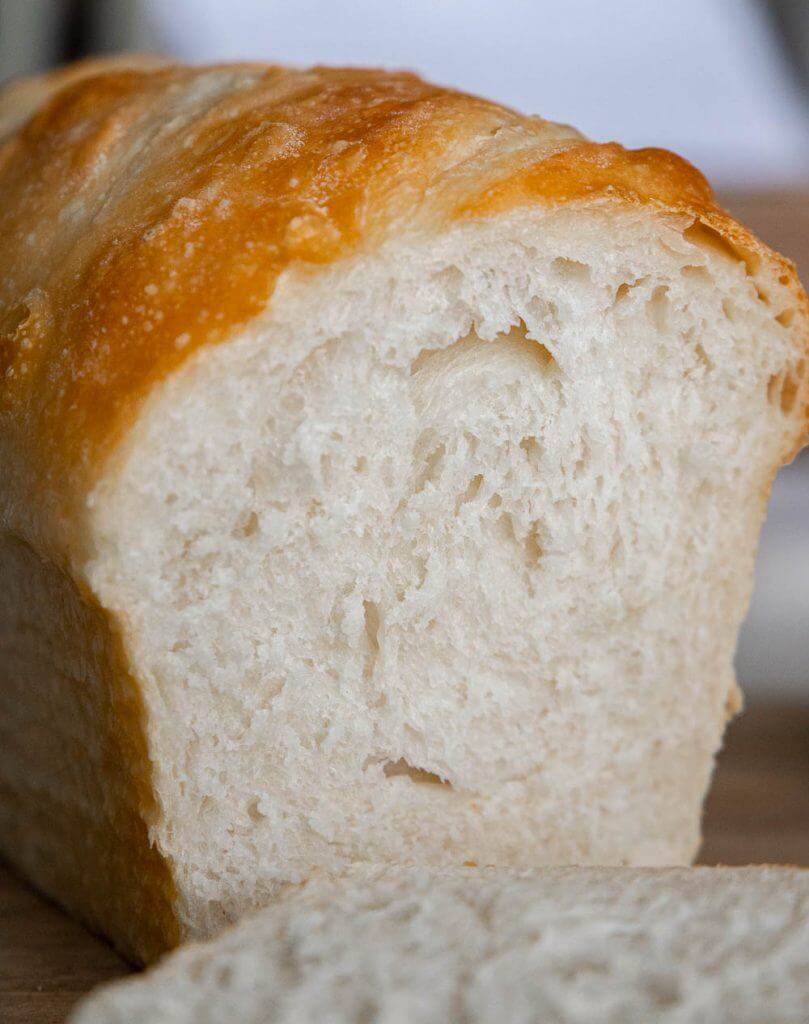
I have been wanting to create a different sourdough sandwich bread recipe for a while. The one I have is so great, as it is mainly a sourdough discard bread recipe, I wanted to create something that was a true sourdough, with many of the same characteristics as a dutch oven sourdough boule, but also one that was softer, fluffier and could be baked into sandwich bread.

And by joe, I figured it out! I experimented with my original dutch oven sourdough bread recipe and added a couple ingredients to change the dough slightly.


While my other sourdough discard bread can be made without yeast, this one has a different texture and the flavor is different too! Both are amazing breads and my kids love both of them equally! I like having options and I like the idea of being able to make different breads using different ingredients depending on what we have available.
TOOLS YOU’LL NEED

The other great thing about this bread is that it is dairy free, where my other sandwich bread recipe has milk and butter.

Get my soft sourdough sandwich bread recipe below!

Soft Sourdough Sandwich Bread
Ingredients
- 300 grams sourdough starter active and bubbly
- 650 grams warm water
- 1000 grams white bread flour
- 50 grams honey
- 40 grams olive oil or avocado oil
- 20 grams fine sea salt
Instructions
- In a large bowl, mix your fed sourdough start, water, flour, oil, honey and salt. I like to use my danish dough whisk to mix it together before then using my hands to finish combining it completely.
- Next let this mixture sit covered for 1 hour.
- Once it has sat for an hour, you want to do your stretch and folds. I like to do them every 20 minutes. This takes the place of the knead process that you usually do in a stand mixer. You can go as long as 30 minutes in between. But if you are in a bit of a hurry, you can do 20 minutes. You want to do 4 stretch and folds.
- Once you have finished your stretch and folds you have an option. I like to let my dough sit for about 3-4 hours and bulk ferment. Then I put the dough directly in the fridge and leave it overnight or for 10-12 hours.You can also put it right into the fridge after you are done with the stretch and folds, but I like to give it more time. I find it makes the bread a bit more flavorful and the texture is so nice.
- After it has been in the fridge, take it out and let it come to room temperature. This takes about 1-2 hours.
- Divide the dough into two large sections if you want to large loaves. You can also cut it into 3 and makes 3 slightly smaller loaves.
- Roll or stretch your dough into a rectangle. Fold it in thirds and then roll it up into itself. Pinch the ends and tuck them under. Place the dough into a greased loaf pan seam-side down. Cover with a wet towel or I like to use shower caps or plastic wrap and allow the dough to proof until it has doubled or almost doubled. I like to put it in a warm place to rise.
- While it is rising, preheat the oven to 400 degrees. Once the dough rises, cut some slices in the top and place in the oven. Place a pan with hot water below the bread to allow some steam. This helps with the crust and the rise of the bread.
- Bake for 35-40 minutes or until the top is a nice golden brown. If you tap the top and it sounds hollow, it is done.
- Remove the bread from the oven and carefully take the bread loaves out of the pans and let them cool on a wire rack. I like to brush butter to the tops of the loaves while they are still hot. This helps to soften the crust and adds the yummy butter flavor to it.
- Cool completely and then cut and enjoy! These sandwich loaves are the perfect combination of sandwich bread and my traditional dutch oven sourdough bread!
I have spent many hours in the kitchen doing trial and error bakes in order to bring the best recipes I can. These sourdough recipes are all made with love and a lot of experimenting. There are so many ways to make sourdough bread and each baker will have different methods and things that work better for them.

You may have to adjust the water or flour content depending on how your own sourdough start and flour behave. I find that other things such as the weather can play into how your dough behaves. I often find even if I use my scale and accurately measure everything, sometimes I may need a bit more flour or water.
This sourdough sandwich bread recipe is easy to follow and pretty fool proof.

I think it is important to go by feel when making sourdough bread and this can take you some time to become familiar with what works for you.
You can store extra loaves of this bread in the freezer if you want for up to three months.

Now that you have your sourdough sandwich bread, how should you store it?
want to know how to store your sourdough bread?
Click below to find al my favorite ways to store bread and keep it fresh!
Save this sourdough sandwich bread recipe for later!
Don’t forget to pin this for later!

Make sure to follow me on Pinterest to get great new recipes each and every day!


The bread was great but I do have a question. When I removed the dough from the refrigerator this morning I let it go to room temperature, the dough was so sticky I could not form it into a loaf. I could stretch it but it never got to the texture it was the night before. Any advise, I’m just starting working with sourdough starter.
It could have overproofed?
This recipe is fabulous! Best bread I ever made. Thanks for a great one!
This dough smells so good can’t wait for the bread. Do you have to refrigerator it for 10-12 hours? What about maybe 5 or 6 hours?
That would be fine
I followed the recipe exactly and it was hard to cut across the top. I bake it and it burst on the sides and ended up being really gooey. What did I do wrong?
What size loaf pans are you using for 2 loafs??
I use 8.5 by 3 by 4 inch pans
Excellent recipe, one of my favorites as I can easily get three breads from this at one time. One to eat immediately, one to freeze, and one to give away. Light and fluffy.
Made this and my family loved the loaves. Best one out of all the recipes I have tried
Turned out great!!! Absolutely no failures!! Every single person I have given it to raves about how good the recipe is!!
Wow. Just completed letting my first batch cool off. Taste and texture are great. I’m sure it’ll soon be a family favorite.
This is my go to sandwich bread recipe. I have made it multiple times. It is easy, consistently delicious, makes 3 nice loaves and stores well. Thumbs up!
Can I leave it in the refrigerator longer before I bake it if Icant bake after 10-12 hours?
Yes
I had to leave mine in the fridge for an extra 24 hours once and I didn’t see a difference.
Outstanding recipe….. Flaky crust super soft middle love this recipe! Do you by any chance have any books with all your recipes in it?
This is the ultimate sourdough sandwich bread recipe. It is so soft and flavorful. I’ve made it 5 times in the past week and it comes out perfect every time. You must try this recipe. You’ll be hooked!
I find that my loafs brown too fast so I tent them pretty early and they still brown super fast – almost burn on top. Any tips for this?
Love this recipe, my kids eat the two loafs in a few days. Thank you for taking the time to create this content for everyone. It’s truly remarkable what you have accomplished.
Ciao
Have you tried moving them to the bottom rack in your oven?
OMG!!! This came out perfect!!! I am new to sourdough. I love a boule but this is practical and a lot more forgiving. May have over proofed so I did the 7 minute score. Worked great. Love the tang. 24 hr cold ferment. Can’t say enough good things about this recipe
This has been my “go-to” sandwich bread recipe since I began making sourdough sandwich bread earlier this year. It’s always great and highly requested. I left it in my fridge for 39 hours once as I had to delay baking for the person who requested it. It still turned out perfectly & delicious. Thanks for sharing your recipe with us.
So glad I found your site and this recipe. I’m new to sourdough and trying everything at least once. This has become a family favorite and asked for each time I bake. I can’t wait to try the oatmeal version of this next. Thanks so much for sharing this with the world.