Chocolate Chip Sourdough Bread
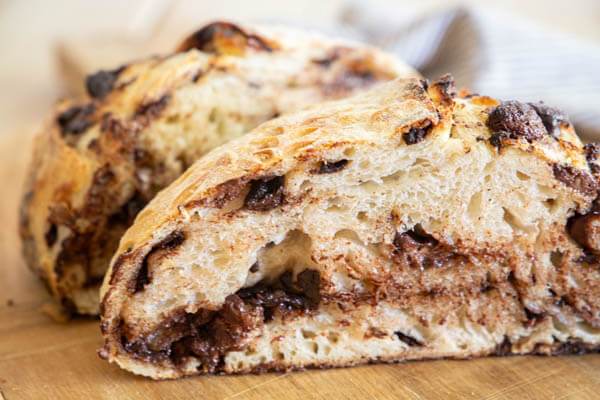
We are always trying new ways to enjoy our sourdough bread, and this chocolate chip sourdough bread is amazingly good! Its the perfect amount of sweet to compliment the sourdough bread. Keep reading to see how I make it~
Jump to Recipe
Sometimes we love a slightly sweet addition to our sourdough bread. I have a full chocolate sourdough bread recipe here! But if you want to have something a little different with sweet chocolate surprise then make this easy sourdough chocolate chip bread!

There are so many things you can do with sourdough bread, and I am happy to be able to share all of them with you! I love creating with sourdough. I prefer to use semi-sweet chocolate chips and milk chocolate chips in this chocolate chip sourdough bread. It is a great combination.

Honestly you dont need anything with this bread. You could add a slathering of butter if you want to be indulgent, but chocolate chip sourdough bread is already indulgent.
TOOLS YOU’LL NEED

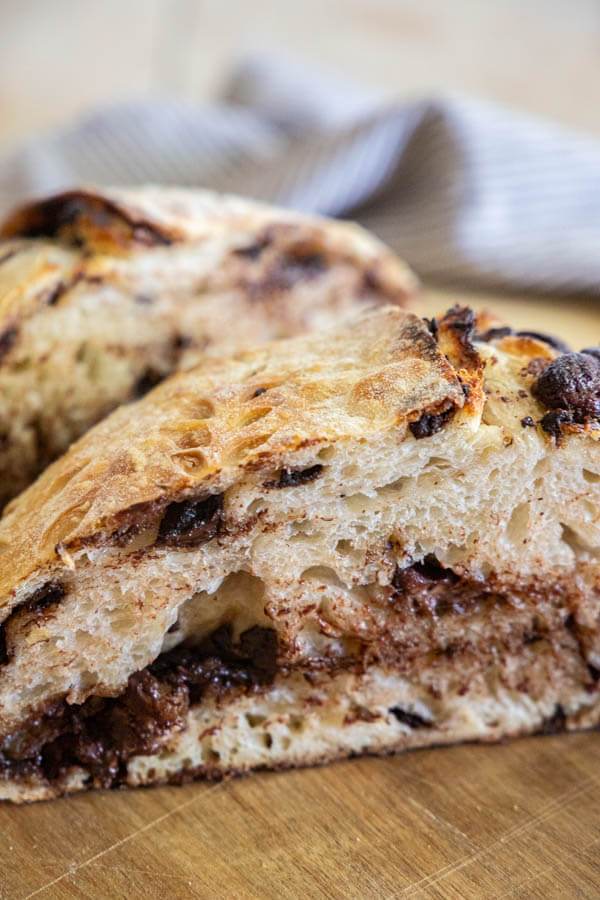
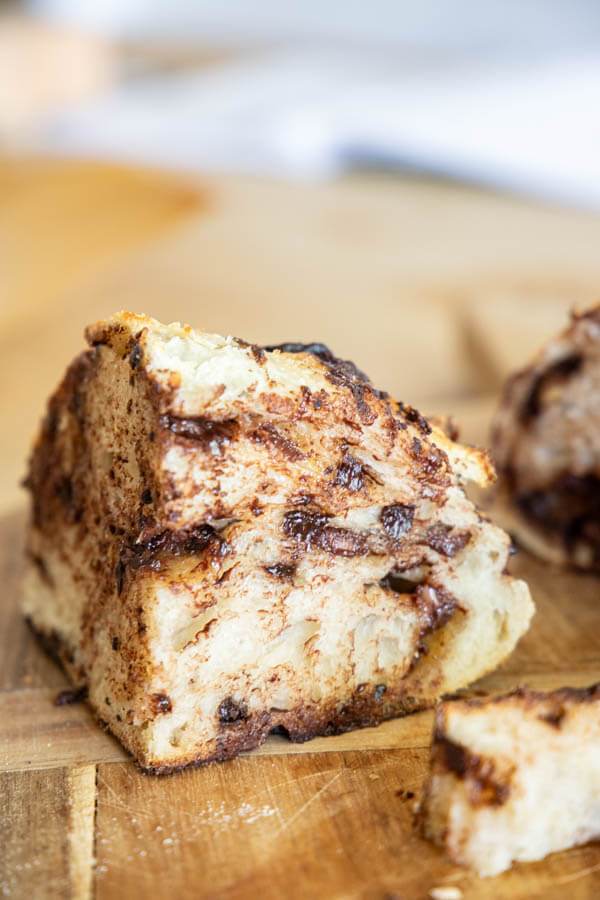
What I love about this bread is that it is sweet but also has a touch of savory because of the bread base. It is something you can enjoy, and the chocolate is rich, but because of the bread there is a nice balance between the two.

How can you say no to this? I will never know haha.

If you are new to sourdough and want to learn more, check out my Sourdough 101 post with tons of tips and step by step instructions!
all you need to know
SOURDOUGH 101
I have tons of amazing tips, step by step instructions, recipes and so much more. Click below to learn more!

Chocolate Chip Sourdough Bread
Ingredients
- 625 grams bread flour about 4 cups
- 100 grams active sourdough starter about 1 cup
- 10 grams salt about 1 3/4 teaspoon
- 450 gram water about 1 1/2 cup
- 2 cups chocolate chips I used mini chocolate chips as well as regular sized.
Instructions
- To begin this bread, you need to set aside about 1 hour at least to take the time to knead and let the dough rest. The rest of the time will be more passive time.
- This recipe only has a small amount of active effort. You need to let the dough sit and take its time. You also need to plan time for this bread. It needs at least 12 hours in the fridge and at the least 3 on the counter.
- What I like to do is to start this dough in the afternoon around 1. I can get all the kneading in by 1:30 and then it needs some rest time. After that it will be sitting in the fridge overnight.
- Take your sourdough start, water and flour and put them in a large mixing bowl. Use a wooden spoon or dough spoon to mix the ingredients together.
- It will begin to be too sticky and dense to manage with a spoon. Let this sit for one hour. This is the autolyse stage. Once the hour has passed you will add the salt and let it sit another 30 minutes.
- Now you will do your first stretch and fold or coil fold. There are two different options. You can stretch and fold which means you pull the dough up from one corner and stretch it and then fold it over the top fo the dough, rotate and do the same action 4 times for the dough.Coil fold is where you lift the dough from underneath with two hands, pulling the dough up and then folding it down in half on itself as you let it back down. I You then rotate the bowl and repeat this 3 more times rotating the bowl each time.`
- Let the dough rest another 30 minutes and repeat the coil fold or stretch and fold. (having wet hands makes this so much easier)
- Repeat this 3 -4 more times. You can do it up to 6 times.
- Once you are at this point you will notice the dough has a very different texture and should be very jiggly. Now its time for bulk ferment. This make take longer or shorter time depending on the strength of your starter, the temperature of your space and the ingredients in your dough. This dough should take up to 6 hours to bulk ferment, but you need to watch it, not just set a time. I will check it about every hour or two to see how much it has risen.
- Once it has almost doubled in size, its time to shape your dough and prepare it for the fridge! This will make one large loaf or two smaller loaves.
- Now, you are going to form a ball, first by rolling the dough in on itself. Then flip it over and use the countertop to create tension. Push on the dough ball while rolling it under. You want to turn and roll. You can watch my video to see how to do this. This creates tension on the dough surface and gives it that good crust.
- Let the dough sit and rest for 30 minutes.
- Now flip the dough over and gently stretch it into a rectangle. You can make it as large as you want, but be careful not to rip the dough, cause holes or make it too thin, as this will create tears when shaping and you will have chocolate chips fall out.
- Once the rectangle is formed, spread chocolate chips evenly across the surface. I feel this is one of those times you measure with your heart. Put as many chocolate chips as you prefer. Now fold 1/3 of the dough over. Fold the other third over that, so you make a skinny rectangle. Now, add more chocolate chips on the top of the skinny rectangle.Roll up the dough carefully trying to keep all chocolate chips inside the dough. Now, pinch the ends to close the dough and carefully pull the dough towards you while you turn it, you want to form a ball. Pull and turn carefully. When you have a round ball formed, its time to store it overnight in the fridge.(you can also bake it sooner by letting it proof on the counter and baking, but I prefer to let it sit overnight)
- If you use a bread banneton basket, flour its as well.
- Take the dough and lift it up, flip it over and put the finished side of the dough down into the floured banneton. Cover with plastic wrap and use a rubber band to secure the plastic wrap around the bowl.
- Put the dough in the fridge and let it sit in there for at least 12 hours. You can go as far as 24 hours.
- When you are ready, take the bowl out of the fridge and let the dough sit on the counter for about an hour. I like to let the oven preheat to 450 degrees while this is happening. Put your dutch oven in the oven to preheat with the oven. You want your pan to be hot.
- Lay out a piece of parchment paper, and take the dough gently out of the bowl and flip it over so the smooth side of the dough is on top. Lay it on the parchment paper
- Cut some slits or designs in the top of the dough to allow for more of a rise. I like to make a swirl. You can use a scoring lame or a sharp knife.
- Immediately take your hot dutch oven out of the oven and take hold of the parchment paper with the dough. Put it inside the dutch oven and carefully place the lid on and put it in the oven to bake.
- If you want, you can add a couple ice cubes on the outside of the parchment paper between the pan and the paper. This will give the crust a bubbly surface and allow more of a rise!
- Bake the dough for 35 minutes. Check around 30 minutes and see if it is done. Tap it, it should feel hollow. You can take the top off of the pan and let it bake if the top is not golden brown. Cook with the top off for another 15-20 minutes.
- Take it out of the oven when it is done and let it cool completely on a wire rack before cutting.
- This bread makes the most amazing toast, french toast, grilled cheese sandwiches, and it is fantastic with olive oil and balsamic vinegar!
Don’t forget to pin this for later!


This is by far my husband’s favorite. Just one problem, you don’t actually post the oven temperature. Thank you for sharing this recipe with us. God bless you!
Sorry the temp is 450 degrees