DIY Dutch Tulip Crate
I have a confession. I cannot stop building my own..(insert project here). I think I need to join some sort of help group. It’s not like I don’t have a million projects going on, including completely remodeling my laundry room for the One Room Challenge. That doesn’t stop my wheels from turning and my brain from figuring out how to make whatever it is I want at the moment. This moment it is the dutch tulip crate. I am obsessed with these little beauties. The problem is their either hard to find or slightly expensive. When you find that you have all the supplies at your home to make one, you figure it out. That is exactly what I did.
DIY Dutch Tulip Crate

I will have to tell you, as soon as I finished my first one, I wanted to make more. These are so easy and are such a great accent to any home decor. This DIY is pretty straight forward. Here is what I used for this project:
I started by gathering up my wood pieces for the dutch tulip crate.
I used some pieces of pallet wood that I have laying around. Yes, truly, I have a stockpile of pallet pieces to use for various projects.
I used my table saw and miter saw to cut to size. I am making a 12 by 24 dutch tulip crate.
To make this size you will need:
2 – 3 inch wide by 24 inch long slats
2 – 3 inch by 12 inch long slats for the sides
4- 1 1/2 by 1 1/2 inch(square) pieces that are 4 1/2 inches long. These are for the insides of the crates.
3 – 13 1/2 inch long by 2 inch wide slats
24-Inch by 10-Foot 1/2-Inch wire mesh
Here are the tools I used: (you can definitely do this with a hammer and nail, but a nomadic nailer is so much easier.
BOSTITCH Brad Nailer Kit
Air Compressor
Table Saw with Guarding System and Stand
Slide Compound Miter Saw, 12-Inch
Electric Staple/Brad Nail Gun
***I always feel like I need give a little disclaimer. I have gradually added all these tools to our collection over the past 10 years. So if you find you do not have all these, its really okay.*
You can find wood in these sizes at your local big box hardware store. They may even cut them down to size for you, so don’t let this stop you from trying this project.
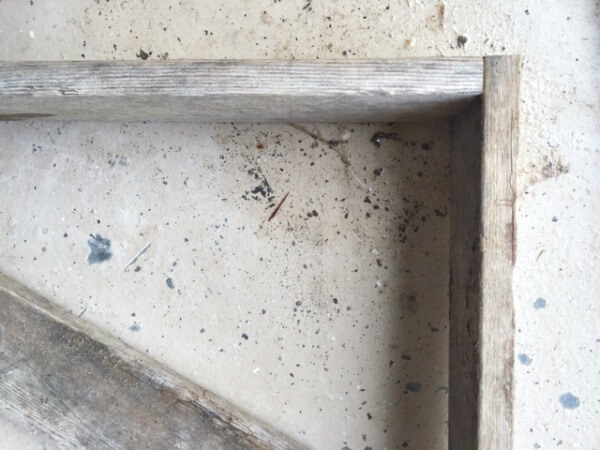
Start by nailing the short pieces to the long pieces to make a rectangle.
I nailed the shorter pieces inside the longer ones, which makes the width 13.5 inches instead of 12.
One you have all the pieces nailed together, you will want to nail in the square pieces into the corners.
I lined the bottom of the square block with the bottom of the crate base. I then nailed them together.
The next step was to add the wore mesh to the bottom of the crate.
I started by stapling one corner, then I made sure to make adjustments to keep everything lined up correctly. Then staple the other side and then down to the bottom corners. Then staple in the rest of the mesh.
The last step is to nail the 13 1/2 inch pieces to the bottom of the dutch tulip crate.
Just like that.
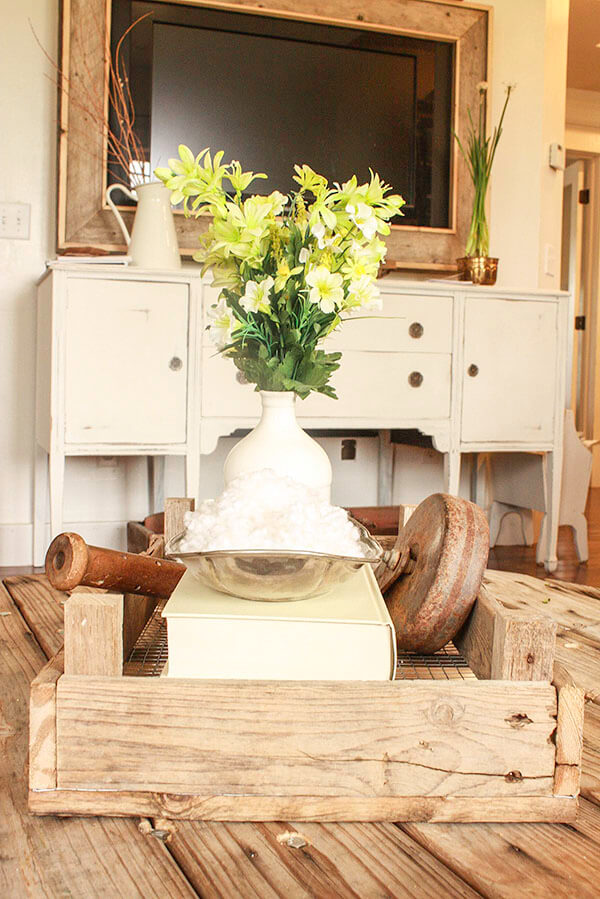
And viola! Its finished.
Pallet wood is the perfect material to make these in my opinion. They are already weathered and aged, so you need not do anything to them.
A little bit of styling and this baby is in its new home. Now I just need to figure out how to use 10 more. I need them all.
Pin it, share it, do it all!
Another one for the books. I will be quickly making more of these. Can you imagine stacking a few of these together. Ah, my wheels are turning.
Thanks for spending some time out of your day to see what was happening at Twelve On Main. Have a great day and remember….
*This post contains affiliate links. My opinions are my own. I only endorse those things I have tried and believe in.*
If you liked this post, you’ll love these:
Other crates I love:


This is such a pretty tray, I love it! Thanks for sharing at Merry Monday!
I love crates of all kinds, and this one looks sooo easy to make! I’ve never heard of a dutch tulip crate, but I probabl will now. You know how it goes, you dar of something then suddenly it pops up everywhere???
Thanks so much for sharing at Talk of the Town.
pinning.
gail
I am glad you stopped by! I totally know how it goes, you’ll notice it everywhere now.
Great project! Thanks for sharing, I pinned it! Visiting today from the Totally Terrific Tuesday party, I am one of the new co hosts who is joining the party. Please come back and link up again next week!
This turned out so lovely! Thanks for linking it up at Talk of the Town – I pinned it to the Knick of Time party board! 🙂
Really pretty and it’s so simple but makes such a big impact!! I totally get the I can make it thing!
This is great. The crate has such character and it can be made to fit the size you need. I love this.
I absolutely love this! I just finished tearing apart my stack of pallets, and have been brainstorming ideas for what to create. I think I will have to give this a try. Thanks for sharing at the Talented Tuesday Link Party, I’m featuring you this week!
I just love this project Sara and will be featuring it tomorrow at Vintage Charm! Thanks for linking up 🙂
Shoot now I’m going to have to make one of these 😉 It is positively adorable, love it!
Oh man I love this!! 🙂
Love your tulip crate! Thanks for sharing your tutorial, as well!
I love it!! love weathered wood and love crates. This is the perfect combination, and I am SO making one! I actually spent a couple of hours down at our boat house this weekend gathering driftwood to make a weathered crate. Now, I dont have anything that runs on electricity. It was ALL done by hand. But it is so fun! I am making one of these for sure to go with my DIY planked farmhouse dining table:) Thanks for sharing!
Thats so great! Sounds like so much fun! Good luck and thanks for stopping by!
WOW! Love this. Hugs and blessings, Cindy