DIY Mudroom Storage
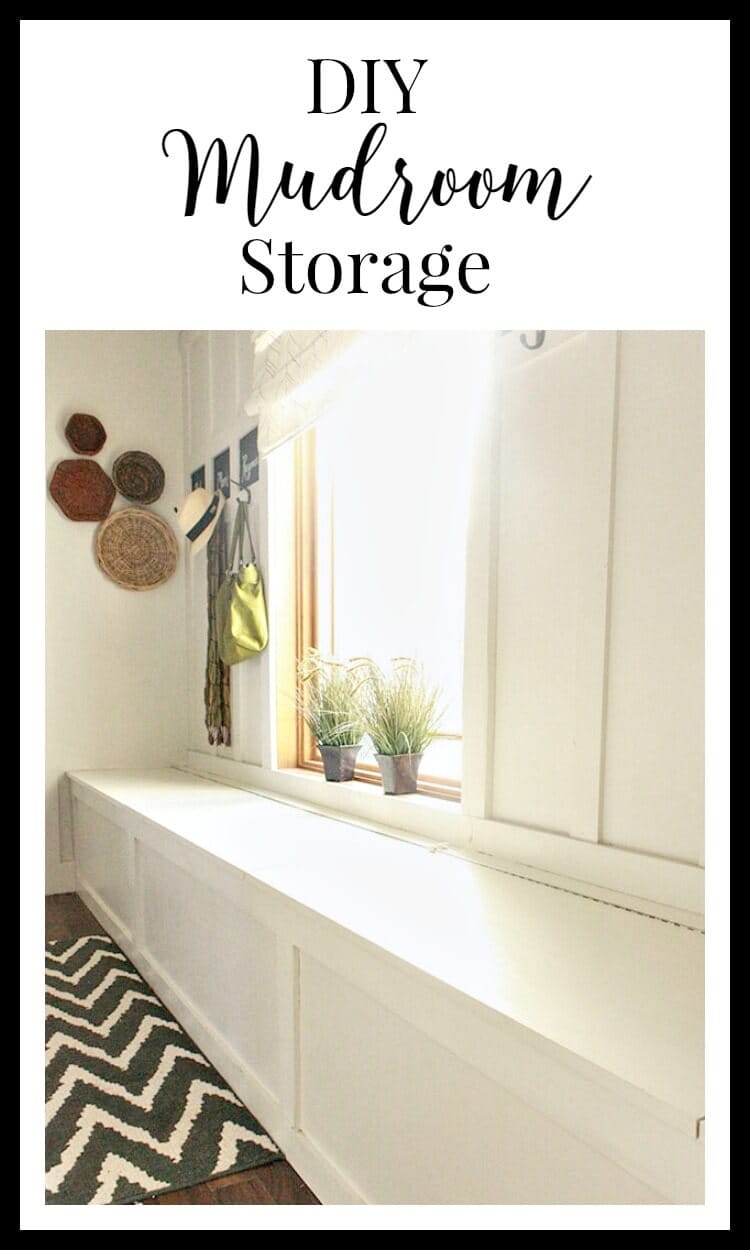
I have had some requests to show how I built my mudroom storage, so today I dug up some old photos and decided to give you a little breakdown. This DIY mudroom storage was easier than you think.
DIY Mudroom Storage….
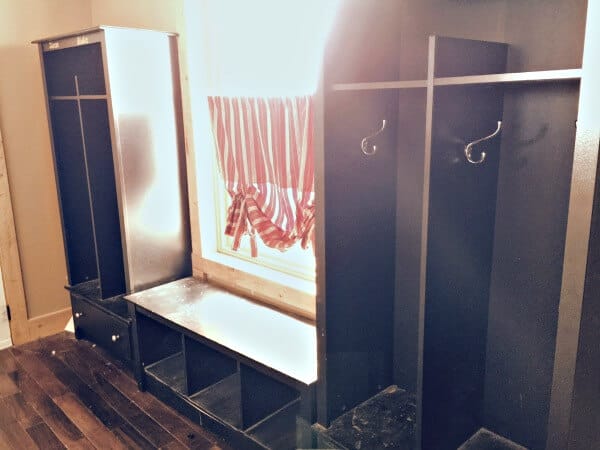
This is a picture of the original state of my mudroom. I had purchased a modular unit with some locker space and baskets that could be filled with shoes. The only problem was the shoes never made it in the baskets and the lockers has turned into a drop off for everything and anything. My husband used one locker for his tie storage. I knew, its really hard to take those ties up and put them in your closet.
I wish I had taken a picture before I cleaned it out.
Before I begin, I thought I’d give you a list of the items we used for this project and the tools that were super helpful in getting it done.
*This post contains affiliate links*
These tools made this project much easier. If I had to recommend essential ones, it would be the miter saw, table saw, and the drill/driver kit. The nail gun and air compressor make fast work of all the finish work.
DEWALT Compound Miter Saw
Table Saw
Compact Drill/Driver Kit
Pneumatic Brad Nailer Kit
Air Compressor
For this project we used:
8ft length 2 by 4’s
2- 4ft by 8ft sheets of 1/2 inch plywood
1- 4ft by 8ft sheet of 1/2 inch MDF
White paint
3-Stainless Steel Piano Hinge 30 inches long
Elmer’s Stainable Wood Filler
Coat and Hat Hooks
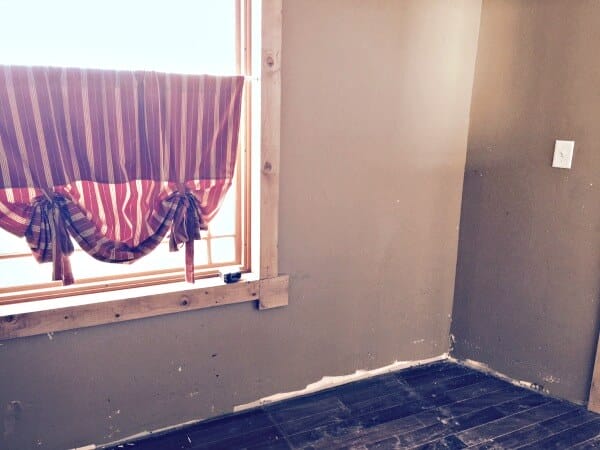
The first thing we did was tear out all the baseboards and clean the whole room out.
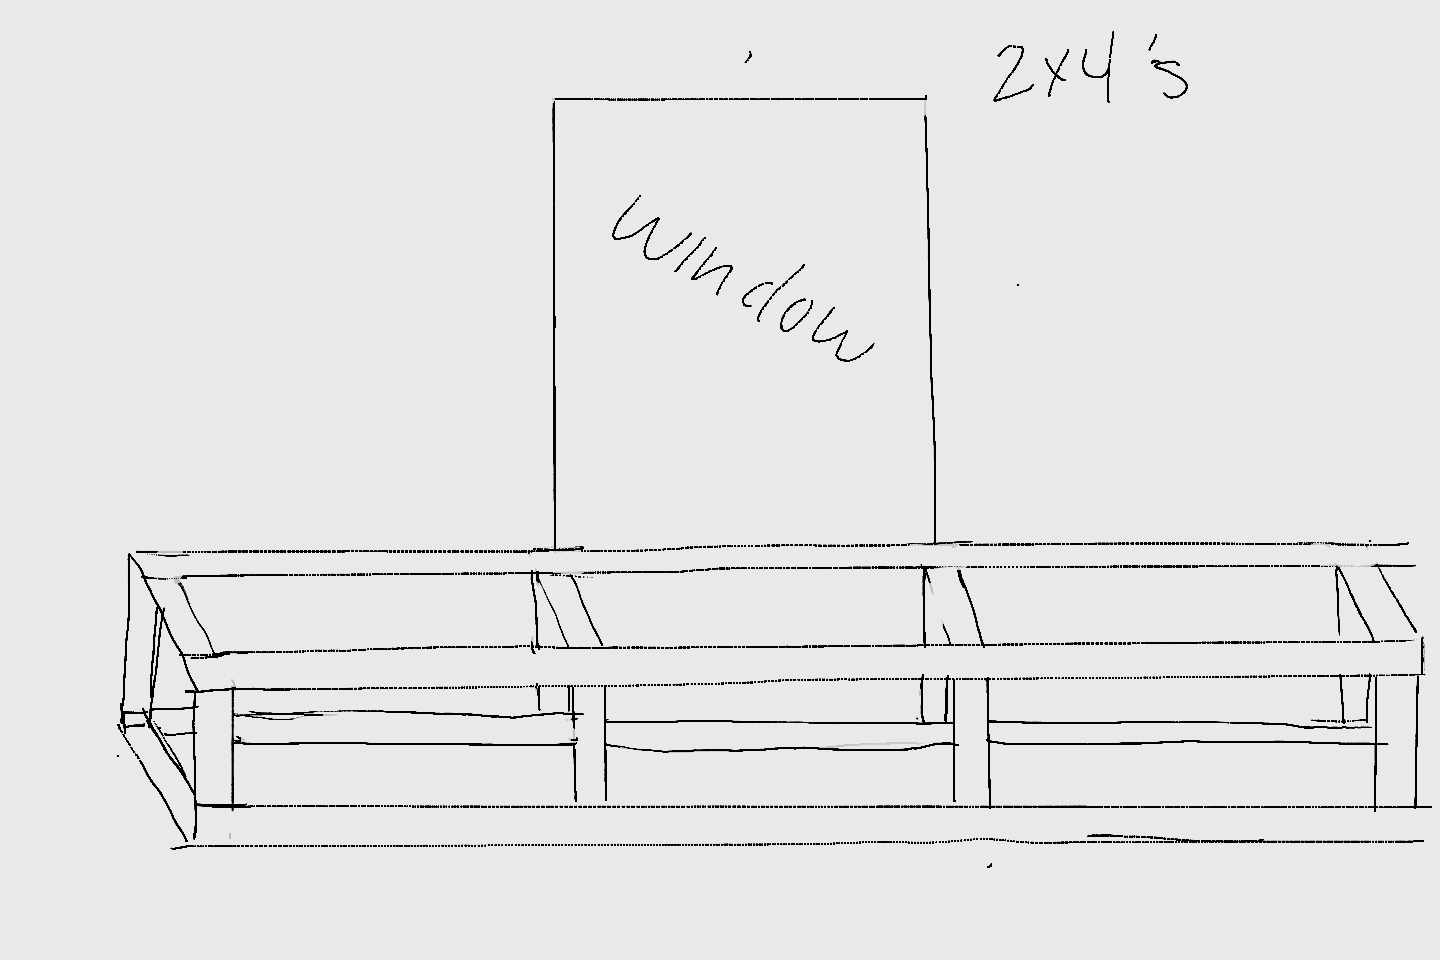
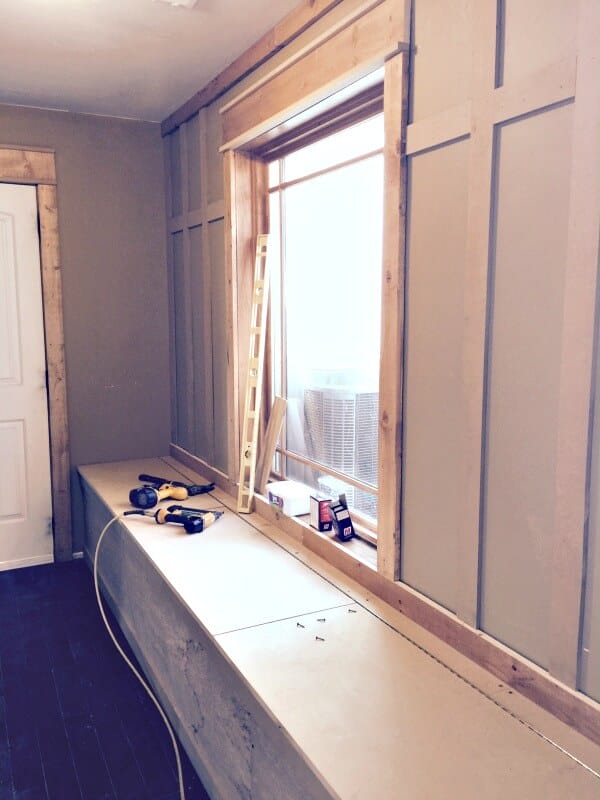
We then built the base of the mudroom storage with 2 by 4’s. Here is a drawing of what the base looked like before we covered it in plywood.
We were essentially building the cage. This was the structural part of the storage unit. We used 1 3/4 inch screws to screw this together.
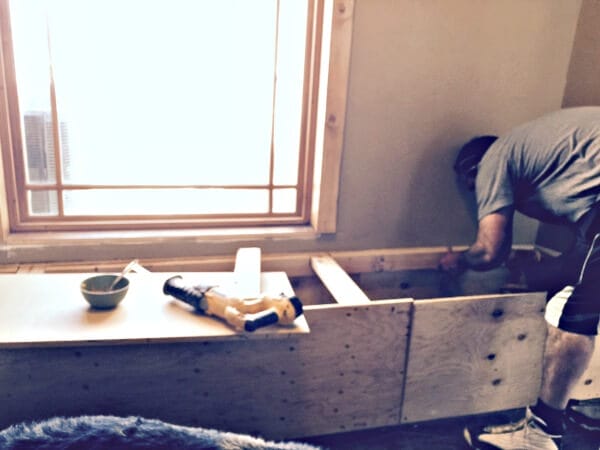
Once base was done we covered it in plywood.
I a bit embarrassed of these pictures, but I took them a long time ago, so that’s my excuse.
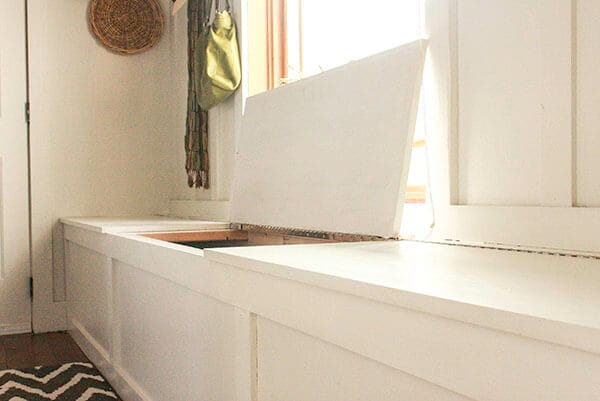
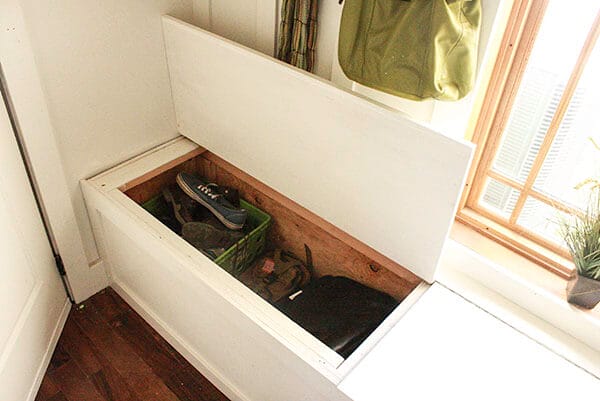
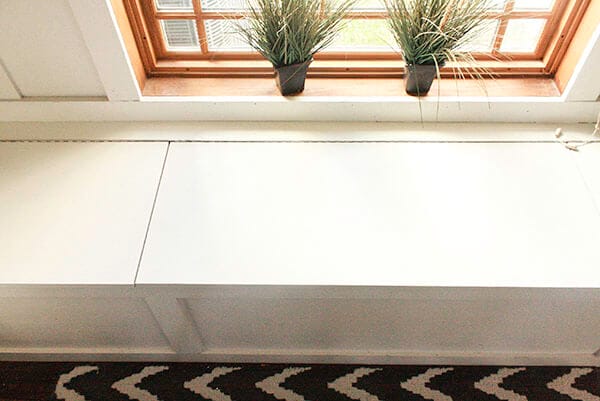
Once the front was enclosed with plywood, we moved on to the top. We wanted 3 different compartments that would open up and be functional but that we could also sit at. We measured the full length of the built in and divided the length by 3. That would end up being the length of the tops. We installed 3 piano hinges, one left, one center, and one on the right side. The piano hinge allows the lid to lift up and back. We have considered using a hinge that locks once in the up position, but these are working great for us.
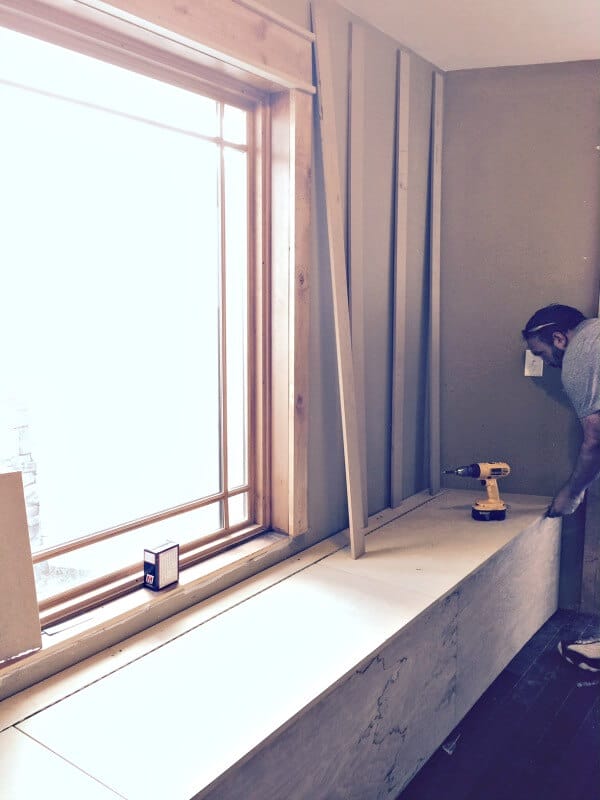
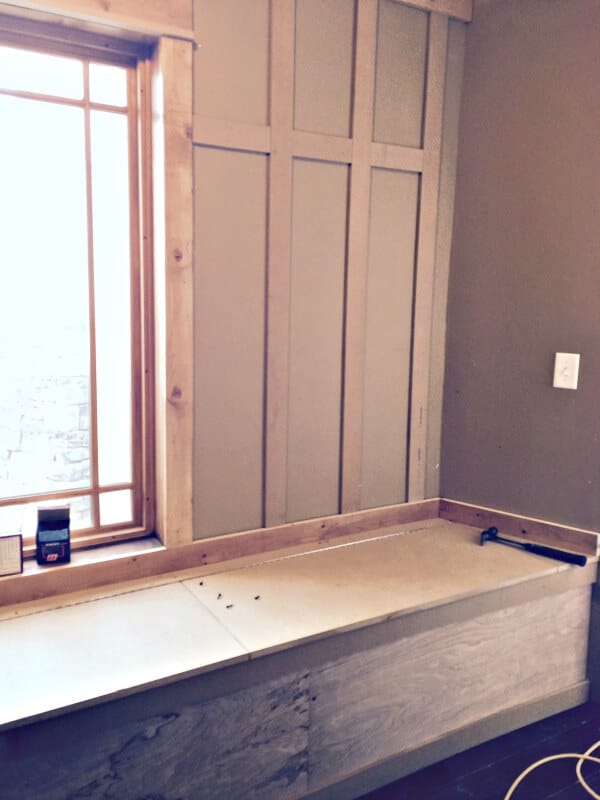
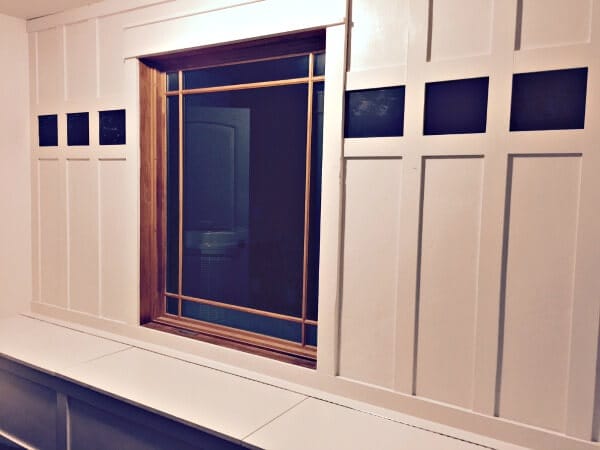
The next thing we did was start to layout the board and batten that we wanted to use on the wall. We did not use a board on the back. We used the wall to be the base. This is where we used our MDF. It just works a little better for this installation. The pieces were 2 inches wide. We installed all the vertical pieces first, making sure to have them 12 inches apart. We then added the horizontal pieces.
We also did the same treatment on the bottom of the benches. We used our brad nail gun and compressor to attach all these boards.
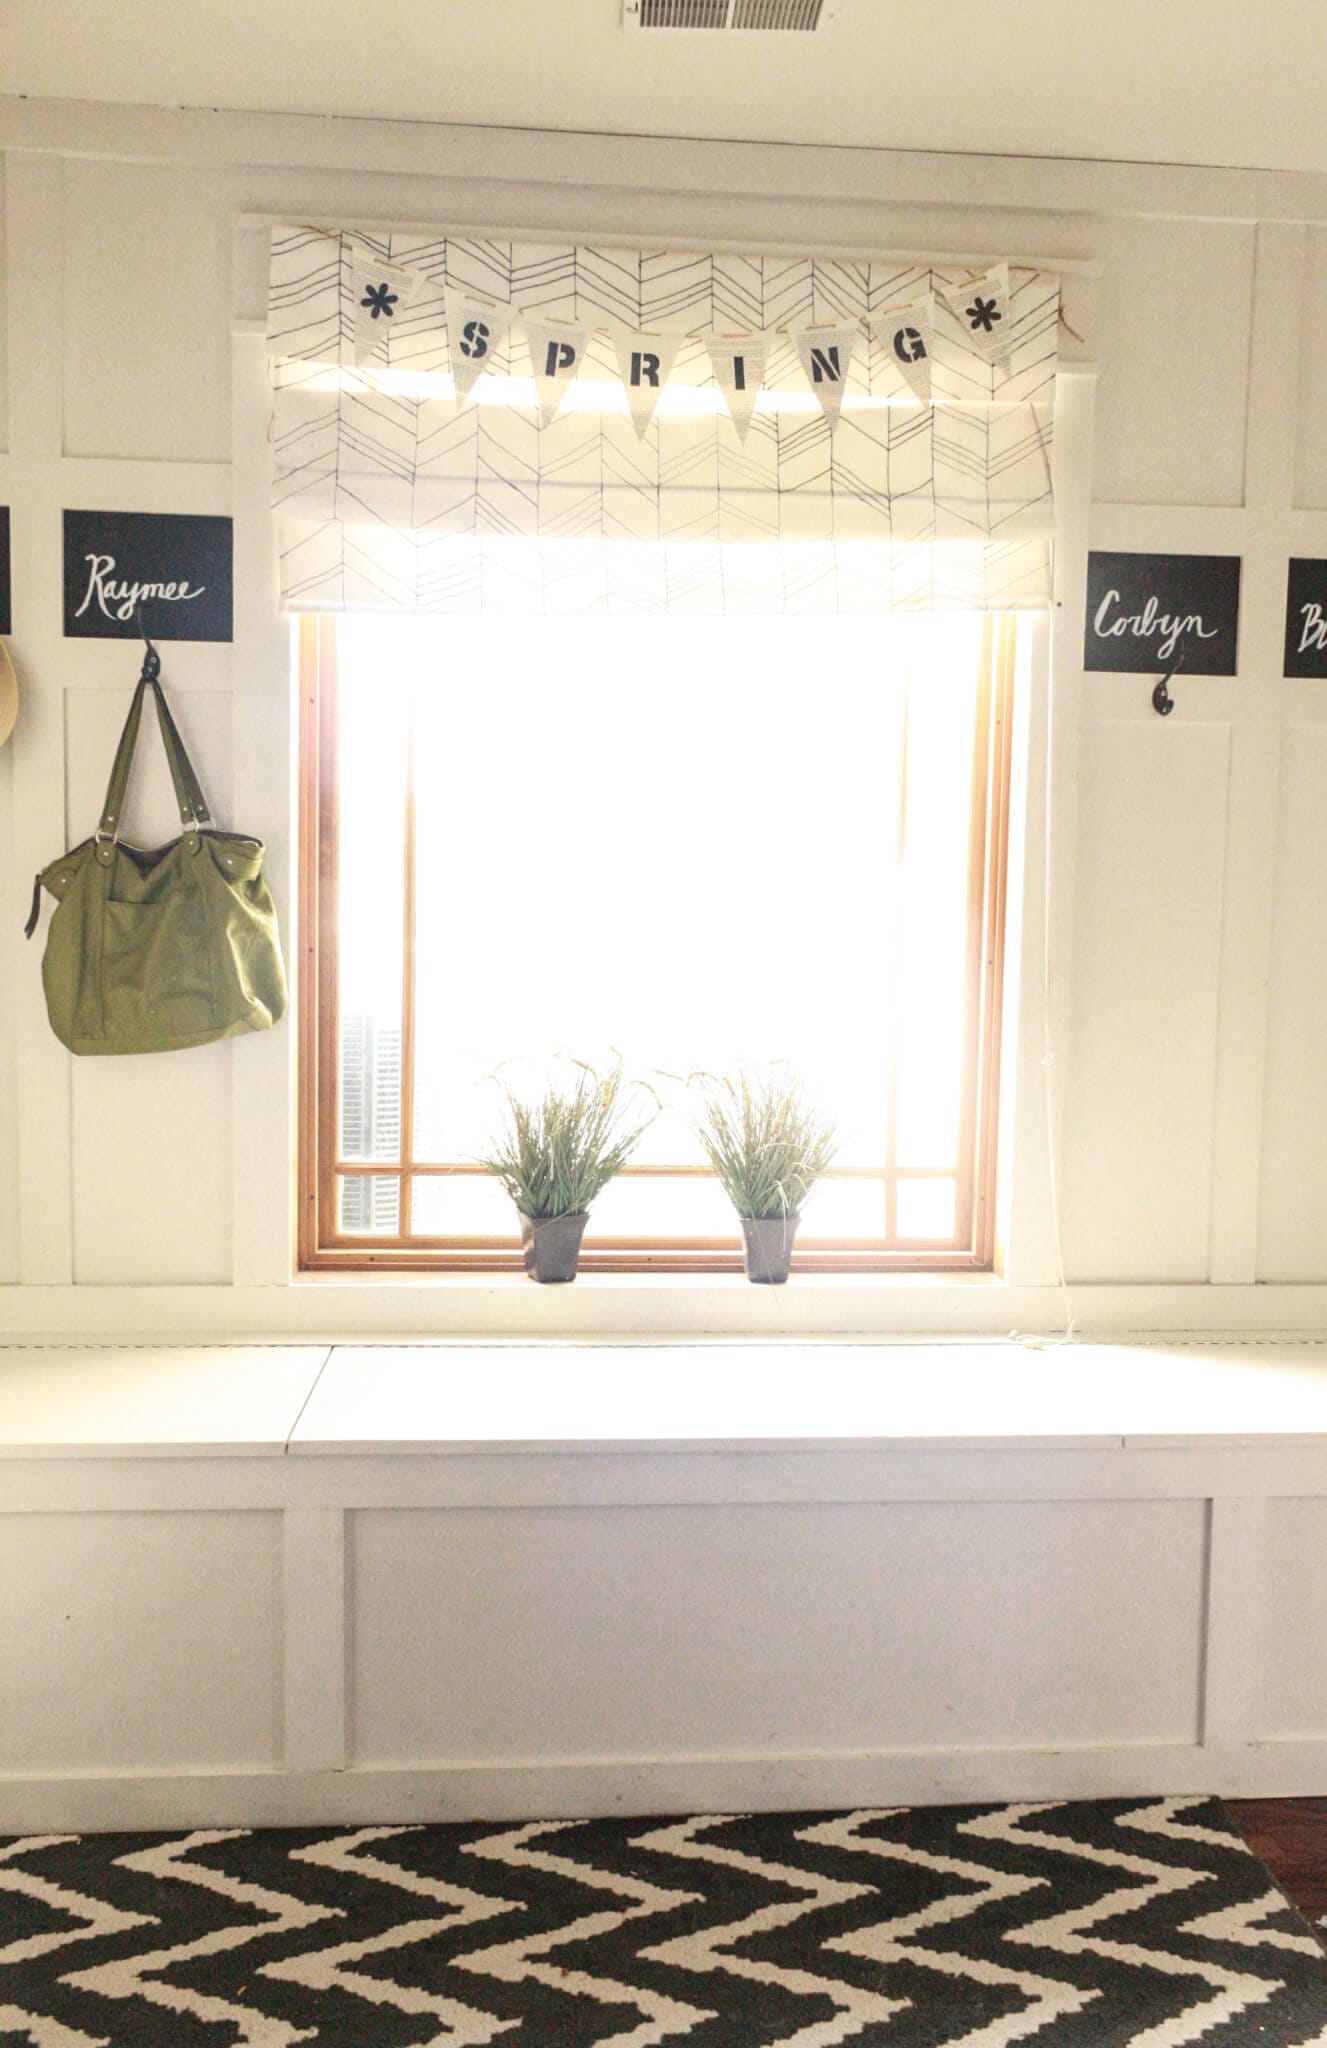
I wanted to be able to have 6 hooks, one for each person in the family. I also wanted to frame in a small section of the area to create small chalkboards where we could write everyone’s names.
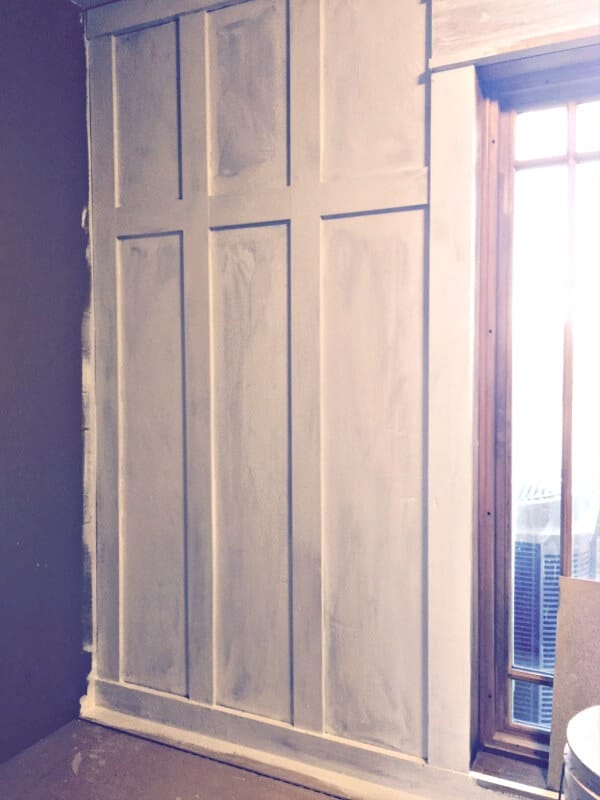
I started painting before the last few pieces were installed.
I puttied all the holes with wood putty, let them dry and then sanded them lightly.
We made sure to add a top and bottom trim piece to the board and batten to finish it off.
I then painted it all white, with the exception of the small chalkboard squares.
The last thing we needed to do was install our hooks. We used drywall anchors, which came with the hooks to attach them to the wall.
See how the lid lifts up to reveal all the ugly mess of shoes and baseball equipment?
This mudroom storage has been a great addition to our home. While my husband complained about there not being any storage on the walls(as far as cubbies and spots for ties), it has taught all of us to keep it simple. I wanted each person to be able to hang a coat and a backpack or purse, and maybe a hat. The rest of the junk that seems to accumulate can be put in its proper place. It has taken some time for them to get used to doing this, but it is working out great. Since the lids lift up for accessibility, the kids can no longer just drop their stuff on the bench. If they do, they will not be able to access their shoes.
There you have it, my DIY mudroom storage. Everyday I love it more.
Get your own here mudroom storage here:
Thanks for taking time out of your day to see what was happening at Twelve On Main.
Have a great day and remember….
If you liked this post you’ll love…
DIY Industrial Farmhouse Hanging Light
Some cool mudroom products:



What a great mudroom makeover!! Love the results and the name signs are adorable! Thanks for linking up to Merry Monday! Sharing on FB! Have a great week!
Kim
Thanks Kim!
VERY cool! I love how it looks, and that there’s a place for everything…except what should be somewhere else! Lol! Ties in the mudroom? Ha! It looks so bright and cheery, too. Great job!
Ha! Thanks Martie! Yes ties in the mudroom should not go together! I am glad everyday that I did this!
Hi Sara! I’d love to have a mudroom with storage like yours! When we still lived in Canada we had one, but not this pretty and functional! Now living in Spain, we really don’t need one, but I still love the way you can store everything you need in your entrance! And I love that rug!! Thank you for sharing at Sweet Inspiration #4!! Have a lovely Saturday!
Thank you Katrin. Spain? That sounds amazing!
I Need this on a smaller scale in my laundry room.
Our laundry room is a ‘dropping off ‘place for shoes, etc.
You did an amazing job.
Very cool.
Laura
White Spray Paint
Thoughts of Home on Thursday
Oh. my. goodness! ALL that woodwork! You guys are troopers! It looks so great and that storage space is dreamy!
Truly darling storage! I am a bit late to the TOHOT party due to my college semester finals but I’m so glad that I didn’t miss this. Have a wonderful week.
I totally hear you on the college semester finals, I just finished mine last week! Between that, my One Room Challenge, and 4 kids I think I might lose it haha!
I love it Sara – thank you for sharing with Pin worthy Wednesday
Thanks Amberjane:)
Love it, Sara! I am moving to another house and I would love to make something like that, thanks for the how to! Pinning for future reference!
Thank you so much for sharing at Sweet Inspiration, I hope you have a wonderful week!
What an incredible mudroom makeover!! Love the outcomes and the name signs are cute! A debt of gratitude is in order for connecting up to Merry Monday! Sharing on FB!