DIY Shibori Drop Cloth Pillow
Hey there friends. Hope your day is going well! I am so glad you are here! Today I am excited to bring you a project that I literally had no…zero experience with. Shibori. In particular, my DIY Shibori drop cloth pillow. Shibori is a Japanese dyeing technique that typically involves folding, twisting or bunching cloth and binding it, then dyeing it in indigo. I’ve never had much experience working with any dying techniques, except for that time I bleached and dyed a pair of jeans! Lets just say, I didn’t end up wearing them.
I was quite intimidated at this project, but I was excited to join up with some other talented bloggers for our Create and Share Challenge.

Create and Share Challenge: Shibori- A Tea Towel Tutorial – Iris Nacole
Shibori Dyed Euro Pillows and Small Batch Shibori Dye Recipe – Pocketful of Posies
DIY Shibori Table Runner – Lovely Etc.
Arashi (Pole Wrapping Shibori) Dyed Lampshade – The Kim Six Fix
Shibori Table Cloth and Tote Bag – DIY Beautify
If you’re new to this, we each use the same product, try it out, and use our own creative juices to use it in a way original to each one of us. I am so excited to see what everyone has done with this Shibori challenge. I decided to do a DIY Shibori drop cloth pillow.
Anyone that knows me, knows I love to use drop cloths in my home projects and also have a post about how to create a drop cloth envelope pillow cover. As I researched the process of Shibori and the images of the patterns that you can create, I wasn’t 100 percent sure that I wanted to create the start contrast of white fabric with the indigo dye.
I just wasn’t sure it would “go” with my decor. I had to think outside the box. I decided to try this Shibori dyeing process on some drop cloth I had. In truth, I had no idea if it work on my drop cloth or not. I imagined it turning into a mass of blue dyed, ugly lump of fabric.
Well, I was completely, and utterly pleasantly surprised.
Here is how I used the Shibori dye to create my DIY shibori drop cloth pillow.
For this project you will need:
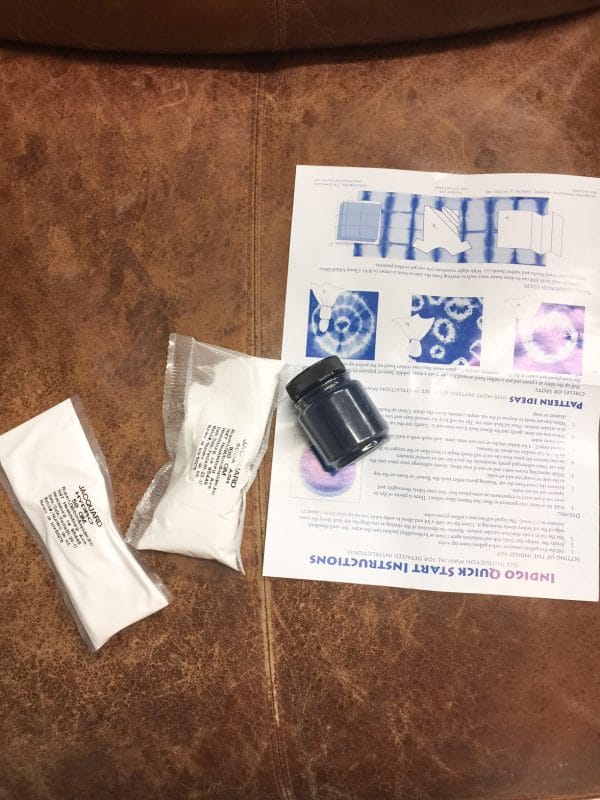
- Shibori Indigo Dye Kit
- Dropcloth
- Extra rubber bands, clamps, or pieces of wood.(you can use these to make all sorts of designs. The kit will come with rubber bands and some wood blocks. It will also come with rubber gloves)
- 5 Gallon bucket with a lid
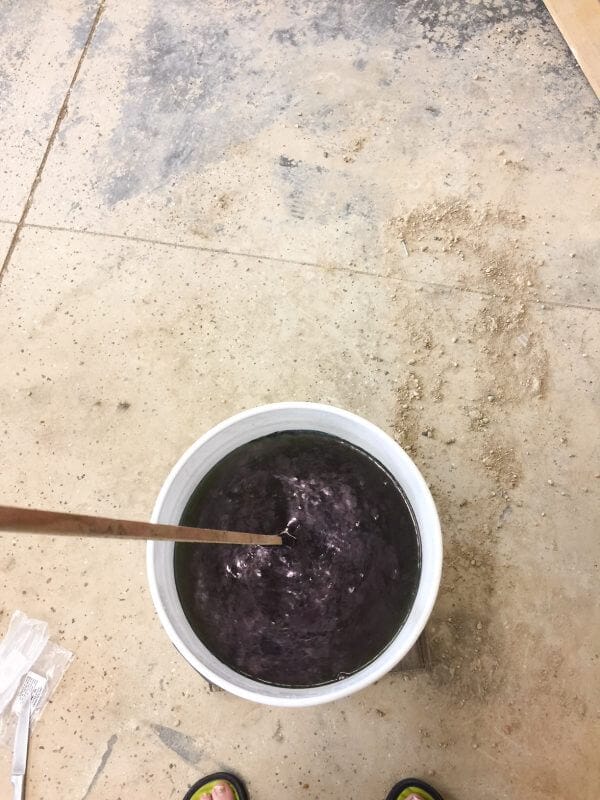
The first thing you need to do is mix up your dye mixture into the 5 gallon bucket. The kit comes with everything you need and the directions are specific.
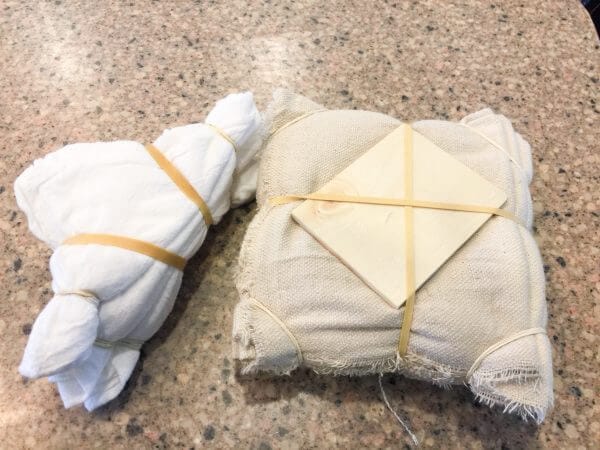
Okay, so there are like a billion different ways you can fold your fabric in preparation for dyeing it. Every folding technique will create a unique dye pattern. I did my research and looked though tons and tons of patterns and folding techniques for my DIY Shibori drop cloth pillow.
I made some test samples and used some think white fabric and then by drop cloth fabric. The folding is the key to this project. It can completely transform the fabric.
I found a few interesting things that happened.
- The thin fabric was quickly dyed. The indigo permeated every bit of fabric that was not tied with a rubber band.
- When I dyed the drop cloth, it was harder for the dye to get into the whole piece of fabric. And this is what I wanted!
I tried out a few different folds to see what I liked the best. I folded my fabric in a way that the Shibori dye design would be greatly effected by the edges of the fabric instead of if it dyed every little bit of the drop cloth.
Here is a video of how I folded, dyed and cleaned my fabric:
As you can see, after I dyed the fabric, it had to sit and oxidize, which is really cool to watch. I noticed that the inside pieces did not oxidize well unless I untied the fabric so that it could get some air.
You will notice that there was large parts that did not get any dye on them. This is what I wanted for my design. Since I work with a more muted and soft pallet in my home, my DIY shibori drop cloth pillow needed to fit that description. I think a really bold color would have stuck out like a sore thumb.
Once I rinsed the fabric out until the water ran clear, I threw all the pieces of Shibori drop cloth into my washer machine. I added a small amount of detergent and bleach to my machine. I was hoping to subdue the color just a bit more. A faded look if you will.
And it turned out perfectly. After it went through the wash, the fabric was softer, and the indigo color was slightly washed out. Once it dried, it had just the most amazing and perfect color, in my opinion.
I decided I wanted to use this fabric in my entry way, which has been in the process of a quick remodel.
Now, if you want to use the fabric to create a pillow like mine here is my tutorial on that. You can do so many other things with this fabric though, A wall hanging, curtains, frame it as art, I mean you can do so much.
How I made my DIY Shibori drop cloth pillow.
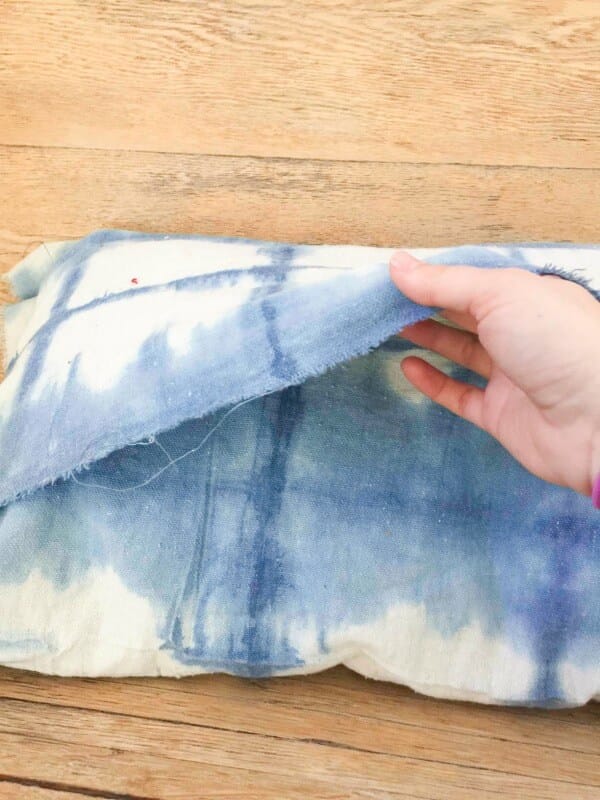
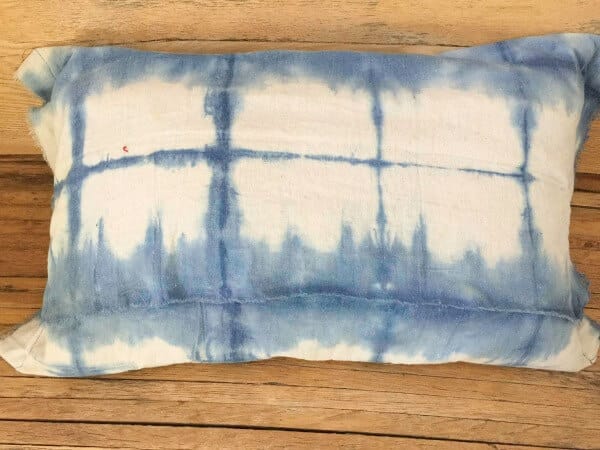
I took my Shibori fabric and I wrapped it over my pillow. The reason it did this was to check and make sure I liked the pattern and how the actual pillow was going to look.
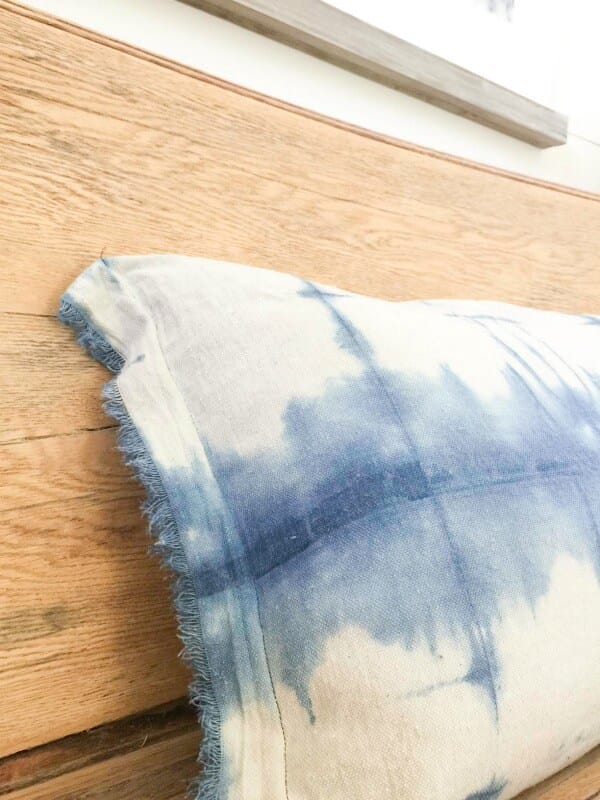
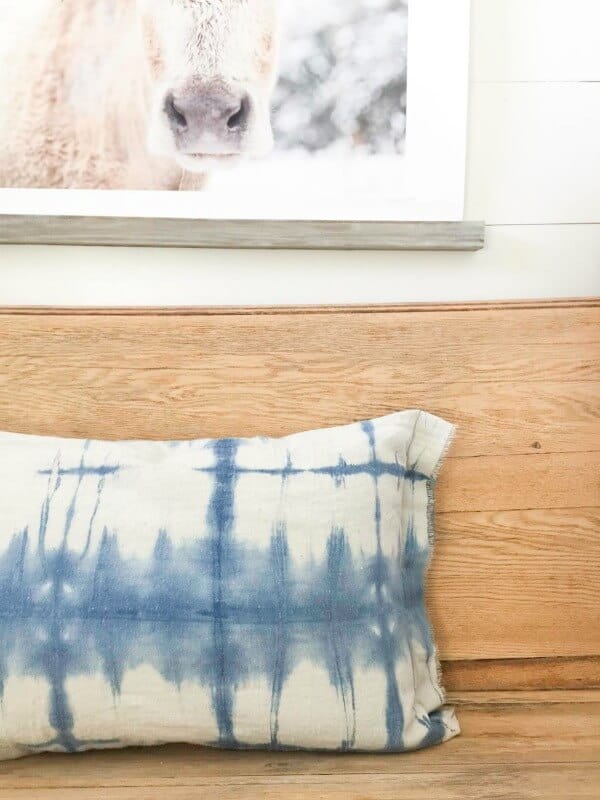
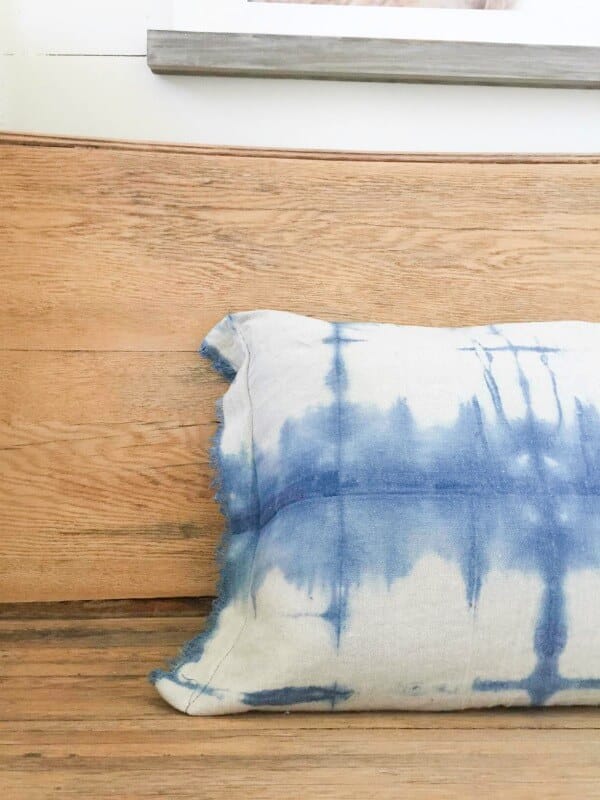
I decided I wanted to keep the frayed edges of the canvas drop cloth once I had seen it laid out in my dry run. So what I decided to create was an pillow envelope with frayed edges.
This is a really simple pillow cover to make.
Depending on the size of your pillow, you will have different measurements and adjustments. What I like to do is wrap the fabric over the pillow, exactly how I want it to be and then pin it into place on one side, leaving the other side open so I can pull the pillow out in order to sew. I also pin the envelope opening together so that it will stay put while I am working on it.
I took the pillow out and sewed the side that I had pinned with a 1 inch hem. Then I sewed the other side shut as well. Now I can unpin the envelope opening and insert the pillow.
That’s it. I know. It seems so easy. Well, I decided I did not want to hem the edges so that eliminated a lot of sewing. I love the rough unfinished edge.
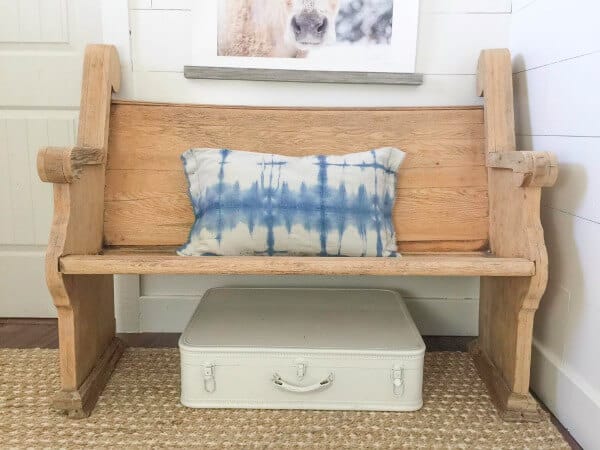
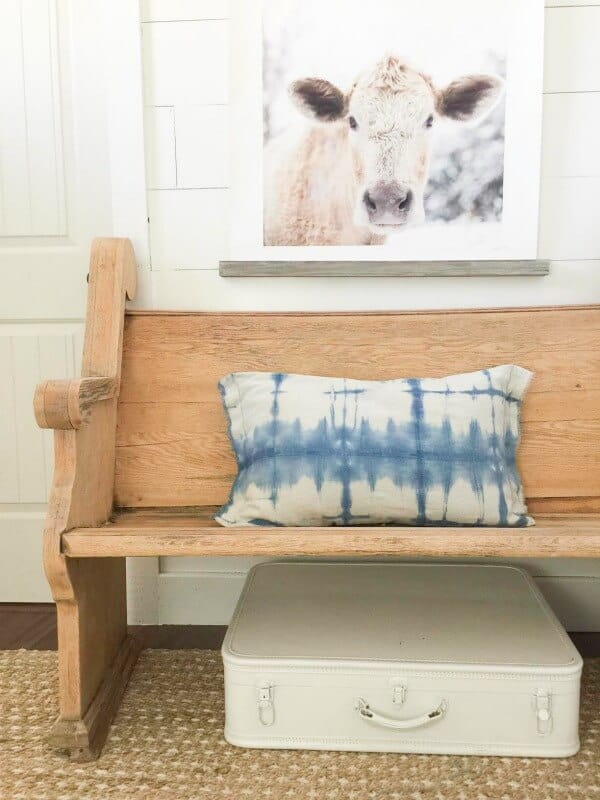
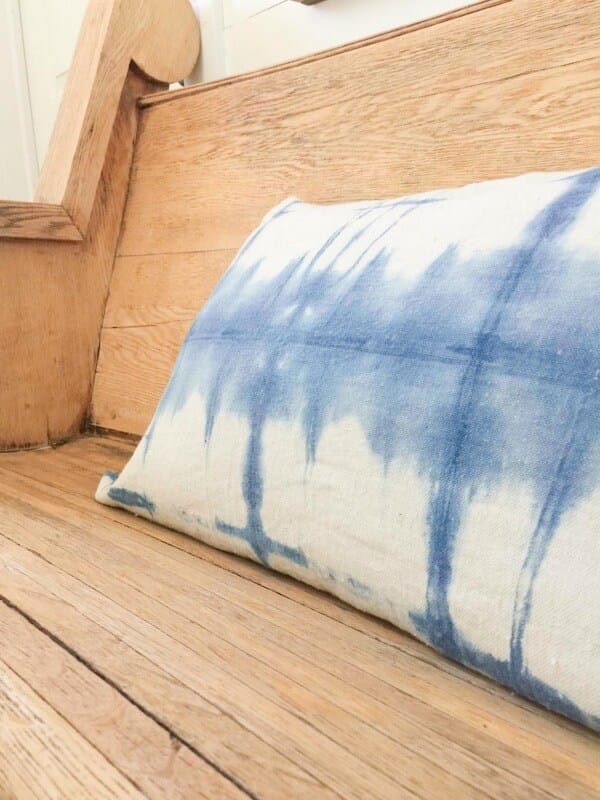
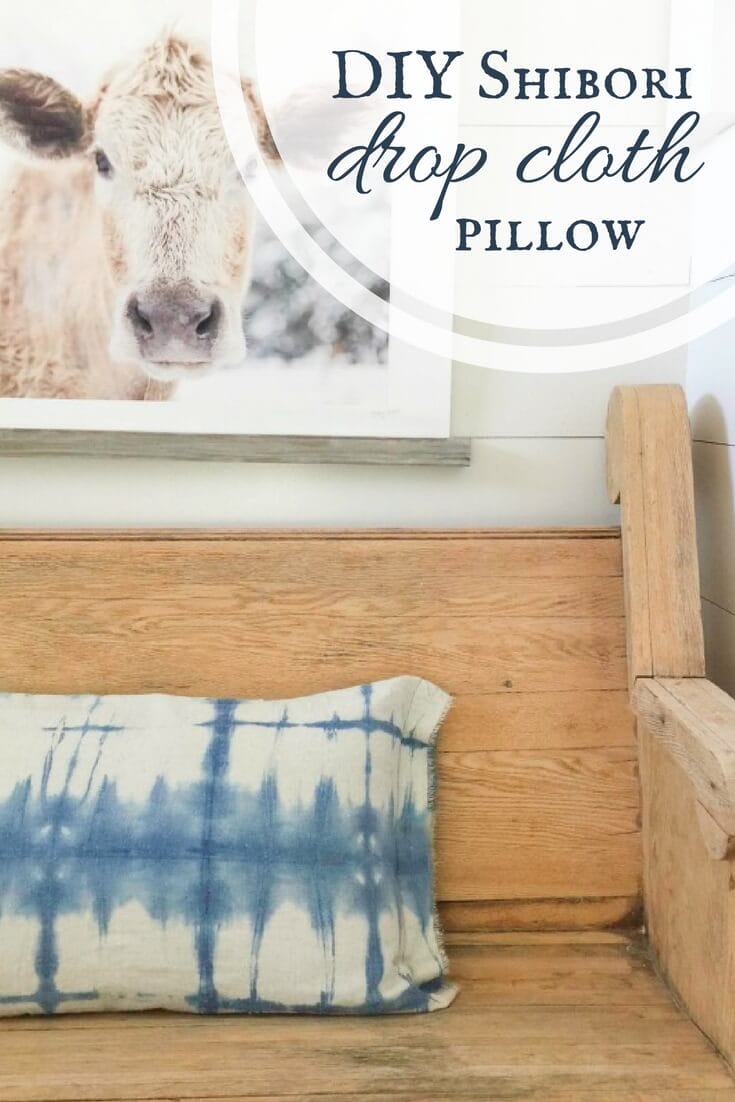
Adding this pillow to my entry was a risk for me. When I began this DIY project I was unsure about the result. But the juxtaposition of the DIY Shibori drop cloth pillow against the raw wood of my church pew and my cow print. Its interesting, and beautiful. I am convinced that it was meant to be that I did this project. I love this stuff.
What do you think of this DIY Shibori drop cloth pillow? Would you make one?
Thanks so much for stopping by and I hope you enjoyed this post on my DIY Shibori drop cloth pillow. This is something I am so glad I tried.
Have a great day!
If you like this post, check out these:
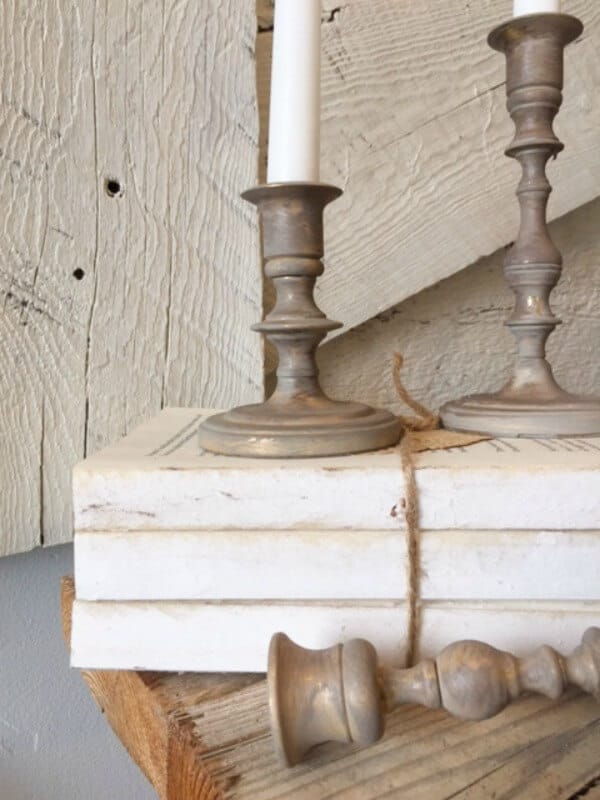
DIY Farmhouse Candlesticks with Chalkpaint
DIY Reverse Shiplap Wall Treatment
Mason Jar Herb Planters | 10 Minute DIY






Love this, Sara! The fringed edges take it to another level of good! 🙂
Thanks Iris!
Hi Sara. I was just wondering if this tecnique has to be done with indigo. My colour scheme is reds so would cold water die produce the same effect? Love your projects. X
Yes, I am sure you could use another color.
I love that you used a drop cloth for your fabric, such a great idea! Plus the fringe edge is perfect.
Thanks! I am loving the fringe edge as well!
This turned out so gorgeous, Sara! I’ve seen so many neat shibori pieces – I will have to try my own soon!
Shibori is so fun. Love this, especially the pillow edges.