DIY Velvet Pumpkins In No Less Than 10 Minutes!
I know we have all seen those lovely velvet pumpkins at the store and I am almost as sure that you have seen a DIY tutorial or two on how to make them. Today I wanted to give you my take on DIY velvet pumpkins.

I love fall. I think it is by far my most favorite time of year. What do you think of when you you think of fall? I know the first thing that comes to mind is pumpkins. I love all those velvet pumpkins you see at the home decor stores, but I just didn’t want to pay that price tag! You know what I am talking about. They can get pretty pricey, especially when you have so many other things you need to pay for that time for year.
I have looked at a few tutorials and felt a little wanting when it came to how they created the pleating and how they got the stem positioned. I have demystified that part! This DIY velvet pumpkin is so easy to make and you will be thanking me! I promise, even if you are not a crafty person, or someone that can sew, you can do these! I do not have patience for sewing most days, buuuut I still do it. As long as you have a needle and thread, you can make these.
This DIY tutorial is a bit different than my usual ones. Different in that it is in the form of a video this time! I have to give all the credit to my 11 year old son who did all the filming and edited the whole video. Maybe its just because he is my son, but I think he did a pretty dang good job.
Here is what you will need to make these DIY velvet pumpkins:
- Velvet fabric or other soft fabric cut into squares (variable sizes)
- poly fil
- needle and thread
- hot glue gun
- Faux pumpkin stems, real pumpkin stems, or pieces of a tree branch cut into 4-5 inch lengths.
I used fabric I found on clearance, so I did not pay very much for it. I actually found some other fabric at a thrift store and decided to make a few pumpkins with that as well. The fabric cost me $1.50! No kidding.
I like to get my poly fil at Walmart because its always a pretty great price, and since I live out of town, its easier to make one big stop instead of a million different stops around town.
So, if you are ready to see how easy these were made, check out this full video tutorial. Its super easy!
Watch how to make velvet pumpkins here:
This is a super easy project as you can see. This project took literally 5 minutes to make. It is a good thing because I am in the middle of making around 50 for a hospital foundation fundraiser dinner. I am in charge of doing 40 centerpieces that can be auctioned off. Yes, I am a little stressed.
What is wonderful is that you can make these and use them for fall, Halloween, and Thanksgiving! You can make a few fun black and orange ones for Halloween, or maybe you love white pumpkins. Make a bunch of them and use them all over!
Since these are so easy to make and are completely customizable to match any decor! They look so good with my dryer vent pumpkins too!
These velvet pumpkins are so fun and I love using them in my fall decor. They are especially great if you have little kids around that like to grab a a hold of everything. They can grab these without you fearing that they are going to break them!
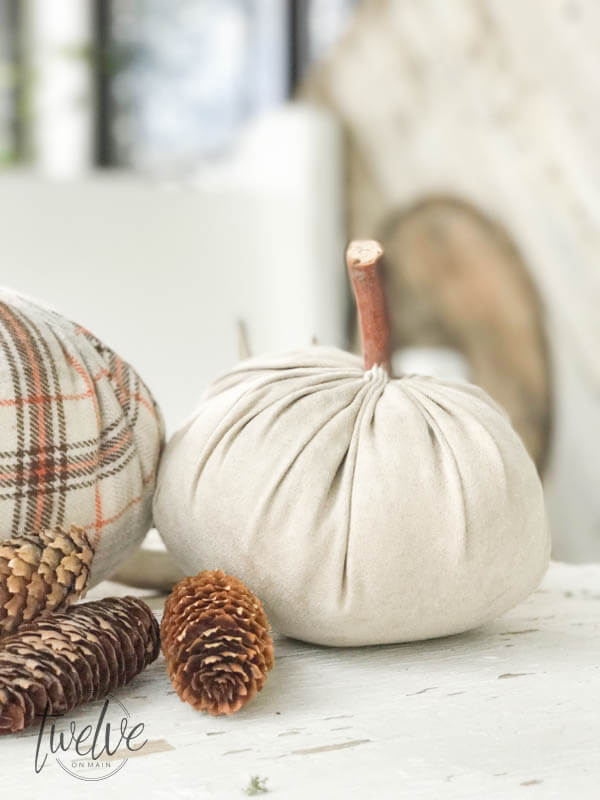
So what are you waiting for? Hop on over to your favorite fabric store or discount store and find you some fun fabric! Make some of these now, so that you can enjoy them in the fall!!

I like to pair mine with some pine cones from our pine trees. These things are a great decor staple to have. You can use these all year round, really I promise.
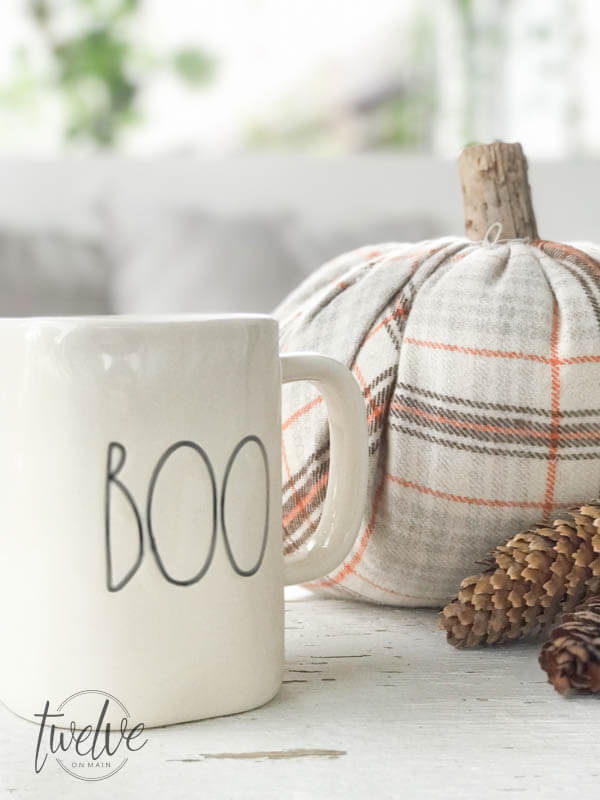
I hope you enjoyed this simple and easy project and I think you should definitely try it out! These are perfect for Halloween and Thanksgiving. If you have made some, post a pic on Instagram and tag me in it! I am at @twelve.on.main
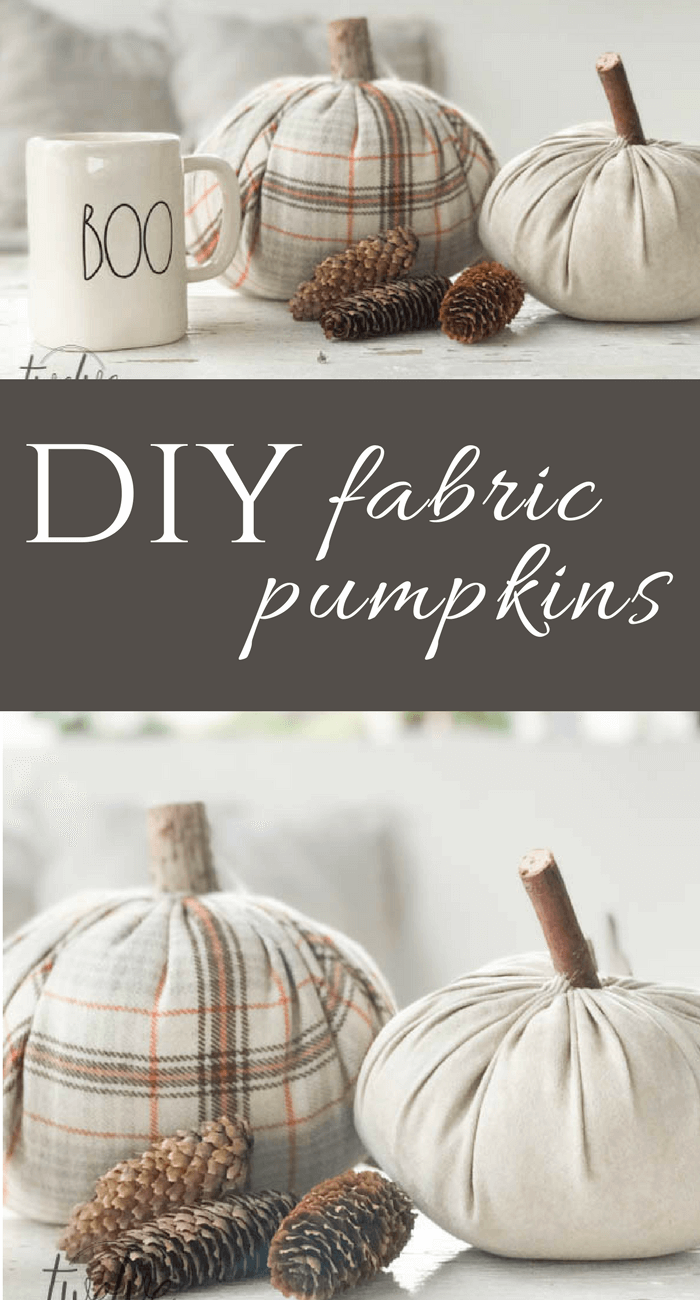
Make sure you save it for later!
Thanks for stopping by and remember:
If you want to see more fall ideas check these out:
20 Awesome Fall Decorating DIYs by Twelve On Main
Fall Tablescape with Simple Farmhouse Touches
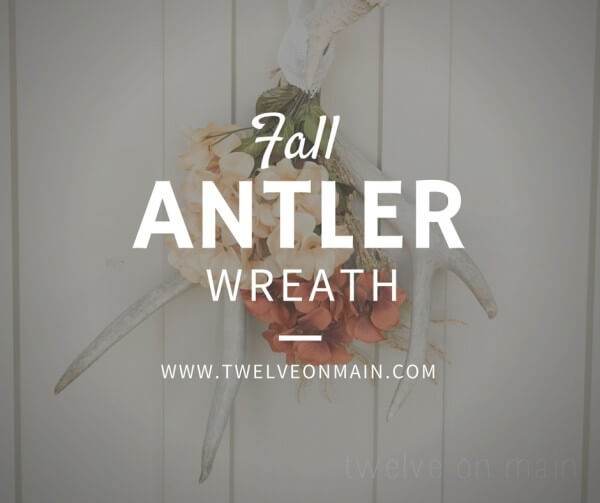
Non Traditional Fall Antler Wreath


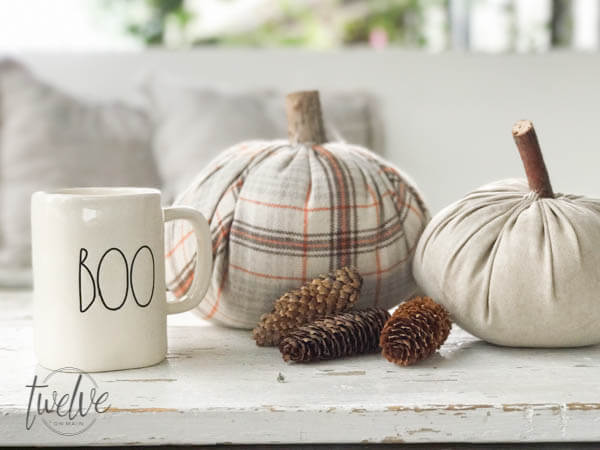


I love the look of these pumpkins, rustic and so very Fixer Upper!