Easy Cheesecloth Ghost Halloween Craft
Well I am back with a fun and easy Halloween craft that is perfect for a lazy day at home with the kids! All you need is a few items to make them! These easy cheesecloth ghosts are a really fun craft that I truly enjoyed doing!

Not only are they easy to make, they are inexpensive and you can make them look however you want!
What you’ll love about this craft project:
What to use to form the cheesecloth ghosts
This was something I had to experiment with. You want to find something round that you can drape the cheesecloth over, but it also needs to be tall, or as tall as you want the ghosts to be, I would say the range would be around 6 inches to 24 inches depending on how big you want to make them.
Fabric Stiffener Options
How to make cheesecloth ghosts:
First, get you something to use as forms for your ghosts. I shopped my house to see what I could find. I ended up using jars and vases with tennis balls and other round small objects on the top of the jar to form the ghost’s head.

I wrapped them all in plastic wrap so that they would not dirty the objects I was using. This was also good to secure the round object with the jars.

Now its time to make your ghosts!
First, using scissors, cut your cheesecloth into sizes you want your ghosts to be. I experimented with my first one and draped the fabric over the forms so that I knew what size to cut the other pieces of cheesecloth.
I made mine all different sizes because I liked the idea of having a lot of different looks.
(Choose your fabric stiffener. I used Mod Podge Fabric Stiffener. You can dilute it with water. You will also want to dilute Elmers Glue(school glue) or Regular Mod Podge. I would recommend diluting it 1 parts mod podge to 1 part water. Same for glue. Make sure to stir the mixture well.)

Pour your fabric stiffener to a bowl or dish that you may not want to keep. You can wash it out, but I used an old tupperware that we had that had no lid. Worked out perfect.

Add your cheesecloth pieces one at a time to the liquid and squeeze it around until all the fabric has absorbed the liquid. Squeeze out the extra liquid and spread out the wet fabric.

Drape it over your form and shape it how you want it to be. If you want it to look like your ghost has arms, I used chop sticks to hold up the spots where their hands would be.

Now you have to sit and let them dry completely. It took about an hour to dry.
Now you can add the eyes! I used black felt. Cut small ovals or rounds depending on what you want their eyes to look like. Make them all different or all the same!
Using a hot glue gun, glue the eyes to the dried ghosts.

Remove them from the forms and you are now ready to add them to your homes Halloween decor!
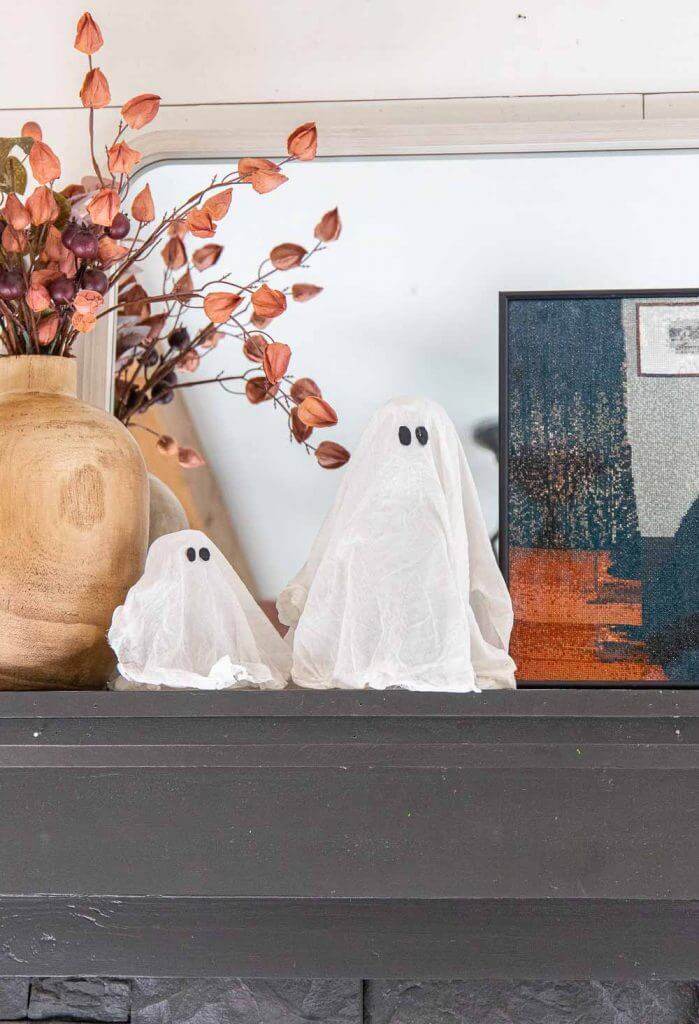
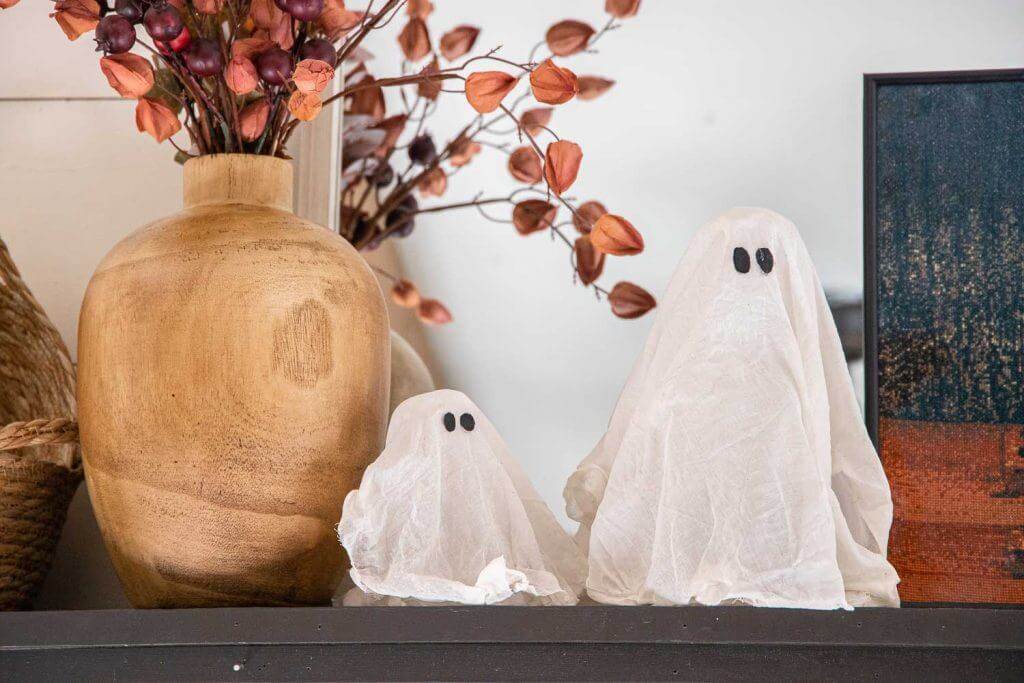
I added them to my entry way as well as a few on my mantel. Its a fun Halloween decoration.

How cute are they!

The ones on my mantel are so adorable and a simple way to add some Halloween decor.


What a fun spooky Halloween craft! It is a fun way to get your kids involved too!
Don’t forget to pin this for later!


