Easy DIY Faux Terra Cotta Pumpkins 2 Ways!
It may be 90 degrees out right now but that wont stop me from working on some fall decor! Today we are taking some dollar store plastic pumpkins and we are going to turn them into terra cotta! This is a super easy process and I have a couple of different ways that you can achieve the terra cotta look! If you want a more rustic look you can do it strictly one way, but if you want to add some finesse.

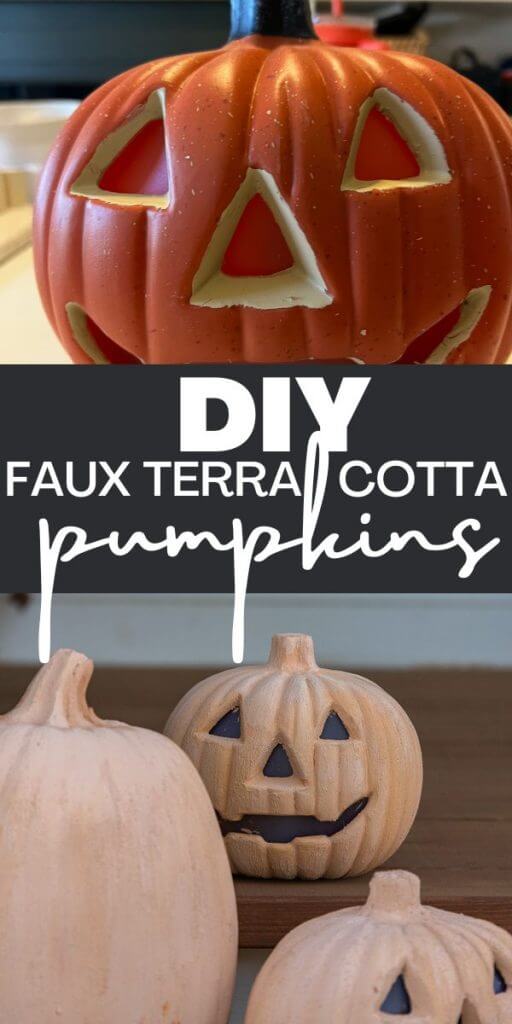
I found these plastic pumpkins at the Family Dollar! They actually have alight up capability so they each were 5 dollars. Still quite affordable! But they just weren’t my style haha.

I want to share two different ways to make these faux terra cotta pumpkins that I have made. I have found two different but similar methods that come out with amazing results and have really cool finishes.
There are two methods but both use plaster of paris to prepare them.
To make these look more like terra cotta I like to add a layer of plaster of paris with some paint to give it a base. This will help the last coat of paint to stick while also giving it a terra cotta like texture. It can sometimes be difficult to paint plastic or other surfaces and get it to stick. Doing this plaster of paris step will ensure a nice coat of paint on the top.
Steps to making Terra Cotta pumpkins:
First method Plaster of Paris only:
You want to prepare the plaster of paris to have a nice tooth paste like consistency. Mix water into it to get this consistency. You will them add the paint to the plaster of paris. I use brown, orange, yellow ochre and burnt sienna to create a nice terra cotta color. Make the mixture darker than you plan because it will dry lighter.
Apply the Plaster of Paris coat and let it dry:
I like to apply a single coat of the plaster of paris to the entire pumpkin and let it dry completely. Once it is completely dry you can move to the next step. Use a paint brush to apply the mixture and let dry. Repeat with a second coat.
Once it is dry you can leave it as is! You are all done!


This is what the first method looks like. I really love the texture.
Second terra cotta pumpkin method:
You will want to first cover the pumpkin with plaster of paris like with the first method, butt you can either choose to mix the paint in or not. You will be painting this later anyways. Apply the plaster of paris with a paint brush.
Second lightly sand the Plaster of Paris
You might not need to do this step if the plaster dried nice and smooth. I like to take some steel wool or a very fine grit sanding sponge and just give the object a light sanding.
Third apply a coat of paint on top of the Plaster of Paris coat:
Now you will mix up your paint for the final coat. If you can find a terra cotta paint color already pre mixed, that is great! I like to mix my paint using the craft paints that I have. I like to use orange, a bit of yellow, some brown and some burnt sienna. These colors turn into a beautiful terra cotta color. Apply a coat of paint to the entire pumpkin.
Fourth dust the entire surface with a layer of flour: There are tow ways to do this, with the paint dry or wet. I actually prefer the paint to be dry but dont be afraid to try both ways! If you apply the flour while the paint is wet, you want to sprinkle it all over th pumpkin and let the paint dry and then dust off the excess.
Once the paint is dry, brush of the excess flour and buff it up a bit Now that the paint is completely dry, you can take a rag and dust off the excess flour and then give it a little buff. You now have the cutest pumpkins on the block!


I bought 4 different plastic dollar store pumpkins and used this method on all of them. What is great is that some of the pumpkins have jack o lantern faces cut out of them, so I can use that side for Halloween and then flip them around for just general fall decor.
Either method creates a really cool finish on plastic pumpkins. I love how they turned out and think they look amazing on my porch!
How fun are these faux terra cotta pumpkins! Make sure to check out these other great pumpkin DIY ideas below!
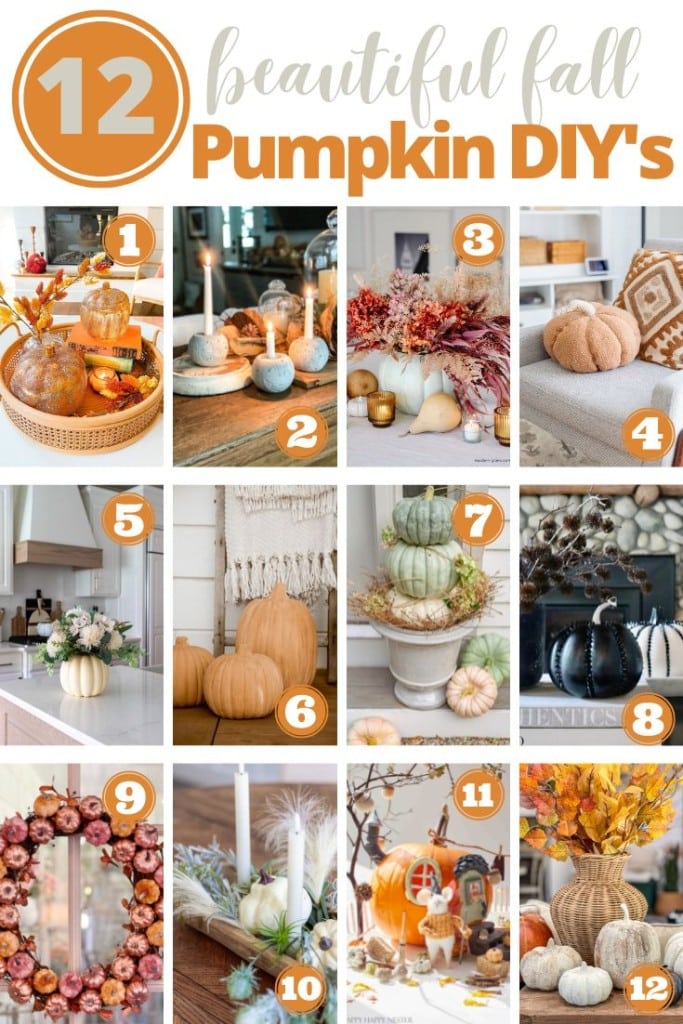
Fall Pumpkin DIYs

- Pottery Barn Inspired Amber Pumpkin Cloches by Tatertots and Jello
- How to Make Concrete Pumpkin Candle Holders by Robyn’s French Nest
- Dried Floral Pumpkin Centerpiece by Modern Glam
- Sherpa Pumpkin Pillow PB Knockoff by Craftberry Bush
- DIY Fall Decor Ideas by Jennifer Maune
- DIY Faux Terra Cotta Pumpkins by Twelve on Main
- Pumpkin Planters by Finding Lovely
- Luxe Studded Pumpkins by My Sweet Savannah
- The Best Pumpkin Wreath DIY by My 100 Year Old Home
- Easy Pumpkin and Candle Decoration by Zevy Joy
- Pumpkin Fairy House by Happy Happy Nester
- Fall Pumpkins: How to Easily Make Costly Pottery Barn Look for Less by The Design Twins


Sara,
I love your faux terra cotta pumpkins. They came out so beautifully and look like the pumpkins in Pottery Barn! Great fall DIY.
I really like these! First ones I’ve seen that actually really look like terracotta. I know that you can’t leave plaster of Paris outside so I assume you use these only inside??