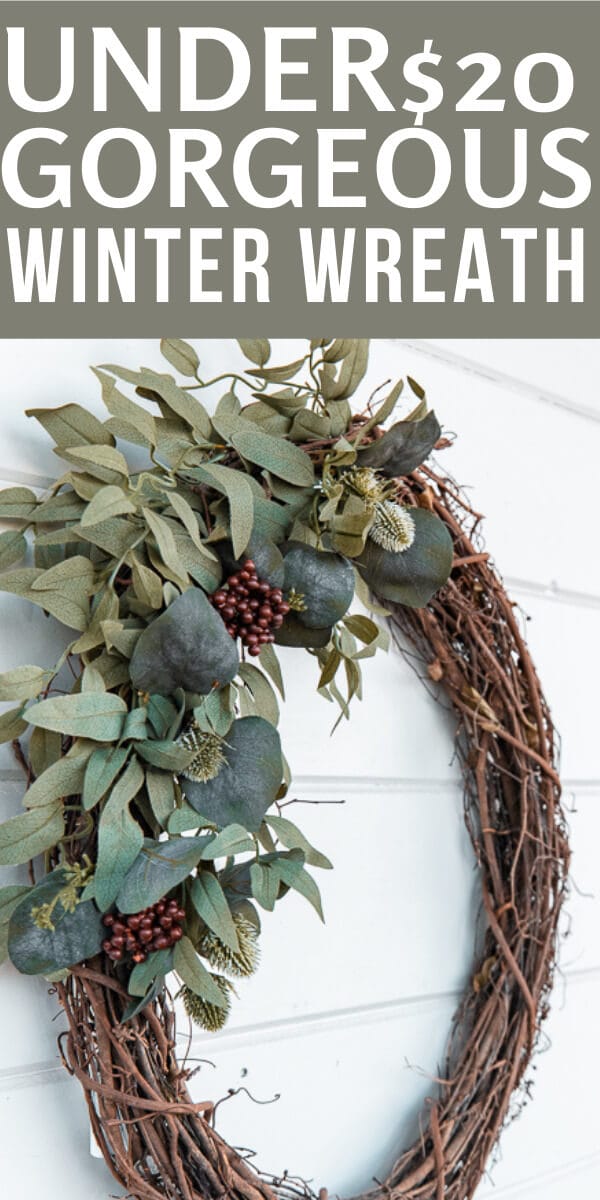
Make This Gorgeous DIY Winter Wreath for Under 20 Dollars!
The couple of weeks after Christmas are the perfect time to take advantage of all the sales on holiday decor. I rarely venture out on such an adventure, but when I am looking for affordable wreath options, I always make sure to check out the after Christmas sales at places like Joann Fabric and Crafts, Michaels and Hobby Lobby more. I was able to find some holiday floral that I could use to create a gorgeous DIY winter wreath for under 20 dollars! Let me show you how I did it!
I am sharing this tutorial along with some of my favorite bloggers! Make sure to check the bottom of this post for some of my favorite winter wreaths!
After I took my Christmas wreath down for the season, I still wanted something more winter inspired. Really I probably could have kept my wreath up, but I love making DIY wreaths and I love having one on my front door so off to the craft store I went.
First, be prepared. You can scope out coupons for these stores online or on their apps. Joann’s has a great app with tons of seasonal coupons. Once the holiday season ends addition, they have great after Christmas sales, since they are trying to make way for all their spring decor and florals. I always try to check out the after the holidays deals. It is a great way to get awesome deals on quality products.
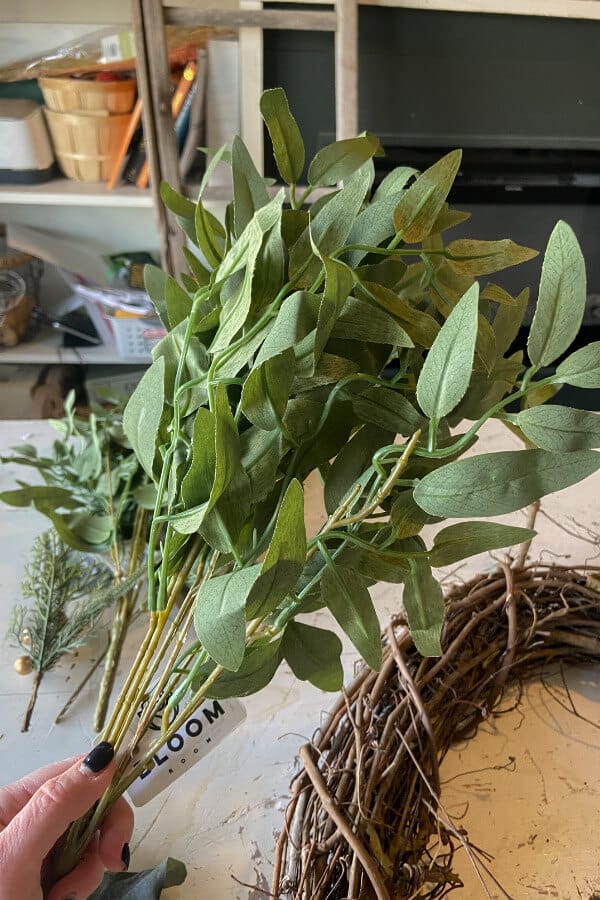
When I was at Joann’s I found a ton of assorted florals and greenery that were on clearance and many others that were 30 percent off. In addition to that, their wreath forms were 30 percent off too. To top it all off I found a coupon for 50 percent off one regular priced item. All in all with the wreath form and the discounted florals and winter stems ( I found a bunch of Eucalyptus), the wreath supplies cost me less than 20 dollars. I already had a hot glue gun and glue at home as well as florist wire if I choose to use it.(it is inexpensive and handy to have around the house)
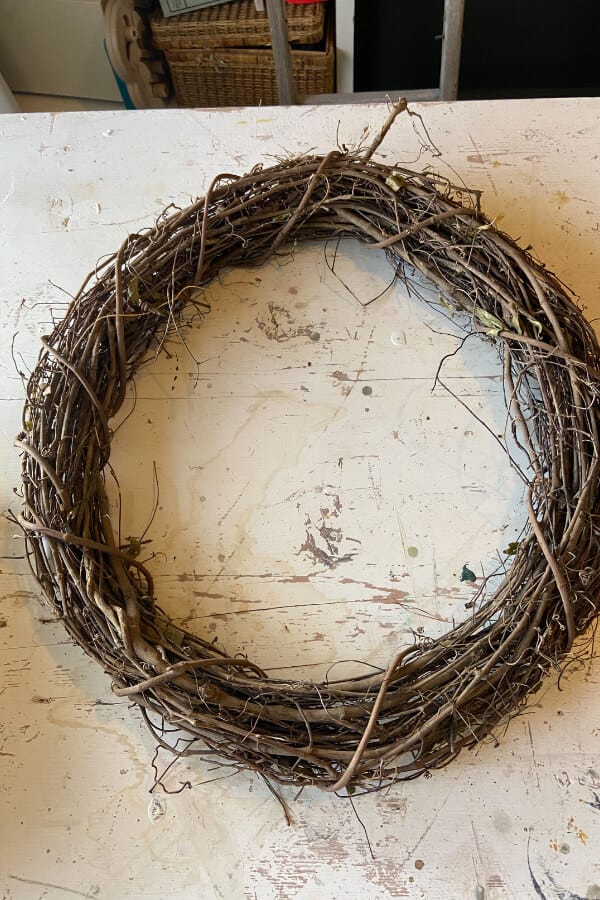
I always try to have a design in mind before I go to the store because it can get a bit overwhelming once you get to the store. I tend to migrate towards more simple designs, and this time I decided to create a beautiful winter wreath for the long lasting winter season. Joann’s has some pretty good faux greenery and this works well for wreath making. For my wreath base I chose a large round grapevine wreath form. This is much bigger than any I have used before. I tend to not like using a styrofoam wreath form for multiple reasons. Mainly I love the raw look of the grapevine wreaths and I like to use them as part of the wreath as a whole.
Here are some wreath form options for you:
- wire wreath form
- embroidery hoops
- styrofoam wreath form
- grapevine wreath form
- metal hoop wreaths
You can make many different kinds of winter wreaths and you can use upcycled items as well including old sweaters, scarves and more. I have a great scarf wreath tutorial here!
My DIY Winter Wreath:
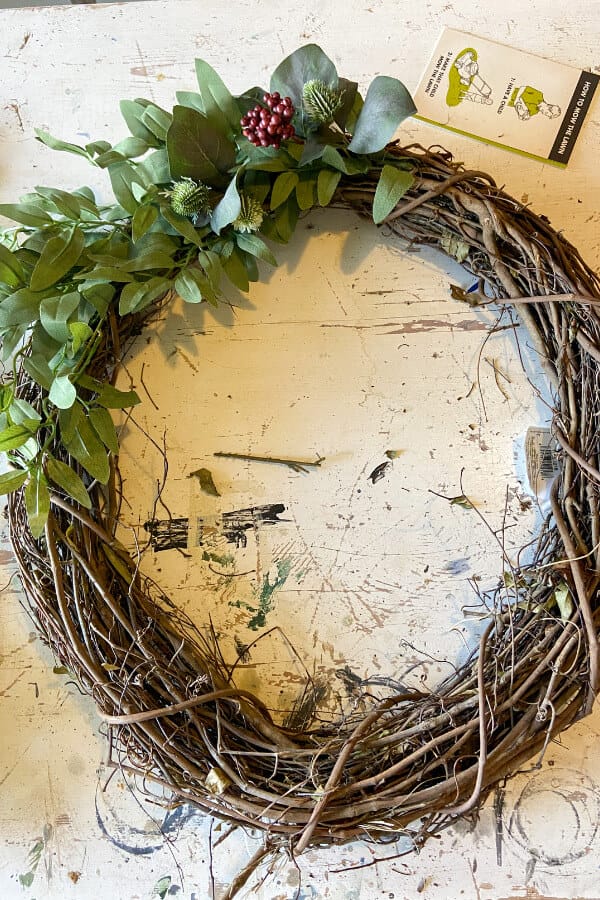
First thing, when I start to make a wreath I like to lay out the wreath prior to making any permanent decisions. I like to hang my wreath form so that I can get an accurate look at how the items I am putting on the wreath will hang and lay. I wanted something this time that highlighted the beauty of the wreath form, and also has that winter touch with natural elements.
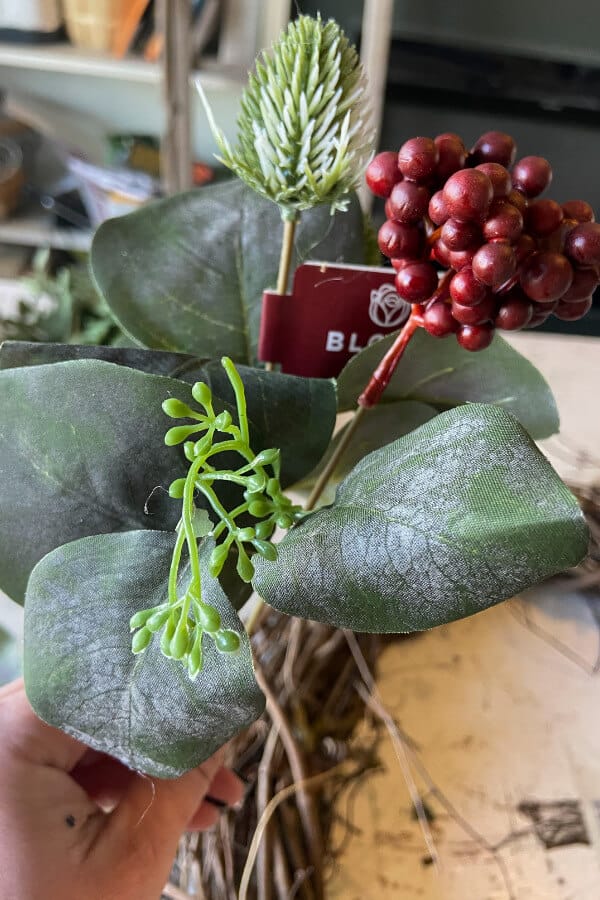
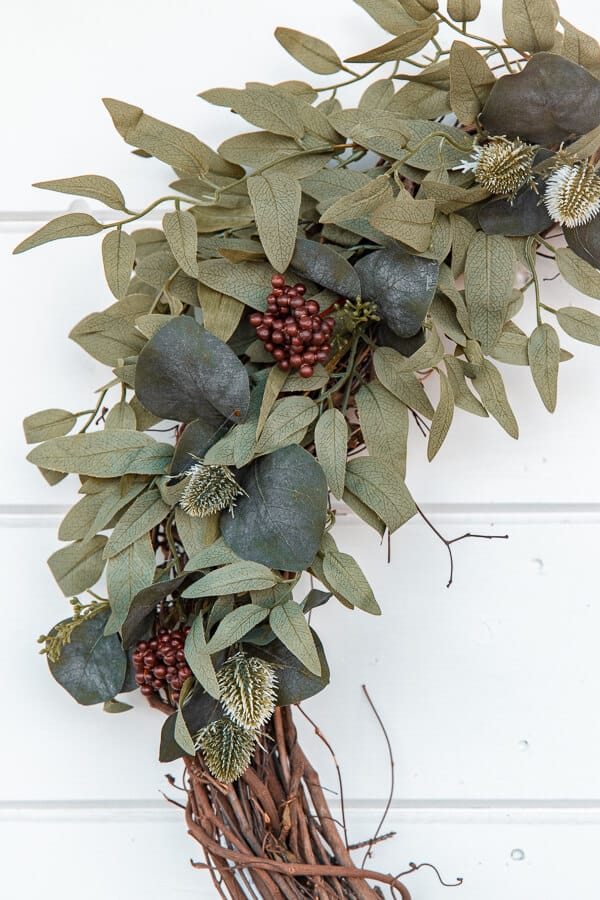
When you are going through your faux greenery or flowers do not be afraid to break them down, and cut them apart as needed. I use a wire cutter to cut the branches of my eucalyptus as well as the small bunches of berries and greenery. This makes it easier to place them and arrange them more naturally. If you try to keep the bunches together it will limit the amount of ways that you can use it.
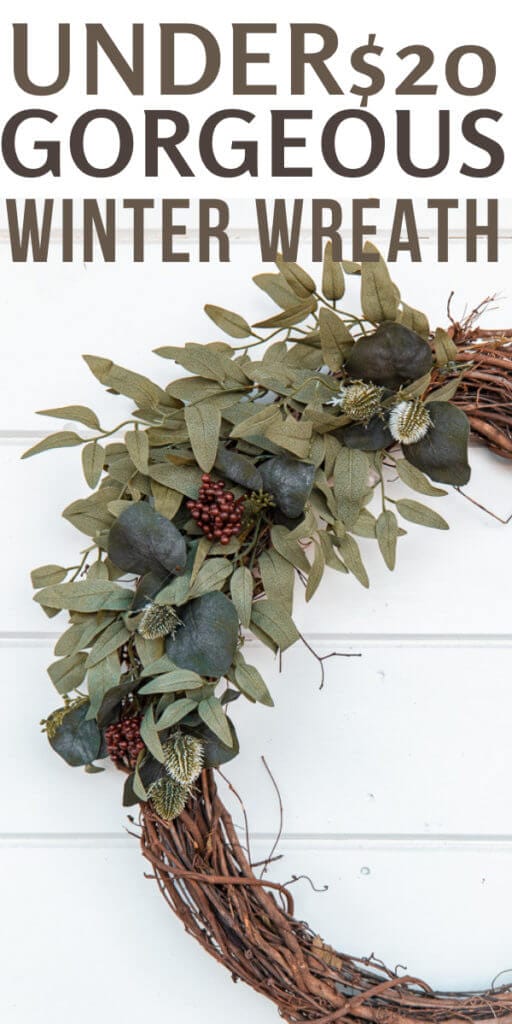
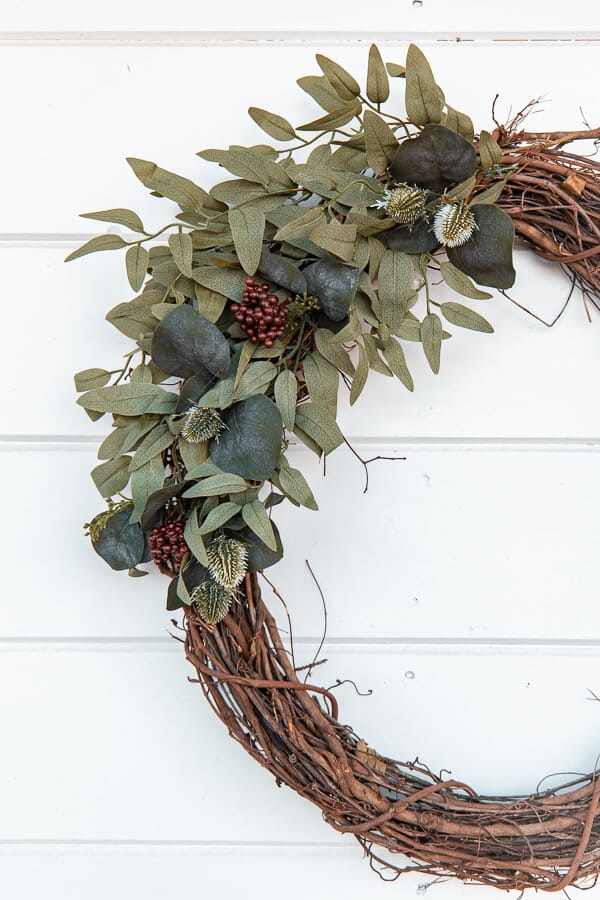
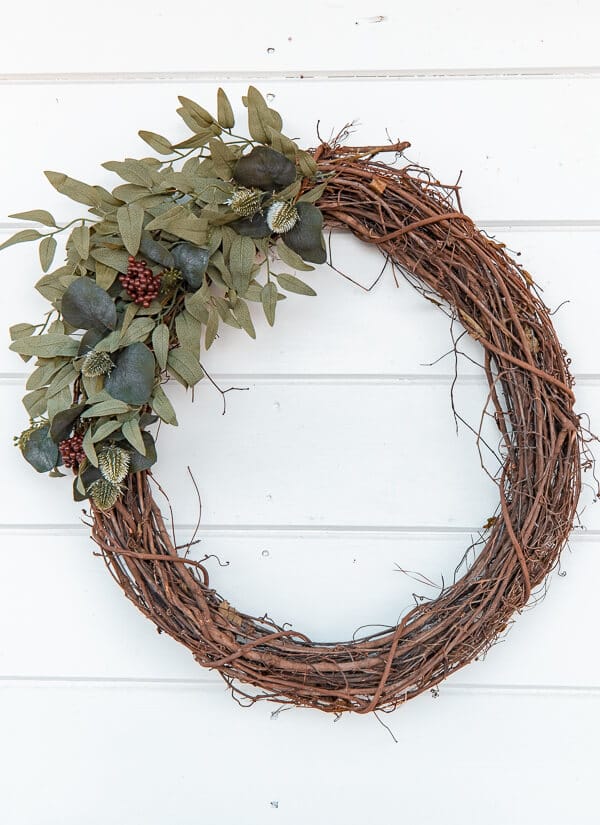
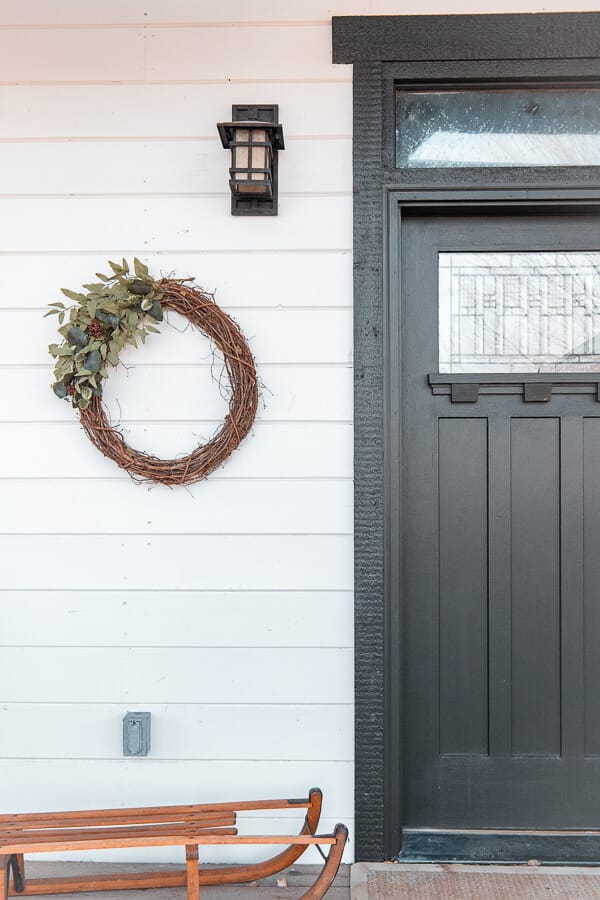
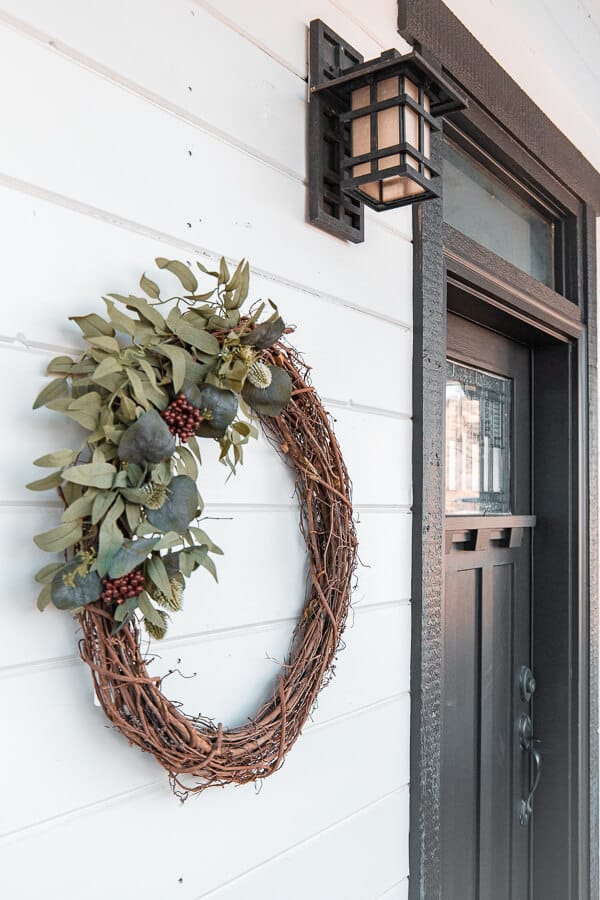
So for my wreath I chose to only add the greenery and berries to the top left of the wreath, making sure that the foliage laid and draped across the wreath in a pleasing way. I stuck the pieces in to the grapevine making sure they get a secure fit where they can stay put. Once I know I want to keep it there permanent I will use my hot glue gun to secure it in the wreath form. I sometimes will use the florist wire as well, especially if I want to reuse the wreath form for my next wreath. I am notorious for doing this. I tend to shy away from anything permanent so I can reuse and reinvent my wreaths throughout the year.
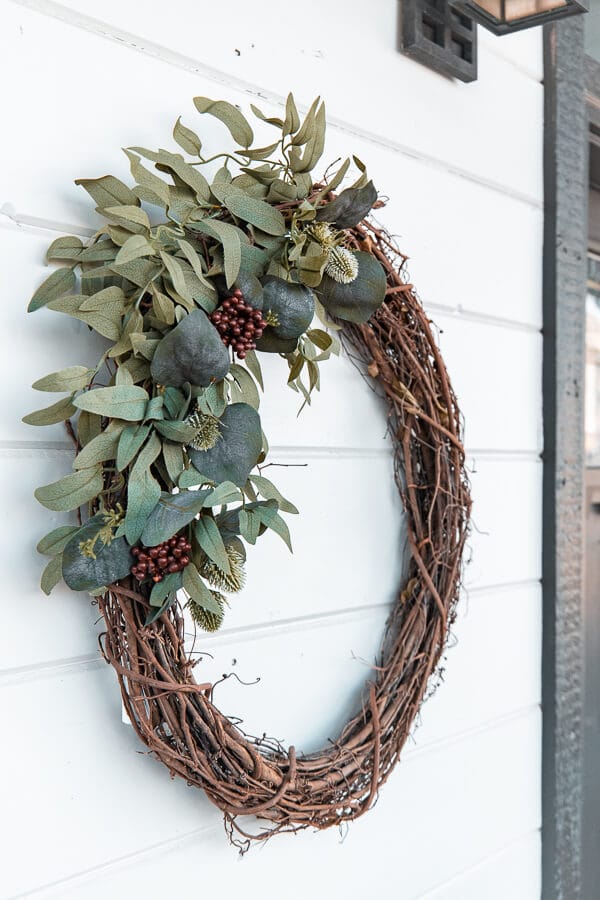
For this wreath, I put in the eucalyptus stems and then I added smaller bundles of berries, thistles and more eucalyptus(but this time it was a different kind).
I added and subtracted until I felt it was balanced. Those pieces all got hot glued into the wreath.
It really was that simple. I even bought more foliage and florals than I needed but that is okay I am sure I will use them somewhere!
This large wreath is the perfect size for my front porch. I love that it is larger than other grapevine wreaths I have made. It is a nice focal point for the winter months.
I really think it is a beautiful wreath. Creating a winter wreath is the perfect way to add some fun to your winter. Those long months can drag on and a winter wreath craft might be just what you need!
Check out these other gorgeous DIY winter wreaths below!
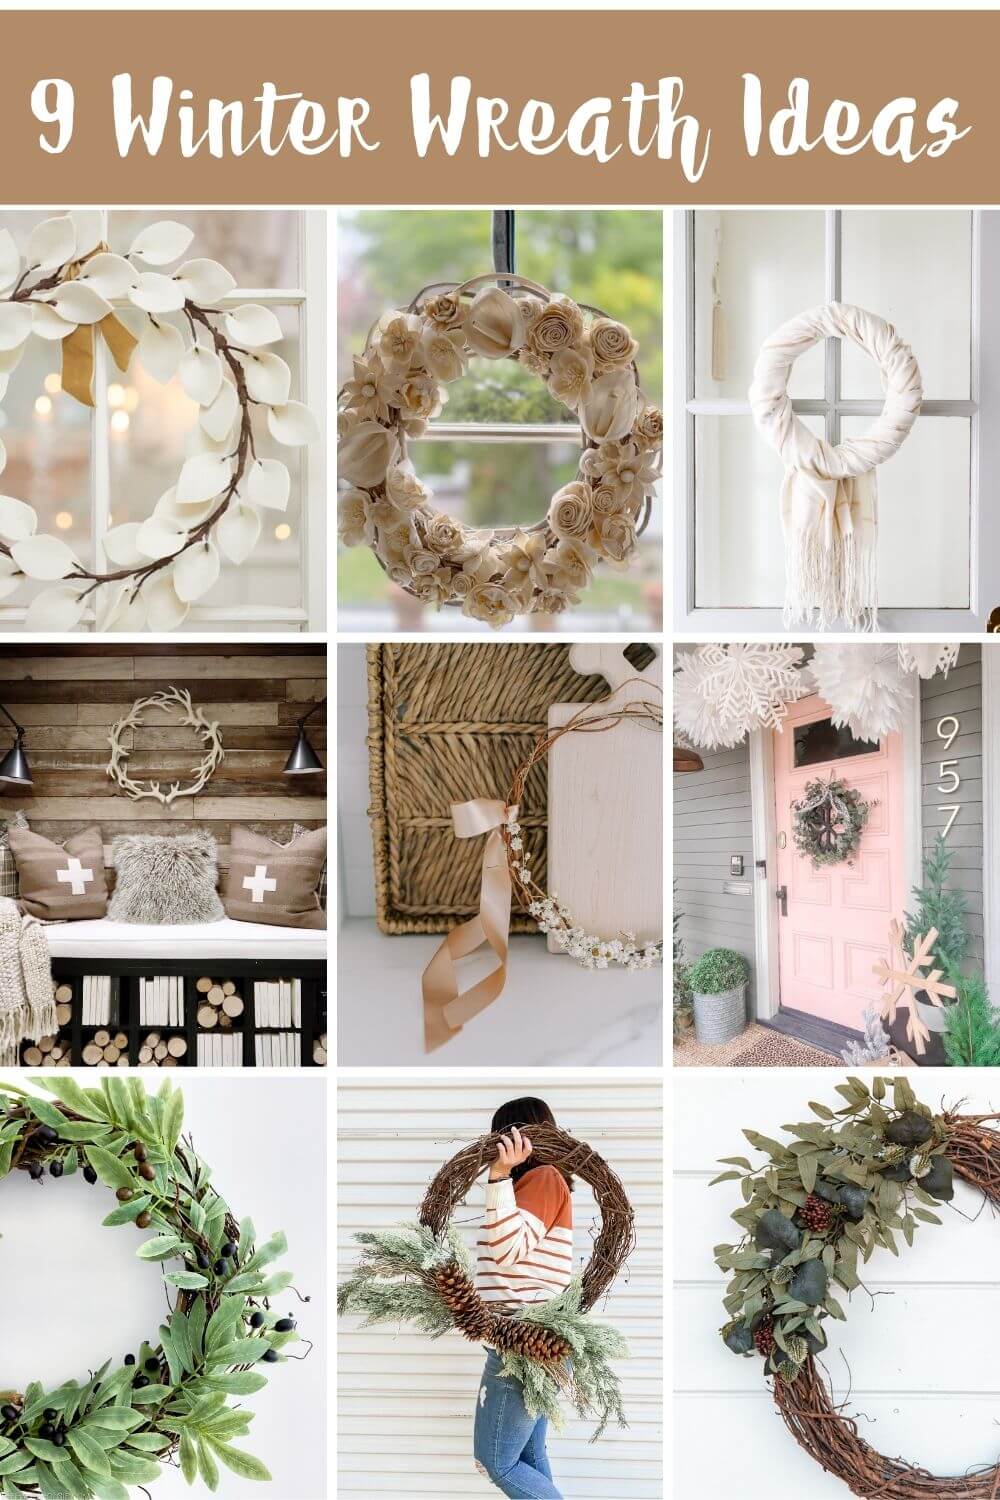
9 Winter Wreath Ideas
Cozy Winter Scarf Wreath // Modern Glam
DIY Antler Wreath // My Sweet Savannah
Easy Felt Wreath DIY // Happy Happy Nester
A Delicate Winter Wreath // Finding Lovely
Five Minute Winter Wreath // My 100 Year Old Home
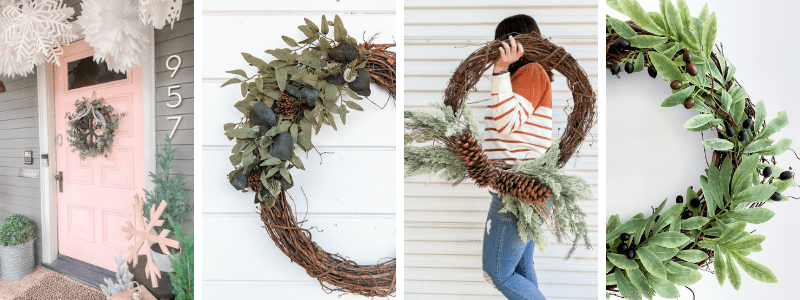
Winter Snowflake Wreath – 3 Ways // Tatertots & Jello
Gorgeous DIY Winter Wreath for 20 Dollars // Twelve On Main
Grapevine Pinecone Wreath // Lolly Jane
DIY Olive Branch Wreath // The Happy Housie


It is beautiful! Such a great DIY!
We’re suckers for eucalyptus. The berries are so darling too. Love it, girl! xo