How to Use Rub N Buff to Update Home Decor
Have you ever wanted to give a lamp, light fixture or other piece of furniture a but of an update or restore it to its original glory? I want to show you how you can sue Rub N Buff to do just that! When I tell you that I gasped the first time I used it, I am not exaggerating. This stuff can be used is some really great ways to give items in your home new life! You can use it ono so many things and I want to share how I have been using it in my home.

What is Rub N Buff?
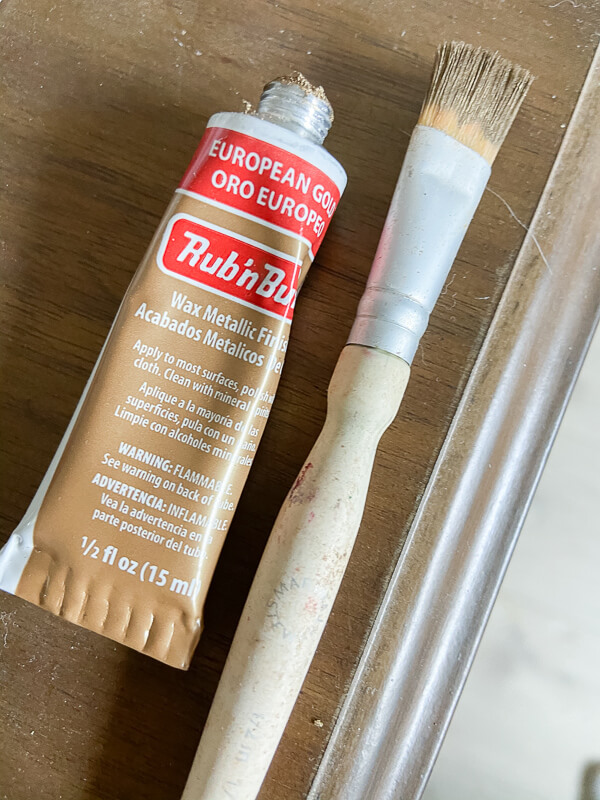
Rub N Buff is a paste type substance with a unique blend of Carnauba wax, fine metallic powders and many unique and select pigments. It is a great alternative to spray paints, and a little definitely goes a long way. It comes in 9 different shades including Antique Gold, Autumn Gold, Ebony, European Gold, Gold Leaf, Grecian Gold, Pewter, Silver Leaf, and Spanish Copper. It comes in a small 1/2 oz tube, but believe me, a little goes a long way.
,
CLICK HERE TO SEE ALL THE RUB-N-BUFF OPTIONS!
What surfaces does Rub n Buff work on?
This unique substance can be used on so many different surfaces including metal, wood, plastic, glass, ceramics, and even painted surfaces. It is especially great on metal objects and this is what I use it for the bulk of the time. I love using it on old light fixtures, drawer pulls and more.
What does Rub n Buff do?
Rub N Buff is formulated from imported Carnauba waxes, fine metallic powders and select pigments for a finish that no paint can replicate. The process is simple. You simply rub it onto a clean, dry surface. (You can also use on previously painted surfaces or post-fired ceramics). Use a finger with a soft cloth, then gently buff to a beautiful lister. The more you buff the more it shines. It creates a beautiful luster on whatever hard surface you use it on.
Does rub and buff come off?
Rub N Buff is permanent and I would trust the staying power of it over any paint or spray paint, but if you scratch the metal with another hard surface, it will scrape off. I would recommend scuffing up the surface first using fine steel wool or a sanding block for better adhesion if you are concerned.
Do you have to seal Rub n Buff?
No, you do not need to seal Rub N Buff. If you are concerned, make sure to give the dried finish an extra buff to make sure there are no loose pieces. This product hardens quickly and will be clean to the touch. It is the most natural looking product I have found for the use of redoing home decor pieces such as frames, and light fixtures. It also works well for craft projects, stencilling, and more.
Watch my video here of how I use Rub N Buff on these lamps!
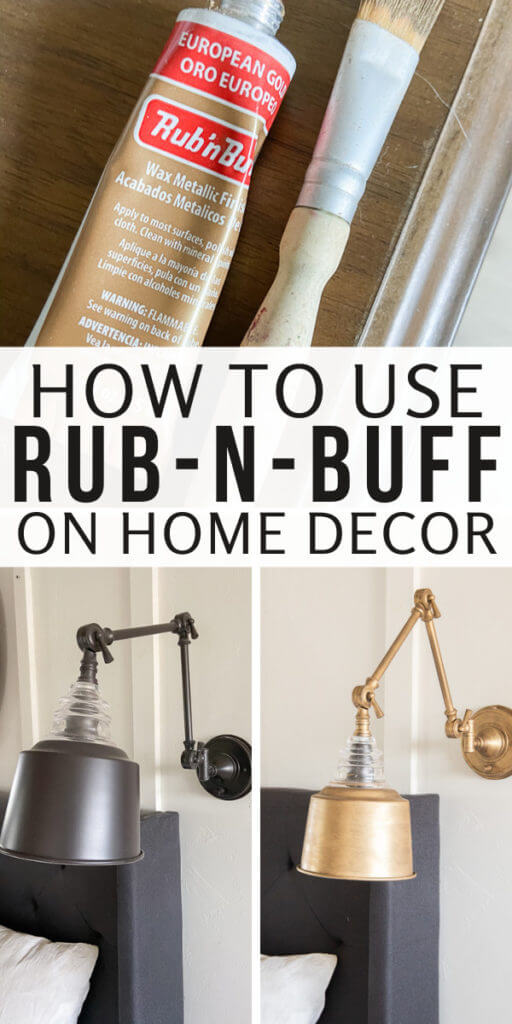
Let’s talk about my most recent project using Rub N Buff and look at the complete transformation of the wall lamps in my master bedroom.
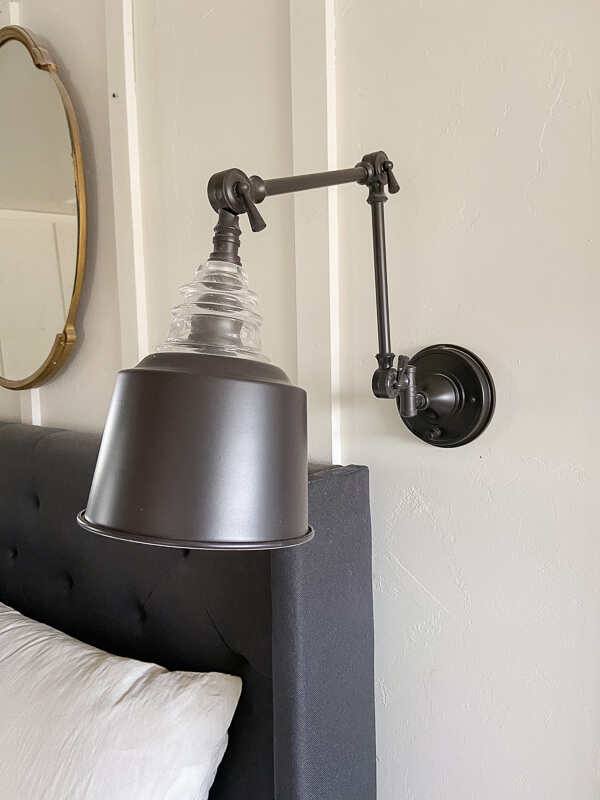
Over the past couple of months I have been searching for some new light fixtures for the sides of my bed. We currently have some wall lamps on both sides of the bed. Over the past year have wanted something new to go better with my new bed frame. I felt like the dark color of the lamps was overwhelming with the dark upholstered headboard.

I had actually purchased a couple of other lamps but when I looked at them in the space, they just weren’t right, so I sent them back. So back to square one. I bought this little tube of Antique Gold Rub N Buff about a year ago, and it sat in my office for almost a year. Then one day I just decided to try it out. Since I was planning to replace the original lamps, why not give them a coat of this Rub N Buff and see if I liked them better. I loved the shape and design of the lamps, I just did not like the color anymore.
And boy was I thrilled with how it all turned out.
First, I gave both lamps a good cleaning, making sure there was no dust or dirt on them. Next I took a soft rag, applied a small amount of Rub N Buff to the rag and with my finger, I began rubbing it onto the surface of the lamp. It’s pretty amazing how fast this stuff can transform a piece.

Now, for the small and moore intricate areas on the hinge points of the swing arm lamps, I used a small paint brush to get into the cracks and crevices. I then used the towel to buff it once it had hardened, which takes just a couple of minutes.

Once the entire piece was covered, I buffed the entire piece. I was astonished at how amazing it looked! They have a brushed gold look to them, with some antique flavor as well. I am so impressed with this product! I love how easy it was to use. Using barely even half of a .5 oz tube of Rub N Buff I was able to completely transform these wall lamps and now I am totally obsessed with how they look with my bed and bedding.
CLICK HERE TO SEE MORE RUB-N-BUFF OPTIONS~

Its such a beautiful brushed gold.


The gold lamps look amazing with my dark upholstered headboard as well as my natural accents.


They also are the perfect partner to my antique gold mirror that is above my bed.


I also love that one small tube costs about 14 dollars. So for that small amount of money I was able to get a whole new set of lamps!


I love these kinds of projects and I love products that produce real results that are long lasting. Rub and Buff really works amazing. I think its kind of magic, but either way, I will keep using it!


If you like this post, make sure to check these out!
My Favorite Farmhouse Bedroom Features
How to Waterproof Fabric and Material Like a Pro!
How to Use a Paint Sprayer to Paint Furniture


Oh, coincidence is just TOO weird. A while back, I got a tube of silver and of gold at Good Will for $1 each. This morning I dry brushed the gold on a little bisque basket with worn gold trim (also thrifted!). It jazzed it right up and took about 5 minutes! Put a price tag on it to bring to my antique/vintage/craft booth next time I go! You are so right; it is an easy technique and took almost no time at all!
I absolutely loved this tutorial! I’ve been looking for a way to refresh my home decor without spending a fortune, and the Rub N Buff technique seems perfect. The before and after photos are so inspiring! I can’t wait to try out different metallic shades on my old picture frames. Thanks for the tips!