Paint Dollar Store Plastic Jack-O-Lanterns for an Updated Look
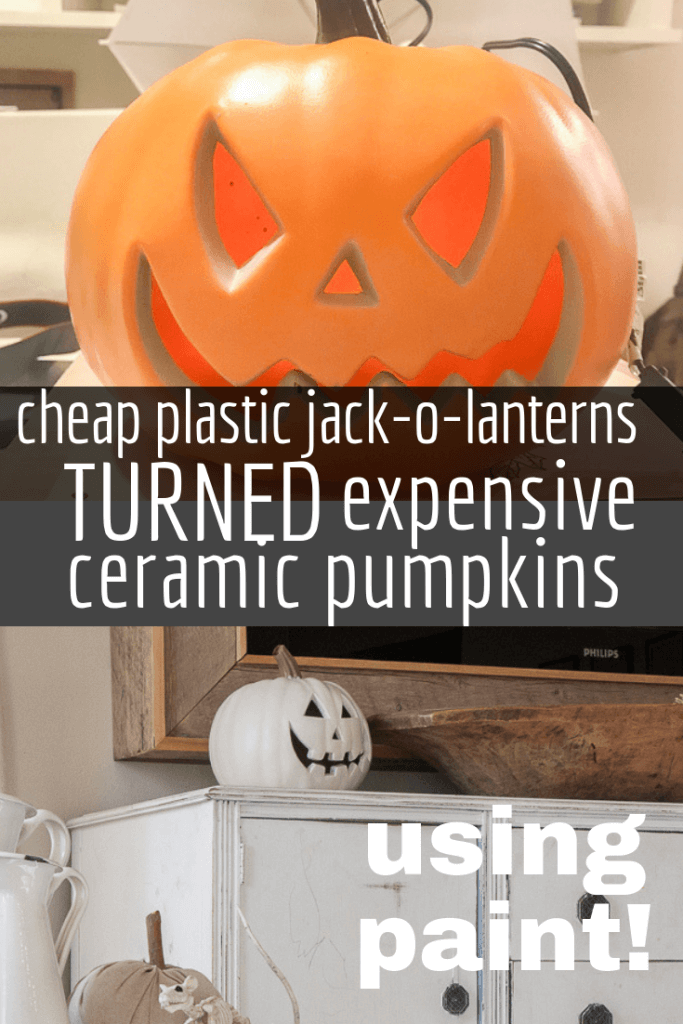
Updating inexpensive decor items is the easiest and cheapest way to create a sophisticated look in your home. Come see what I did with these plastic jack-o-lanterns that gave them a totally new look.
The other day I was wandering around the local Family Dollar and I came across their Halloween section. Lots of fun and inexpensive Halloween decor, and sure, lots of fun stuff, but nothing that was really speaking to me in terms of stuff I could use in my home. That is until I came across some plastic jack-o-lanterns.
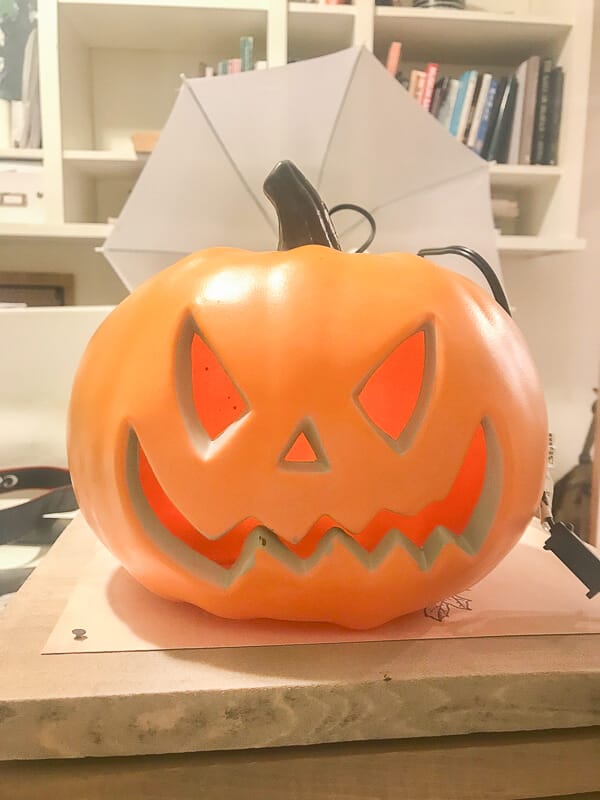
They were the typical classic jack-o-lantern type and were pretty cute all on their own, but I wasn’t sure I wanted to work with that bright orange in my home….since I like to keep things a little more neutral. I bought a few anyways. They were only 5 dollars, and they had a bulb inside so they light up which will be fun for Halloween! I knew I could turn them into something fancy and fun with them.
Have you seen those ceramic style pumpkins that are out in the stores during the fall? They are so cute, and certainly more my style but I found them to be a bit pricey and I also worried about having something like that around for my kids to break. Yes, I have 4 kids and they are hard on things!
So, I decided to try to turn those plastic jack-o-lanterns into something stylish by painting them.
What I decided to do was to paint them with some milk paint and also try fusion mineral paint and then seal them to give them a nice luster which would imitate the look of the shiny ceramic. You could also use chalkpaint since we are painting onto plastic, or even spray paint. I just didnt want to worry about the stem or keeping the openings clear of the paint so I hand painted mine.
Here is what I used to transform plastic jack-o-lanterns into stylish decor:
- plastic jack-o-lantern
- milk paint, primer and sealer
- fusion mineral paint(I have linked to a source with paint, grip and sealer)
- newspaper and paint brush
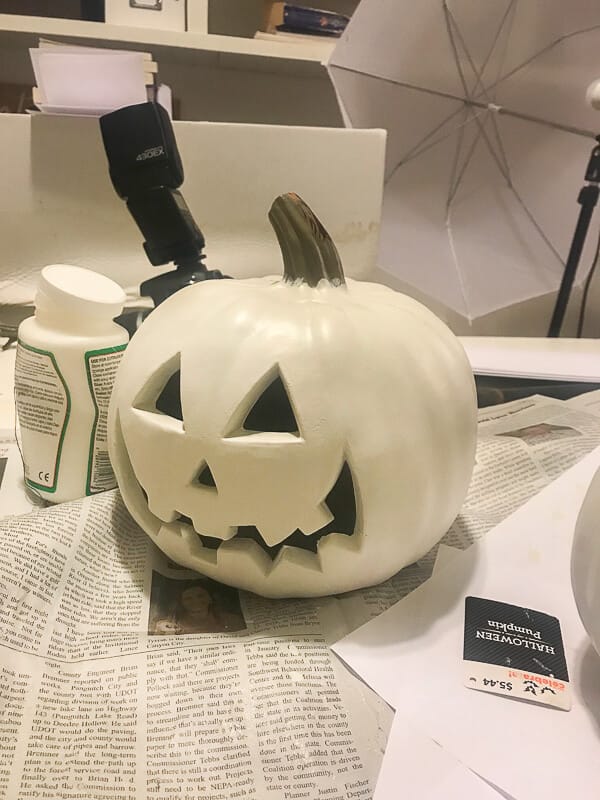
This really is quite an easy and straightforward project. I made sure to paint on a layer of bonding primer on all my plastic jack-o-lanterns before I painted them. I let the bonding primer dry according to the directions and then began painting my plastic pumpkins.
I used long smooth strokes, making sure to try to eliminate brush strokes so that they had a smooth finish. Sponge brushes would be a great solution for this.
Let the first coat dry, and then add another coat. Since I painted mine white, I needed to do 3 coats. I left the stem as is, and painted the insides of the mouths and eyes.
The only thing that takes time on this project is letting the paint dry. But, if you paint a coat, and then go about your business and come back a few hours later, and then add another coat. You don’t have to wait around for it to dry. Just do it when its convenient.
Once they are completely dry, you can rub on the sealer, or wax depending on what kind of paint you are using. They all have their own kind of sealer.
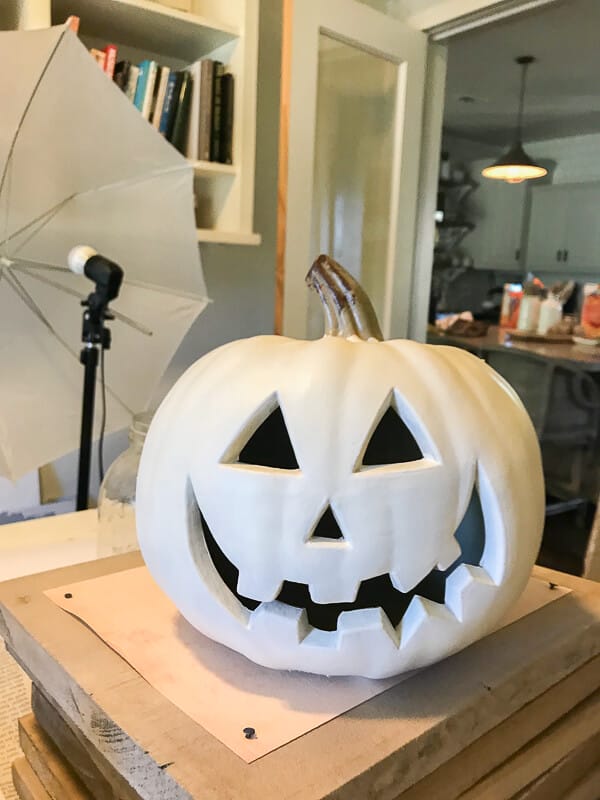
I sealed my pumpkins and then buffed them out which gave them a nice shine, just like a ceramic piece would have.
You could seal them with an antiquing wax or sealer if you want them to have a bit more to them. I chose to keep mine plain.
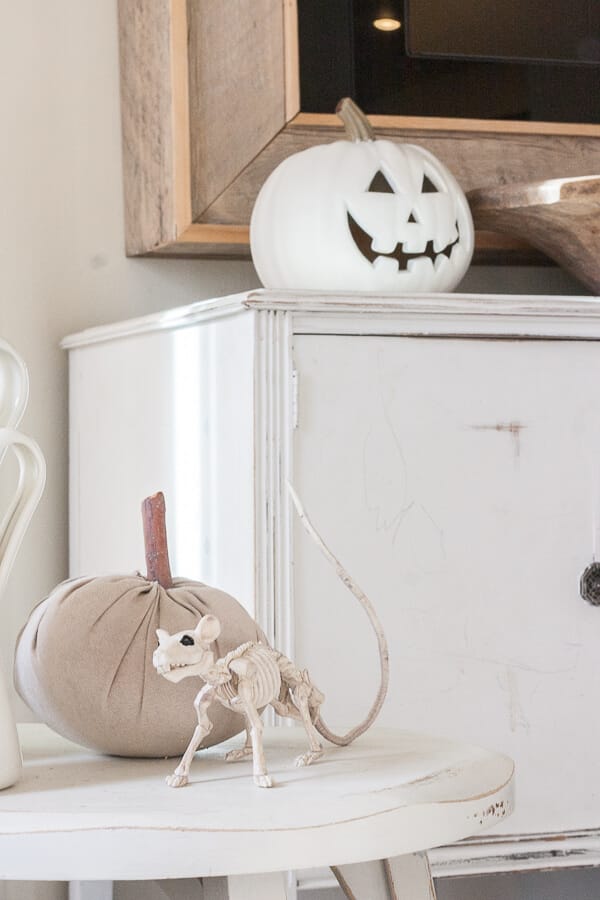
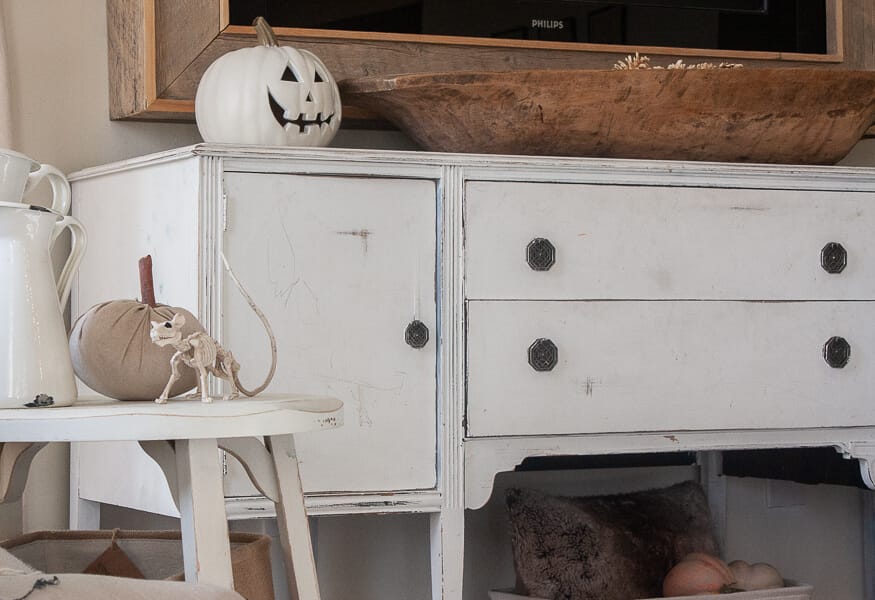
Doesn’t he just look happy sitting up there on my TV console?
I think he is….
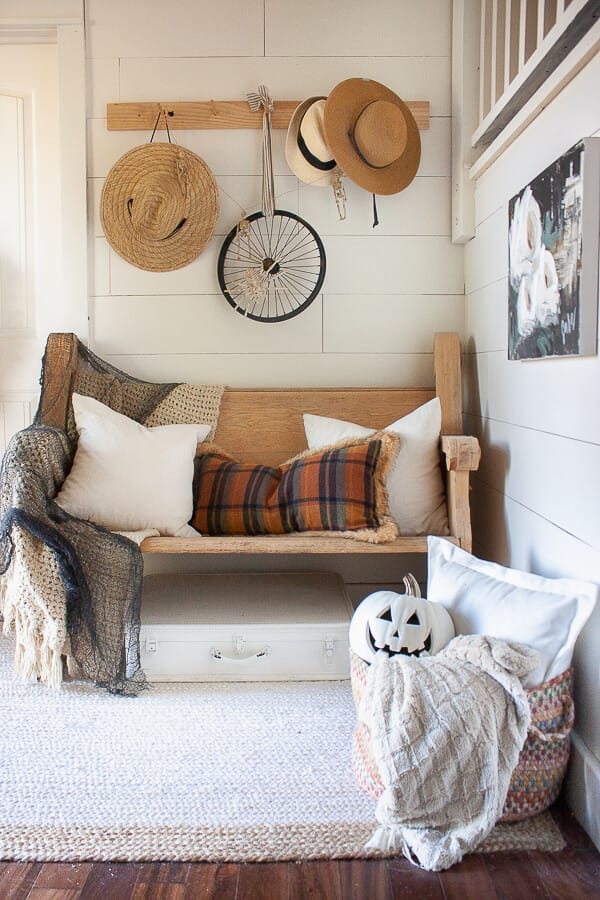
I added another one to my entry way. They both seem quite happy with their new life.
Simple Halloween decor, not overbearing but it is still there! These plastic jack-o-lanterns look so good, I almost thought they really were ceramic, until I picked one up and remembered they were light as a feather plastic. Mine have held up incredibly well. If you make sure to prime and seal your paint, you will be able to use these for a long time.
Paint them any color you want, antique them…I almost painted mine black, but then I realized I always wanted them white.
Plastic jack-o-lanterns can easily become stylish chic Halloween decor without much effort or money! Just chalk it up to one more piece of decor for your home!
Make sure to share this with others!
If you are looking for other fun Halloween crafts and DIYs check these out:
Great Ideas for Chic and Stylish Halloween Home Decor
FREE Vintage Animal Skull Halloween Printables
DIY Simple Halloween Wreath- When you just dont feel like decorating at all!
Transform Ugly Dollar Store Foam Pumpkins into Stylish Decor!

Make sure to link this up at Talk of the Town at Knick of Time and leave a comment so I can feature it!
I forgot to say the party starts at 6 pm central time.
Thats not the same pumpkin!! The eyes are different
Umm I bought 3 pumpkins and one of them is a bit different. But all three of them got the same treatment.
I love how the paint took away the plastic look. I am not a neutrals person so I think I would have done an off white or antiqued orange finish. The way you styled them was awesome. I really like the area with the bench (front hall?). Comfy but really functional, too!
Thank you! Thats what I love about a project like this. You can customize any way that you want!