Scandinavian Inspired DIY Advent Calendar
Hey friends! Today I want to share a really simple and easy to make DIY advent calendar. This calendar is Scandinavian inspired and is made using repurposed items! Keep on reading to see how I made it!
The one thing my kids never forget at Christmas is my homemade advent calendars. For the longest time, I have been making simple advent calendars for my kids. Now, I know I could buy one, you know, the kinds with chocolates…or I could get one that just tallies the numbers. What we love to do is create an advent calendar that will get everyone involved!
The key to this advent calendar is the events that you will do each day! I love using cute little bags for my DIY advent calendar. I can fill each bag with a different family activity for each day in December. Now, before you think we are overachievers, about half of the dates have treats in their bags. Some days you just want to take it easy. But, the activities are kept simple…watch a Christmas movie, look at Christmas lights, make a snowman pizza…you get the gist?
My kids love opening a new bag each day to see what the paper will say…or what treat will be inside. This Scandinavian inspired DIY advent calendar is the perfect way to create a tradition with your kids this holiday season. Why not have experiences instead of things? We love creating experiences with our kids and this DIY advent calendar is the perfect way to do that.
What you need to create this DIY advent calendar:
- Muslin Bags
- Tree Trimming
- String
- Number Stencils
- Black Craft Paint
How to make this easy DIY advent calendar:
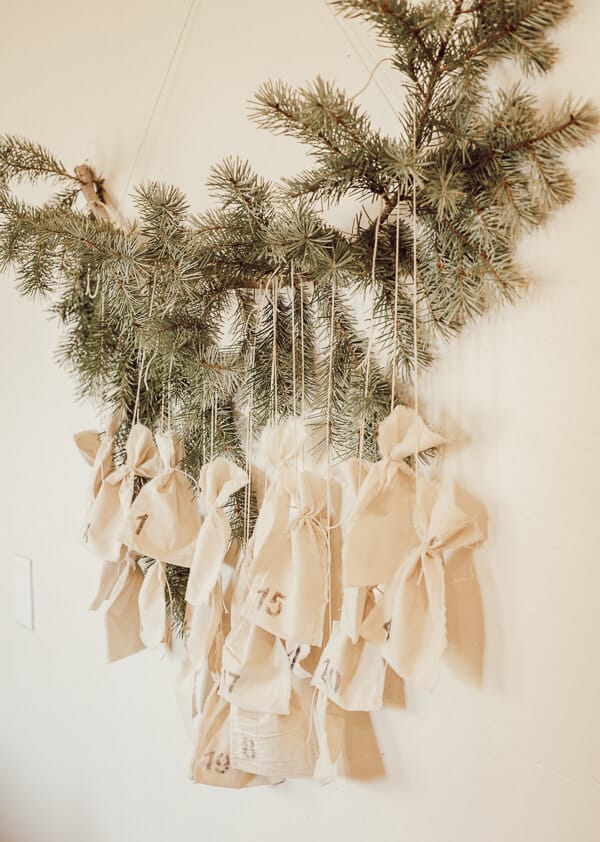
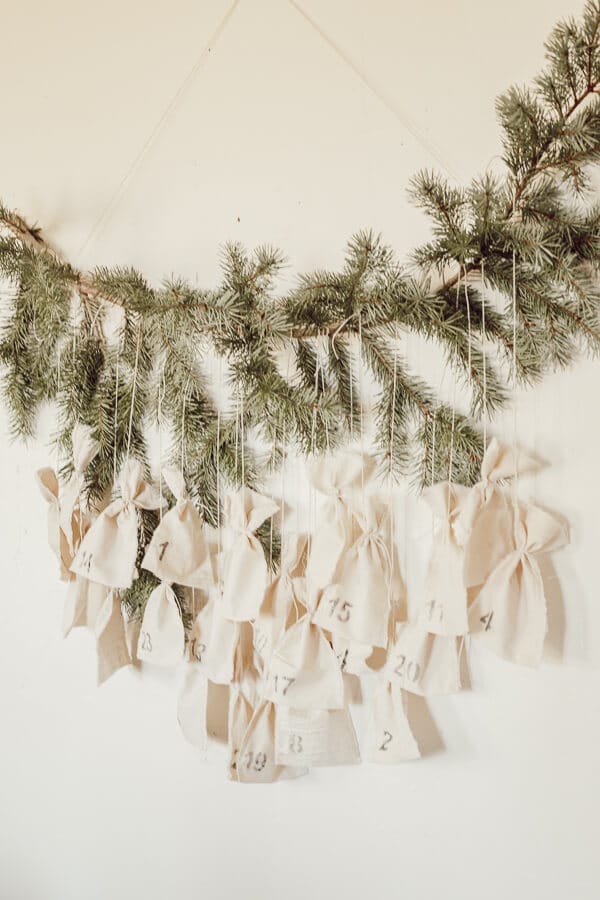
If you want to have the same look as mine, you will need to get you some tree trimmings. If you buy or cut down your own tree at Christmas you will no doubt have some extra trimmings you can use. Get a piece that is about 3-4 feet long. You will be using string to tie the ends and create a bit of a swag look so don’t worry about the length too much. You can always cut some off if needed.
Now, you want to take a piece of string and tie one end to the left side of the branch and the other end to the right end. I cannot give you an exact length for the string. You want to tie it short enough so that the branch curves when it is hung, if its too long it will bend too much. If you find your branch is bending too much, you can nail a tiny finish nail into the wood to secure the branch where you want it.
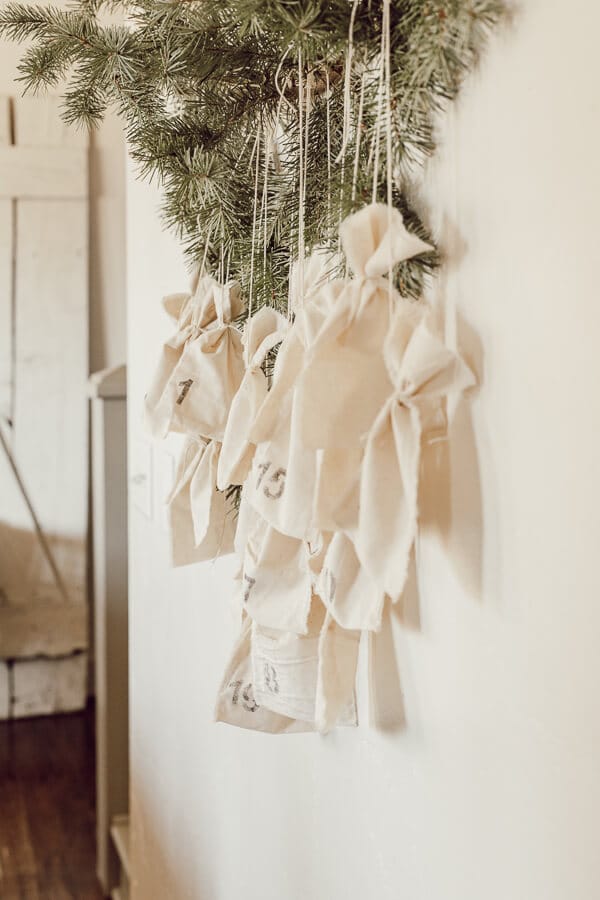
It was really easy to make my own muslin bags by using some fabric I had bought a couple years ago, so if you want to do that, its super easy! I simply cut the size I wanted and used hot glue to assemble them. I didn’t want to bust out the sewing machine.
Once I was done with my bags, I then took my number stencils and stenciled the numbers on the bottom right of each muslin bag. I then tied them with a piece of string and alternated the lengths and tied them to the branch.
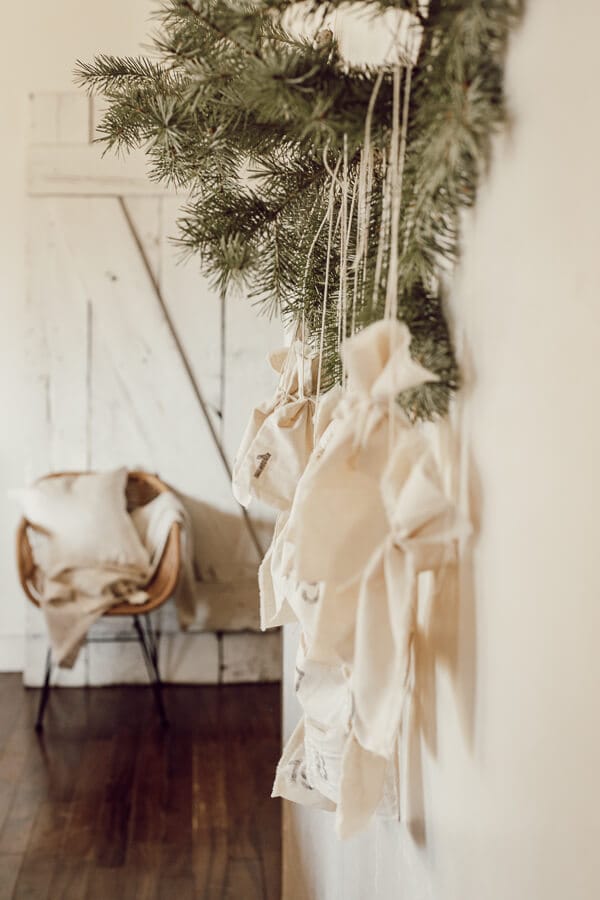
This DIY advent calendar is such a fun addition to our holiday traditions. There are so many fun things you can incorporate into this advent calendar. I also love how it looks so nice with my holiday decor. Since I am really feeling the Scandinavian style these days, its right up my alley.
Check out my other DIY advent calendar ideas:
Easy Chalkboard Advent Calendar Ideas for Kids
Make This Reusable Advent Calendar with a Ladder!
Want some yummy recipes?
The Best Homemade Ranch Dressing Recipe
The Best Banana Bread Recipe Ever!
Strawberry Throw-up, Our Favorite Strawberry Dessert
Soft and Chewy Caramel Puffed Corn Recipe

