
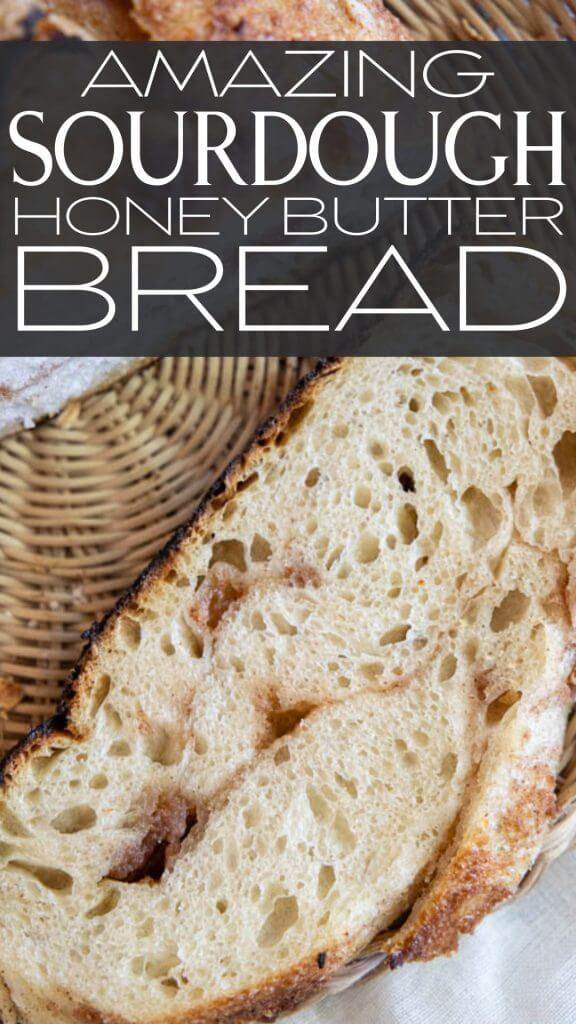
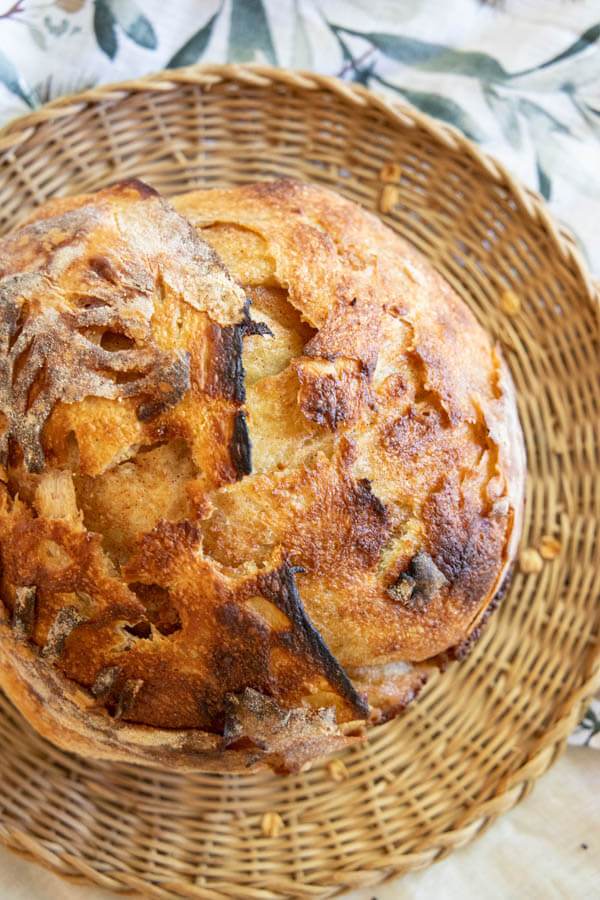
The Perfect Cinnamon Honey Butter Sourdough Bread
Another day another sourdough recipe! Today I am sharing on of our favorites. I feel like I say this a lot but we love our sourdough here. I am constantly experimenting. This cinnamon honey butter sourdough bread hearkens back to a favorite of ours, the rolls and cinnamon honey butter from a famous restaurant chain. Its probably the only thing I like from there anyways haha.
Its easy to create new and interesting versions of the same recipe and this is one that I did. I am using the same recipe as what I use for my honey and oat sourdough bread.
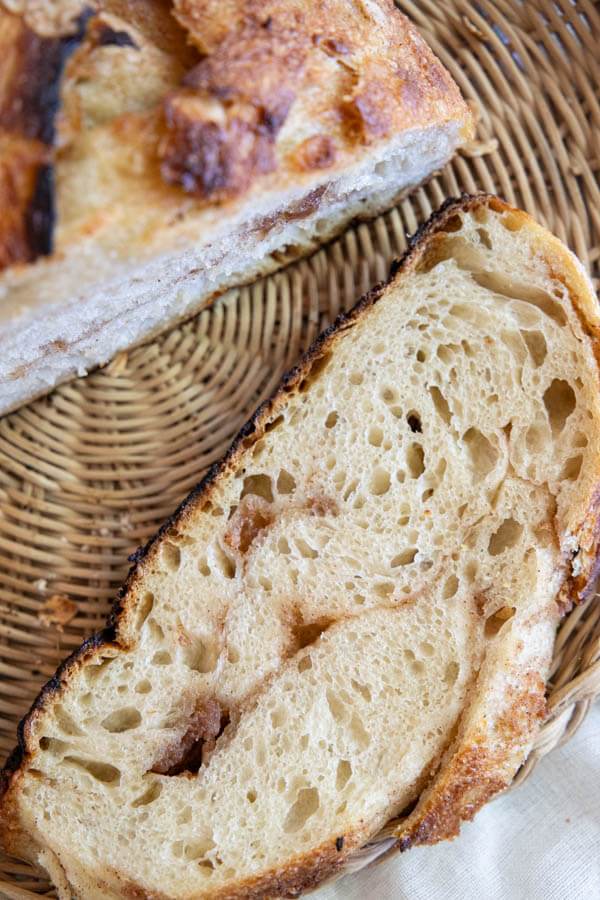
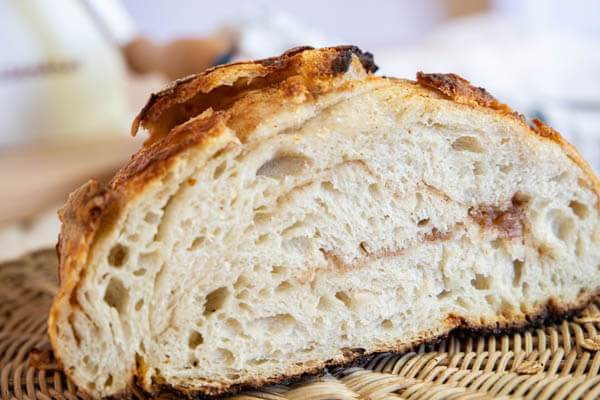
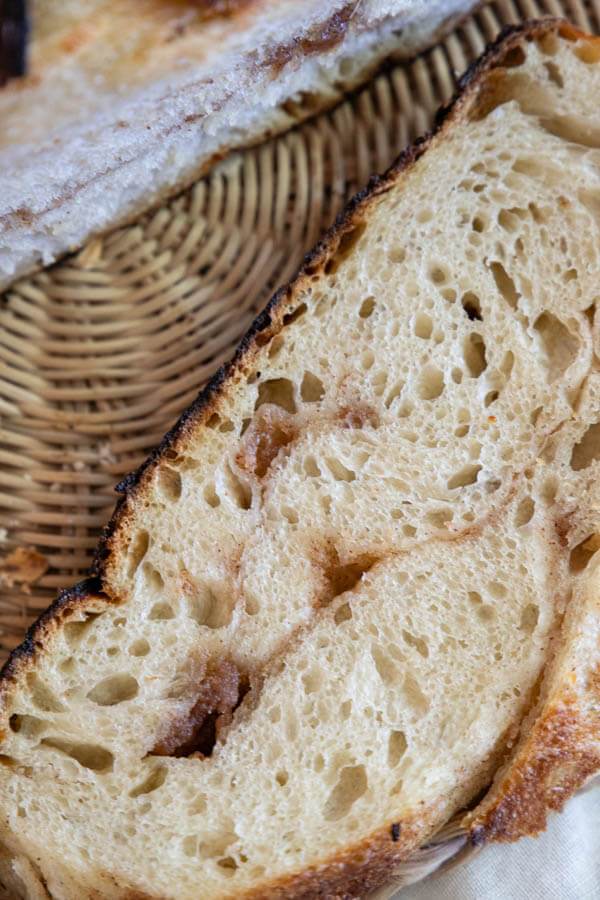
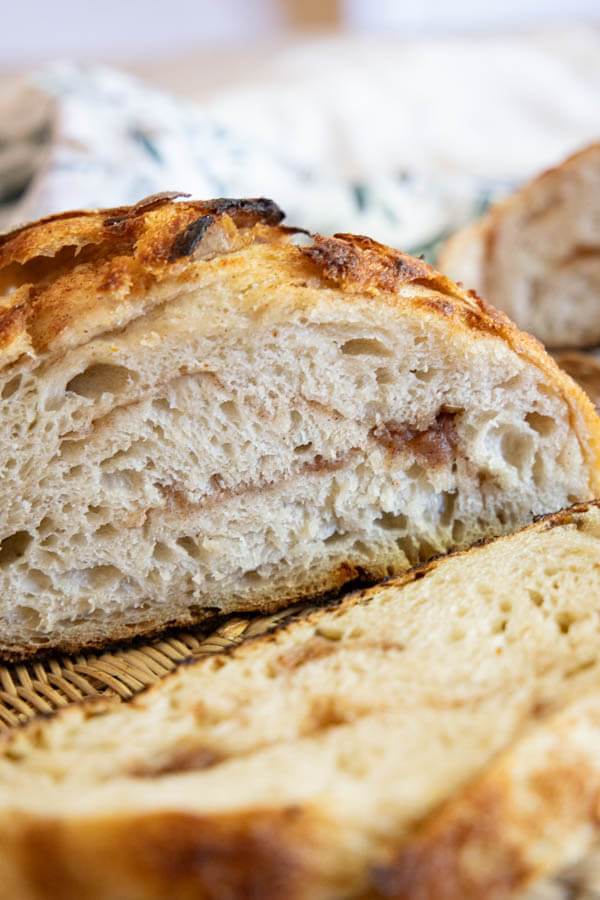
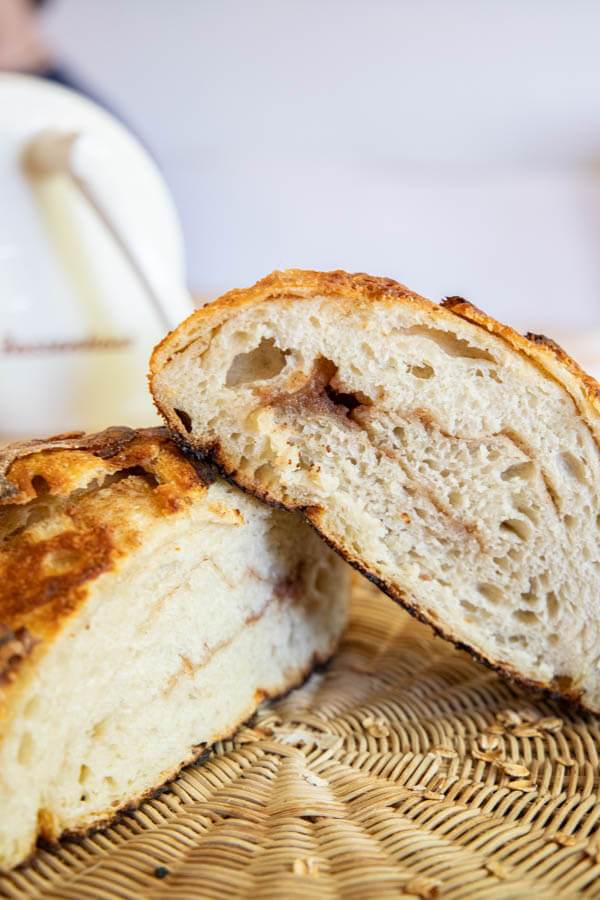
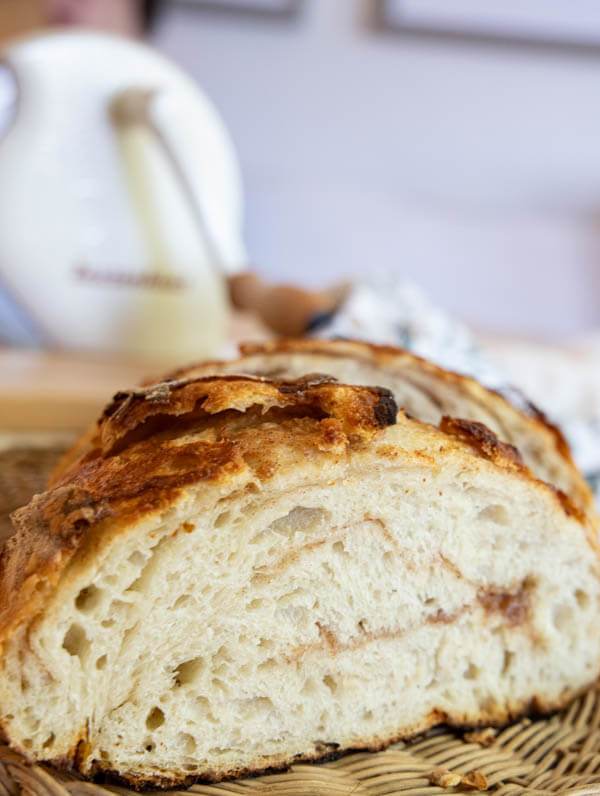
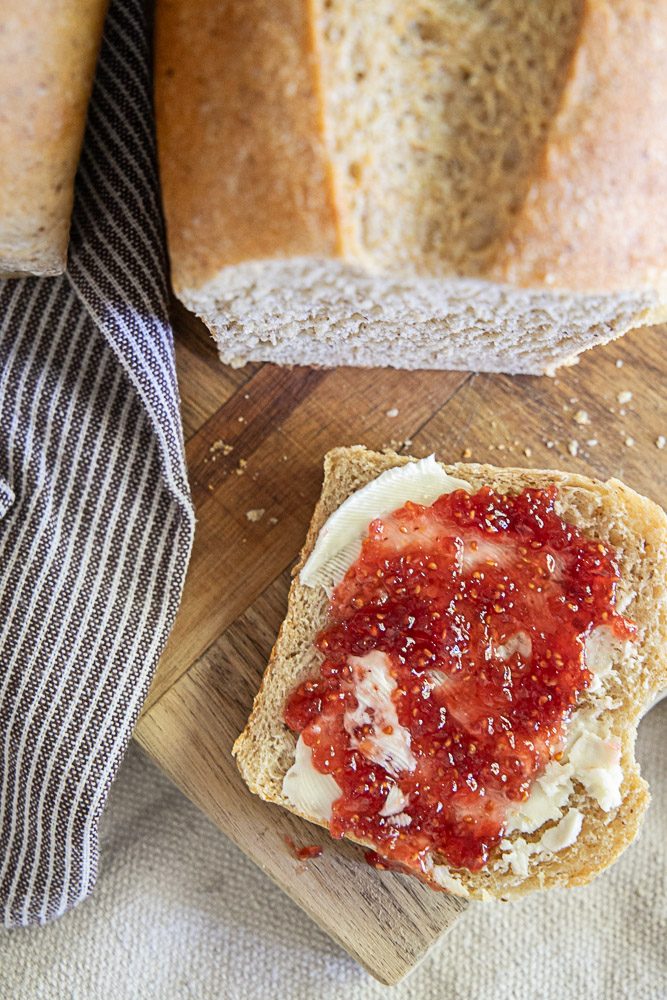
The sweet buttery flavor of the honey butter compliments the sourdough perfectly. It practically melts into the bread, but by adding the flour in the filling, it helps it to keep its shape and that is why you will see marbling of this amazing filling.
SHOP MY FAVORITE SOURDOUGH TOOLS
TOOLS YOU’LL NEED

Get my cinnamon honey butter sourdough bread below~
Cinnamon Honey Butter Sourdough Bread
Ingredients
- 625 grams bread flour about 4 cups
- 100 grams active sourdough starter about 1 cup
- 10 grams salt about 1 3/4 teaspoon
- 450 gram water about 1 1/2 cup
- 30 g honey
Cinnamon Honey Butter Filling
- 1/2 cup butter room temperature
- 1 tbsp honey
- 1/4 cup powdered sugar
- 1 tsp cinnamon
- 1 tbsp flour
Instructions
- To begin this bread, you need to set aside about 1 hour at least to take the time to knead and let the dough rest. The rest of the time will be more passive time.
- This recipe only has a small amount of active effort. You need to let the dough sit and take its time. You also need to plan time for this bread. It needs at least 12 hours in the fridge and at the least 3 on the counter.
- What I like to do is to start this dough in the afternoon around 1. I can get all the kneading in by 1:30 and then it needs some rest time. After that it will be sitting in the fridge overnight.
- Take your sourdough start, water and flour and put them in a large mixing bowl. Use a wooden spoon or dough spoon to mix the ingredients together.
- It will begin to be too sticky and dense to manage with a spoon. Let this sit for one hour. This is the autolyse stage. Once the hour has passed you will add the salt and honey and let it sit another 30 minutes.
- Now you will do your first stretch and fold or coil fold. There are two different options. You can stretch and fold which means you pull the dough up from one corner and stretch it and then fold it over the top fo the dough, rotate and do the same action 4 times for the dough.Coil fold is where you lift the dough from underneath with two hands, pulling the dough up and then folding it down in half on itself as you let it back down. I You then rotate the bowl and repeat this 3 more times rotating the bowl each time.
- Let the dough rest another 30 minutes and repeat the coil fold or stretch and fold. (having wet hands makes this so much easier)
- Repeat this 3 -4 more times at 30 minute intervals. You can do it up to 6 times.
- Once you are at this point you will notice the dough has a very different texture and should be very jiggly. Let it sit in a warm place and bulk ferment.
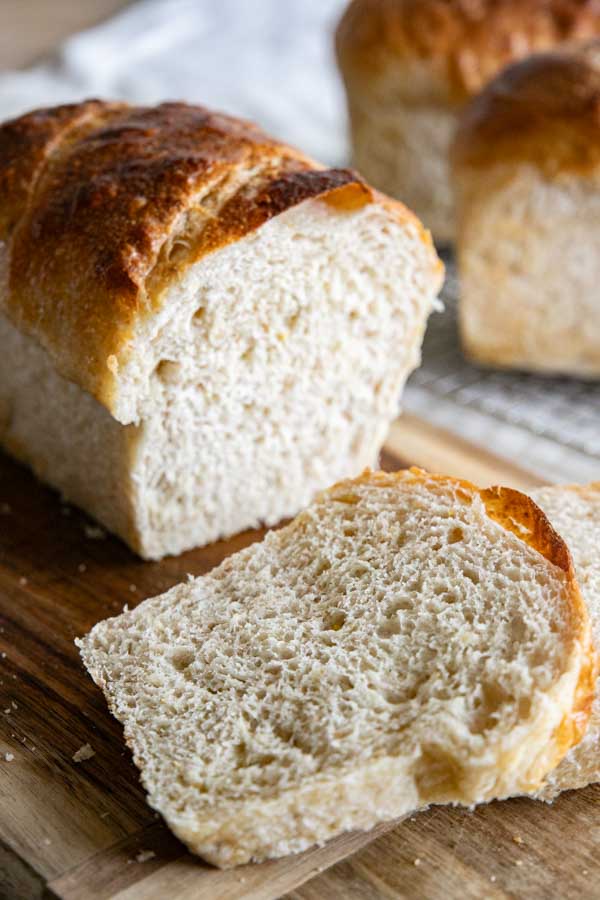
- Once it had doubled in size, its time to shape your dough and prepare it for the fridge! This will make one large loaf or two smaller loaves.
- We are now going to add our filling. Mix all the filling ingredients together. Spread your dough into a rectangle about 9 by 12 inches or however comfortable you feel. Carefully spread the filling across the surface of the dough. Once it is spread out, fold the dough into thirds. Place one third over and then the other third. Noe you can roll it up from the short end. You can shape it into a boule or a batard at this point. Carefully shape the dough creating some tension on the surface of the dough by pulling the dough toward you on the counter while turning it as well. If you want to shape a batard, you can simply pinch the ends to make sure all the filling is tucked inside the dough ball.
- Here are some tips for shaping the dough: Use the countertop to create tension. Push on the dough ball while rolling it under. You want to turn and roll. You can watch my video to see how to do this. This creates tension on the dough surface and gives it that good crust.
- Let the dough sit and rest for a couple minutes.
- While it rests, its time to get a bowl ready. You can use a regular large mixing bowl, but it is recommended to use a bread banneton proofing basket.
- If you use a bowl, line it with a towel, and flour the towel heavily to prevent the dough from sticking. I like to use wheat flour for this because it tends to not absorb into the dough.
- If you use a bread banneton basket, flour its as well.
- Take the dough and lift it up, flip it over and put the finished side of the dough down into the bowl. Cover with plastic wrap and use a rubber band to secure the plastic wrap around the bowl.
- Put the bowl in the fridge and let it sit in there for at least 12 hours. You can go as far as 24 hours.
- When you are ready, take the bowl out of the fridge. Preheat your oven at 450 degrees with a dutch oven if you choose to use one.
- Lay out some parchment paper, and take the dough gently out of the bowl and flip it over so the smooth side of the dough is on top. Lay it on the parchment paper. I like to spray my dough with some water at this point and then sprinkle the oats over the top of the loaf.
- Cut some slits or designs in the dough to allow for more of a rise. You can also cut a deep score along the length of the middle of the dough to help when it expands. You can use a scoring lame or a sharp knife. (Another option is to bake the bread for 7 minutes and then cut the deep cut that will allow the bread to rise and create that gorgeous rounded belly on it. This allows the dough to form a bit of a crust making it easier to cut and keep a uniform loaf.)
- Immediately take your hot dutch oven out of the oven and take hold of the parchment paper with the dough. Put it inside the dutch oven and carefully place the lid on and put it in the oven to bake.
- If you want, you can add a couple ice cubes on the outside of the parchment paper between the pan and the paper. This will give the crust a bubbly surface and allow more of a rise!
- Bake the dough for 35 minutes. Check around 30 minutes and see if it is done. Tap it, it should feel hollow. You can take the top off of the pan and let it bake if the top is not golden brown. Cook with the top off for another 15-20 minutes.
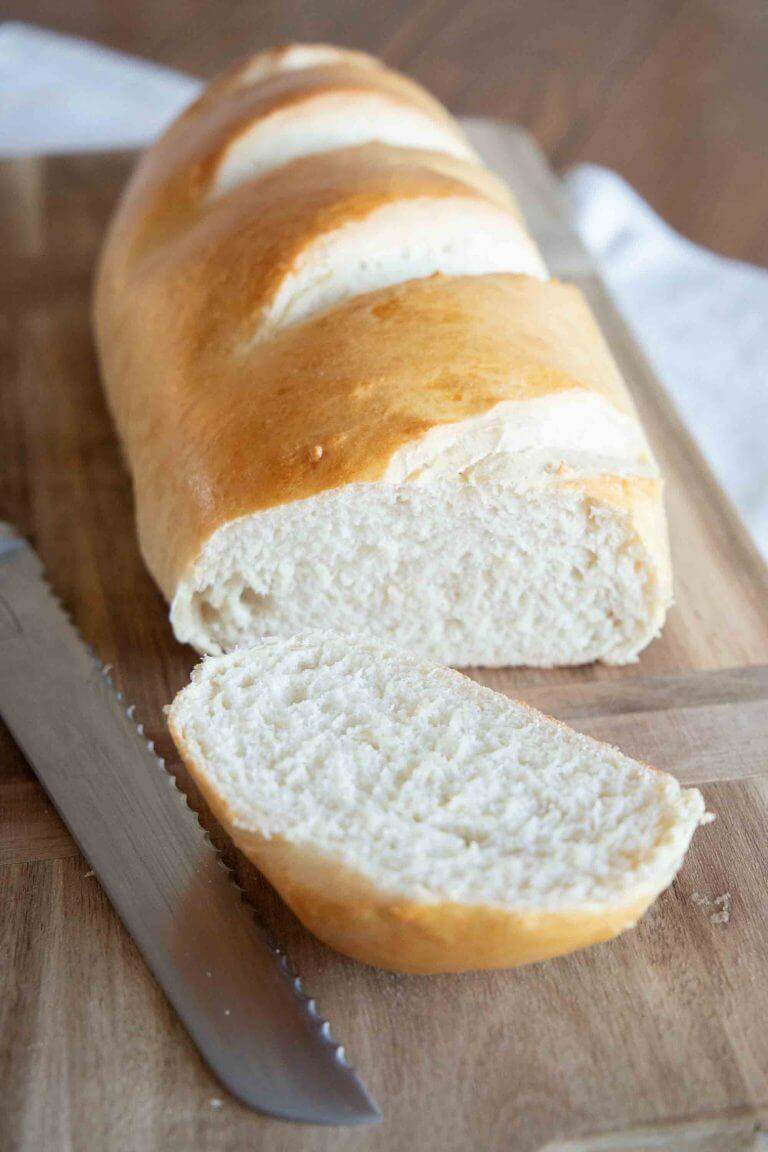
- Take it out of the oven when it is done and let it cool completely on a rack before cutting.
new to sourdough?
Sourdough 101
Learn everything you need to know about sourdough with this comprehensive post~
There are a few things you will want to consider when using inclusions in your bread. This will make your end result more successful.
Tips & Tricks
- When using inclusions that melt such as sugar or butter, using flour can help keep its form. It will prevent it from just completely melting out of the bread.
- When using inclusions I like to use a larger piece of parchment paper to bake under the bread. Because there is a chance of your inclusions leaking out of the bread, this will help contain the ingredients so that they dont get all over your pan.
- Make sure to not stretch your dough too thin, so that the dough doesn’t tear when you are shaping the dough. It will prevent more leaking. Also make sure to seal up any open areas in the dough on the sides and underneath.
Make this cinnamon honey butter sourdough bread and enjoy it today!
Don’t forget to pin this for later!

More Sourdough Recipes


Make sure to follow me on Pinterest where I share tons of amazing recipes, DIY projects and more.
Am I missing the temperature somewhere? What temp should I bake this at? The honey butter filling is a fun addition!
Hi! Sorry there was a typo, bake at 450 degrees
This looks amazing! I’ve used a lot of your recipes and love.
Quick question… part of recipe calls for oats but oats
Not listed in ingredient list. Is this a typo because it’s similar to oat bread? And oats aren’t needed in this particular recipe?
Thanks!
Yes sorry there was a typo with the oats in the recipe.There are no oats in this recipe. It has been corrected.
Hey! I have my loaves ready to bake and I don’t see a baking temp. In the recipe. Could you share what temperature you bake at?
450 degrees
I dont see any ingredient listed as oats but it says it twice in the directions?
Sorry it was a typo and has been fixed.
Hello! What a great recipe to share!
For the Cinnamon Honey Butter loaf:
If you are splitting the dough up into 2 loaves, what do you recommend the temp and timing to bake at?
Thank you so much for the help in advance!
Bake at 450 degrees and bake for 20 minutes with the lid on and 10 with lid off
What temp do I bake at? It says to preheat, but no temp is listed.
Sorry typo, temp is 450 degrees
What temperature do you bake this bread?
450 degrees
I have a question about step 5. It says to add the honey and oats, but oats are not listed with the ingredients.
Post has been updated
you talk about adding oats but I don’t see that as an ingredient in the recipe?
Sorry must be typo.