Bacon, Chive and Cheddar Sourdough Bread
Looking for a savory twist on classic sourdough? This Bacon, Chive & Cheddar Sourdough Bread is a must-try. Packed with crispy bacon, sharp cheddar cheese, and fresh chives, this artisan loaf delivers incredible flavor in every bite.

Whether served alongside a bowl of soup, toasted for breakfast, or used to make the ultimate sandwich, this bread is guaranteed to become a favorite.
This loaf quickly became a favorite in my house. My son loves making grilled cheese and this makes the berfect base for the most flavorful grilled cheese ever!
Why You’ll Love This Bread
Traditional sourdough is delicious on its own, but adding flavorful mix-ins takes it to a whole new level. The smoky, salty bacon pairs perfectly with the rich cheddar cheese, while fresh chives add a subtle onion-like flavor that balances everything beautifully.
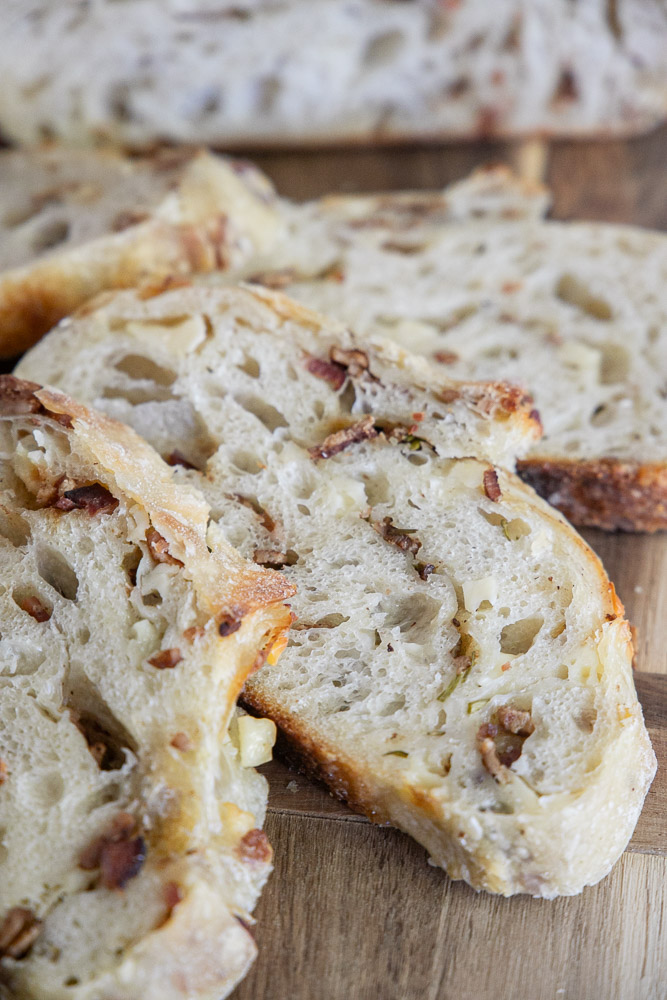
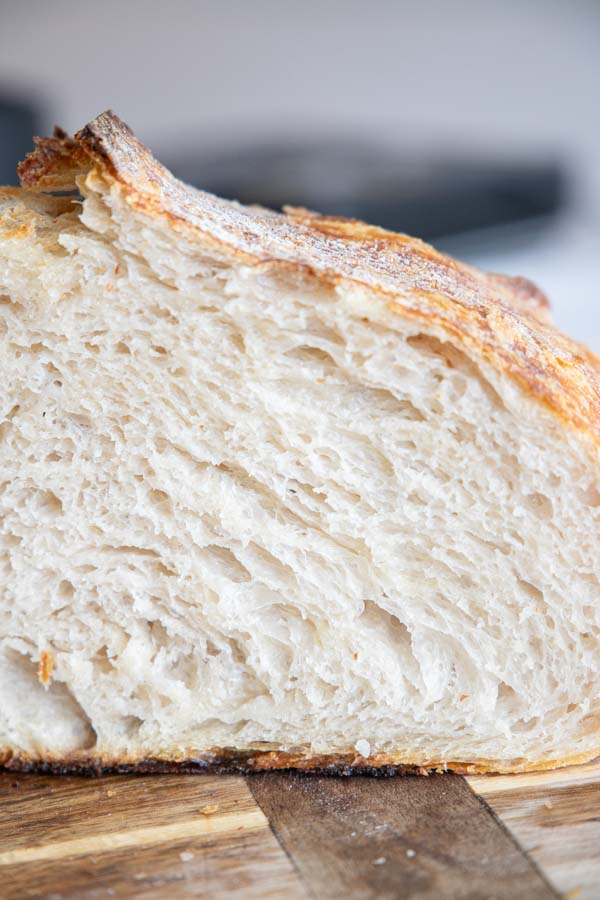
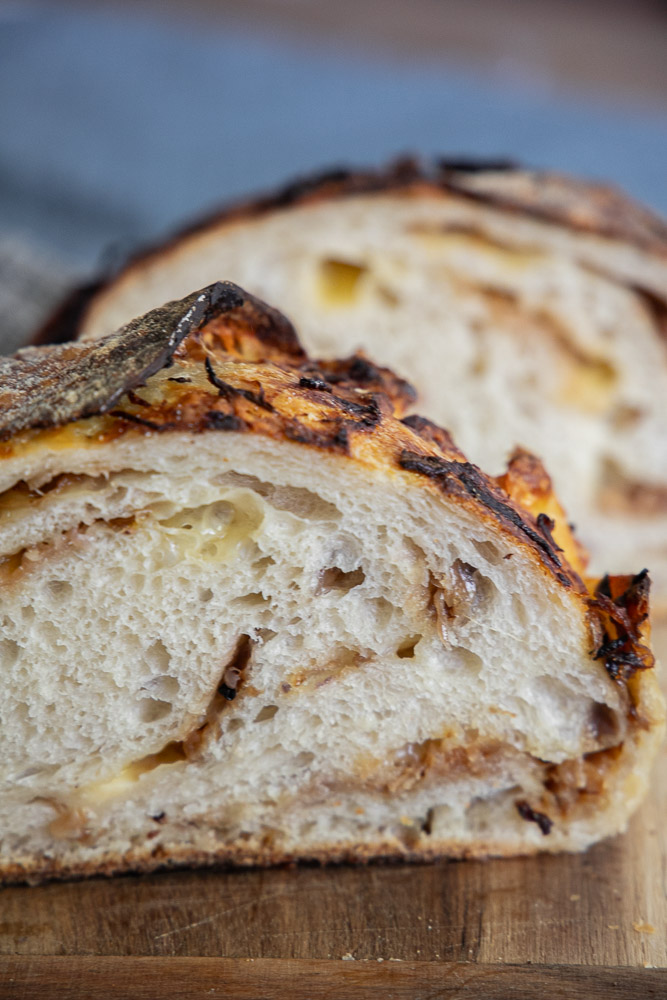
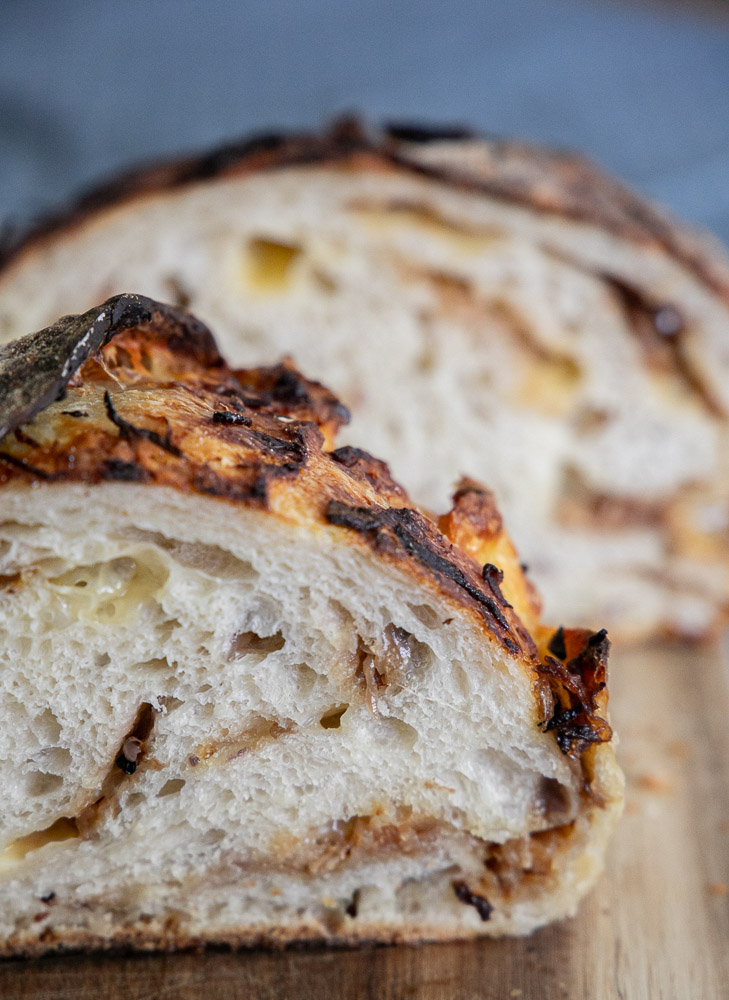
The result is a loaf with a crisp crust, soft interior, and pockets of melted cheese throughout. I mean, you cannot go wrong with any of these ingredients.
Get the recipe below!

Bacon, Chive and Cheddar Sourdough Bread
Ingredients
- 625 grams white bread flour about 4 cups
- 100 grams active sourdough starter about 1 cup
- 10 grams salt about 1 3/4 teaspoon
- 450 gram water about 1 1/2 cup
Inclusions
- 5-6 pieces crispy bacon crumbled into small pieces
- 3 tbsp fresh chives chopped
- 1-2 cup shredded cheddar cheese cut into small cubes or grated
Instructions
- Take your sourdough start, water, and flour and put them in a large mixing bowl. Use a wooden spoon or dough spoon to mix the ingredients together.
- It will begin to be too sticky and dense to manage with a spoon. Mix with your hand until it is completely combined. Let this sit for one hour. This is the autolyse stage. Once the hour has passed you will add the salt and let it sit another 30 minutes.
- Now you will do your first stretch and fold or coil fold. There are two different options. You can stretch and fold which means you pull the dough up from one corner and stretch it and then fold it over the top fo the dough, rotate and do the same action 4 times for the dough.Coil fold is where you lift the dough from underneath with two hands, pulling the dough up and then folding it down in half on itself as you let it back down. I You then rotate the bowl and repeat this 3 more times rotating the bowl each time.`
- Let the dough rest another 30 minutes and repeat the coil fold or stretch and fold. (having wet hands makes this so much easier)
- Repeat this 3 -4 more times. You can do it up to 6 times.
- Once you are at this point you will notice the dough has a very different texture and should be very jiggly.
- Once it had doubled in size, its time to shape your dough and prepare it for the fridge! This will make one large loaf or two smaller loaves. This could take anywhere from 3-8 hours to bulk ferment.
- When you are ready to shape your dough prior to baking, gently stretch your dough into a rectangle shape appx 12 by 18 inches. Spread about half of the bacon, chives and cheddar across the entire surface. Now fold over 1/3 of the dough, like a letter. Add more of the three ingredients. Now fold the other 1/3 over. If you have any more bacon, chives and cheddar you can add them here. Now roll up the dough, pinch the sides and carefully shape it into a ball.
- Its time to get a bowl ready. You can use a regular large mixing bowl, but it is recommended to use a bread banneton proofing basket.
- If you use a bowl, line it with a towel, and flour the towel heavily to prevent the dough from sticking. I like to use rice flour for this because it tends to not absorb into the dough.
- If you use a bread banneton basket, flour it as well.
- Take the dough and lift it up, flip it over and put the finished side of the dough down into the bowl or banneton. Cover with plastic wrap and use a rubber band to secure the plastic wrap around the bowl.
- Put the bowl in the fridge and let it sit in there for at least 12 hours. You can go as far as 24 hours.
- When you are ready to bake, let the oven preheat to 450 degrees while this is happening. Put your dutch oven in the oven to preheat with the oven. You want your pan to be hot.
- Lay out some parchment paper, and take the dough gently out of the bowl and flip it over so the smooth side of the dough is on top. Lay it on the parchment paper
- Cut some slits or designs in the dough to allow for more of a rise. Make sure to cut a long deep cut across the length of the dough, either in the middle or to one side. You can use a scoring lame or a sharp knife.
- Immediately take your hot dutch oven out of the oven and take hold of the parchment paper with the dough. Put it inside the dutch oven and carefully place the lid on and put it in the oven to bake.
- If you want, you can add a couple ice cubes on the outside of the parchment paper between the pan and the paper. This will give the crust a bubbly surface and allow more of a rise!
- Bake the dough for 35 minutes. Check around 30 minutes and see if it is done. Tap it, it should feel hollow. You can take the top off of the pan and let it bake if the top is not golden brown. Cook with the top off for another 15-20 minutes.*If you make two smaller loaves your baking time will be less.
- Take it out of the oven when it is done and let it cool completely on a rack before cutting.
Nutrition
The Secret to Success
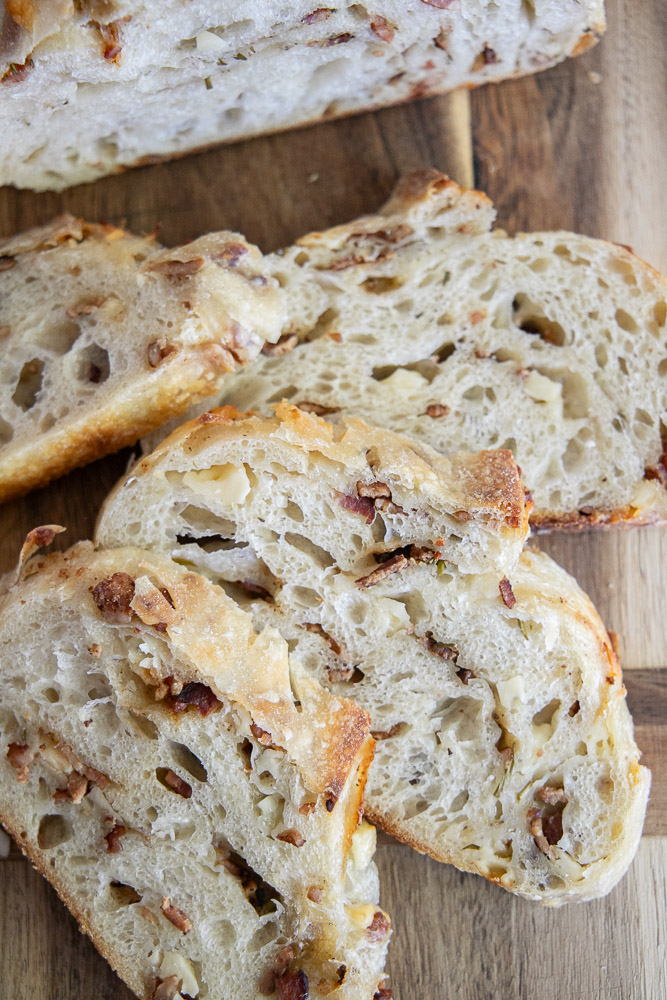
The key to achieving the best flavor is using an active, healthy sourdough starter and incorporating the mix-ins during the stretch-and-fold process. This helps distribute the bacon, cheese, and chives evenly throughout the dough without overworking it.
For the best results:
- Use freshly cooked and cooled bacon.
- Choose a sharp cheddar for maximum flavor.
- Pat the bacon dry to prevent excess grease from affecting the dough.
- Allow plenty of time for fermentation to develop the signature sourdough flavor.
Serving Suggestions
This savory sourdough loaf is incredibly versatile. Enjoy it:
- Warm with butter
- Alongside soups and stews
- As sandwich bread for grilled cheese or BLTs
- Toasted with eggs for breakfast
- As part of a charcuterie board
Storage Tips
Store your loaf at room temperature in a bread bag or wrapped in a clean kitchen towel for up to three days. For longer storage, slice and freeze the bread, then toast slices as needed.
Final Thoughts
Bacon, Chive & Cheddar Sourdough Bread combines everything we love about homemade sourdough with the irresistible flavors of bacon and cheese. It’s hearty, flavorful, and perfect for sharing with family and friends. Once you try this savory sourdough variation, it may just become your new favorite loaf.
Don’t forget to pin this for later!

More SOURDOUGH Recipes
SEE ALL SOURDOUGH