
Top 10 Common Sourdough Baking Mistakes and How to Fix Them
Understanding Sourdough Baking Mistakes
When you start your sourdough journey it is easy to make simple mistakes that can slow down your progress and leave you frustrated. If you are a beginning baker, it can be so easy to make an unknown mistake and feel like you cant succeed. Its just as easy for experienced bakers to do the same! Lets talk about the top 10 common sourdough baking mistakes and how to avoid them.
If you are new to sourdough, check out my ULTIMATE BEGINNER GUIDE TO SOURDOUGH!

FAVORITE SOURDOUGH TOOLS

The Top 10 Common Sourdough Baking Mistakes
Sourdough Baking Mistakes
- Using weak or unfed starter
- Ignoring dough temperature
- Under fermenting the dough
- Over fermenting the dough
- Skipping proper gluten development
- Adding too much flour during shaping
- Poor shaping technique
- Not scoring correctly
- Baking without enough steam
- Cutting into a loaf too soon
How to Fix Sourdough Baking Mistakes
Sourdough baking is equal parts science, patience and practice. Whether you’re baking your first loaf or trying to improve your results, here are ten of the most common sourdough mistakes—and how to avoid them.
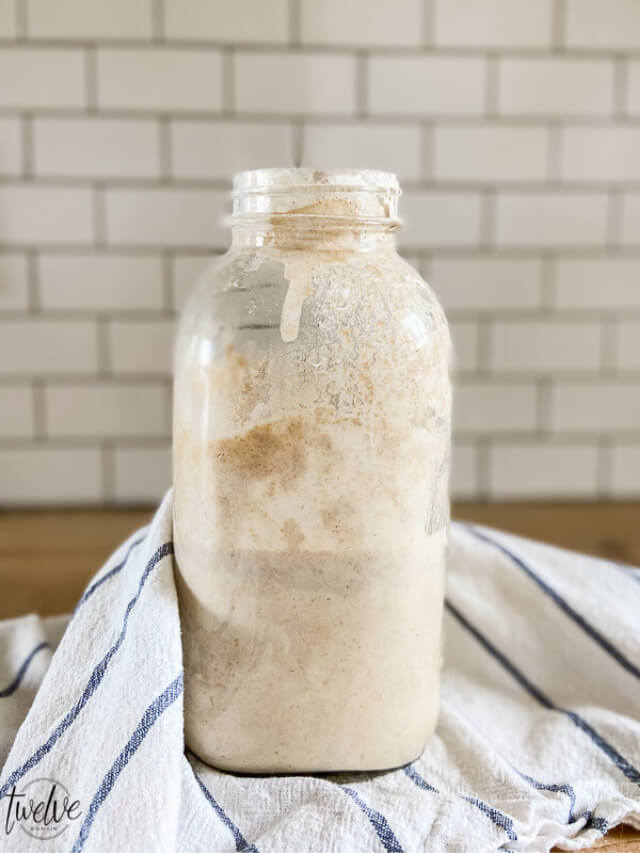
- USING WEAK OR UNFED STARTER -Your sourdough starter is the engine that powers fermentation. If it’s sluggish, your bread will be too. If your starter is too young and not mature enough it will have a hard time being strong enough to influence the rise in your bread.
- THE FIX: Feed your starter regularly and use it when it has doubled (or nearly doubled) in size and is bubbly throughout. A healthy starter should pass the “float test” occasionally, but visible activity is a more reliable indicator.
- IGNORING DOUGH TEMPERATURE – Temperature has a huge impact on fermentation speed. If your dough it too cold or too warm it will improperly ferment.
- THE FIX: Learn to watch the dough, not the clock. In a warm kitchen, fermentation may happen much faster. In cooler conditions, it can take significantly longer. Aim for a dough temperature between 75°F and 80°F (24°C–27°C) for predictable results.
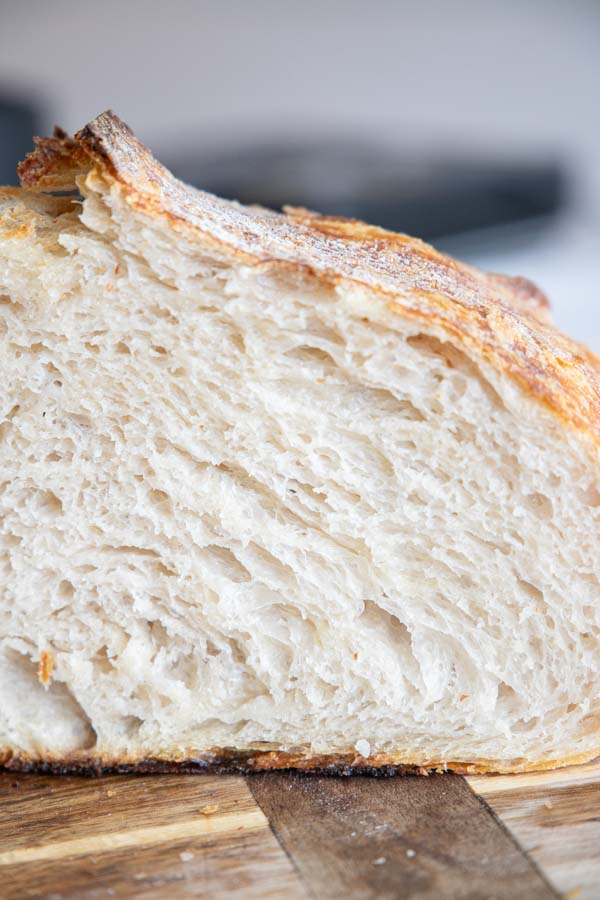
- UNDER FERMENTING THE DOUGH – Many beginners rush the bulk fermentation stage. If you rush this stage, you do bot allow your dough to rise to its full extent and strength which is important during the shaping stage. Underfermented dough will be heavy and will not rise as much. You will see a dense crumb, poor oven spring, and a tight texture.
- THE FIX: Allow the dough to increase noticeably in volume and become airy and jiggly. Fermentation times vary depending on temperature and starter strength. You want the dough to almost double in size. It should have a nice dome shape to the top and not be sticky.
- OVER FERMENTING THE DOUGH -The opposite problem can be just as frustrating. Letting the dough ferment too long can create a whole other mess. You dough will be sticky, and weak. You will have difficulty shaping your dough and you will get a flat loaf with little oven spring.
- THE FIX: Learn the visual cues of properly fermented dough. If your dough feels extremely slack and won’t hold shape, it may have gone too far. Remember that dough temperature comes into play here. The warmer the dough the faster the rise. You do not want your dough to over double in size.
- SKIPPING PROPER GLUTEN DEVELOPMENT – Strong gluten creates the structure needed to trap fermentation gases. This happens during the mixing stage. If you are doing this by hand, it is when you stretch and fold and mix the dough.
- THE FIX: Use stretch-and-folds or coil folds during bulk fermentation. These techniques build strength without intensive kneading. Spend a couple extra minutes at the beginning mixing the dough. This helps the gluten development. Letting the dough rest between stretch and folds also is important. “Stretch” the dough, this is key for gluten development.
- ADDING TOO MUCH FLOUR DURING SHAPING -Sticky dough often makes new bakers nervous. This is understandable, but adding too much flour can result in a heavy and tough loaf of bread. There is a balance between the amount of flour the structure and those aiding in the airiness of the bread.
- THE FIX: When shaping your bread, the less added flour the better. Use just enough flour to handle the dough. Lightly flour your hands and work surface rather than continuously adding more flour to the dough itself.
- POOR SHAPING TECHNIQUE – Even well-fermented dough can struggle if shaped incorrectly. Creating too little surface tension during shaping can result in your loaf spreading outward instead up upward.
- THE FIX: Practice shaping techniques that create a taut outer surface. A well-shaped dough should hold its form while still feeling airy and delicate. Shaping your loaf into a ball and then while placed on the counter pulling the loaf toward you from under the dough while turning it will help with the surface tension.
- NOT SCORING CORRECTLY -Scoring controls where the bread expands during baking. Making cuts that are too shallow, too deep, or at the wrong angle can effect the rise of your loaf. It can cause tearing, inhibit rise and if cut too deep, can make the dough spread out instead of upwards.
- THE FIX: Use a sharp lame or razor blade and score with confidence. For a classic ear, make a shallow cut at approximately a 30- to 45-degree angle. I like to wait and score my dough once it has been in the oven for 7 minutes. You can place your dough in the oven or dutch oven and let it bake for 7 minutes. Then remove it and score the dough. Immediately place it back in the oven carefully.
- BAKING WITHOUT ENOUGH STEAM -Steam keeps the crust flexible during the early stages of baking. Baking in a dry environment can result in a thick and hard crust. It can stop the flexibility of the dough which effects the rise, as you need flexible dough to get that gorgeous rise you are looking for.
- THE FIX: Use a Dutch oven, which traps moisture released from the dough. If baking on a stone or steel, create steam in the oven using a preheated tray and hot water.
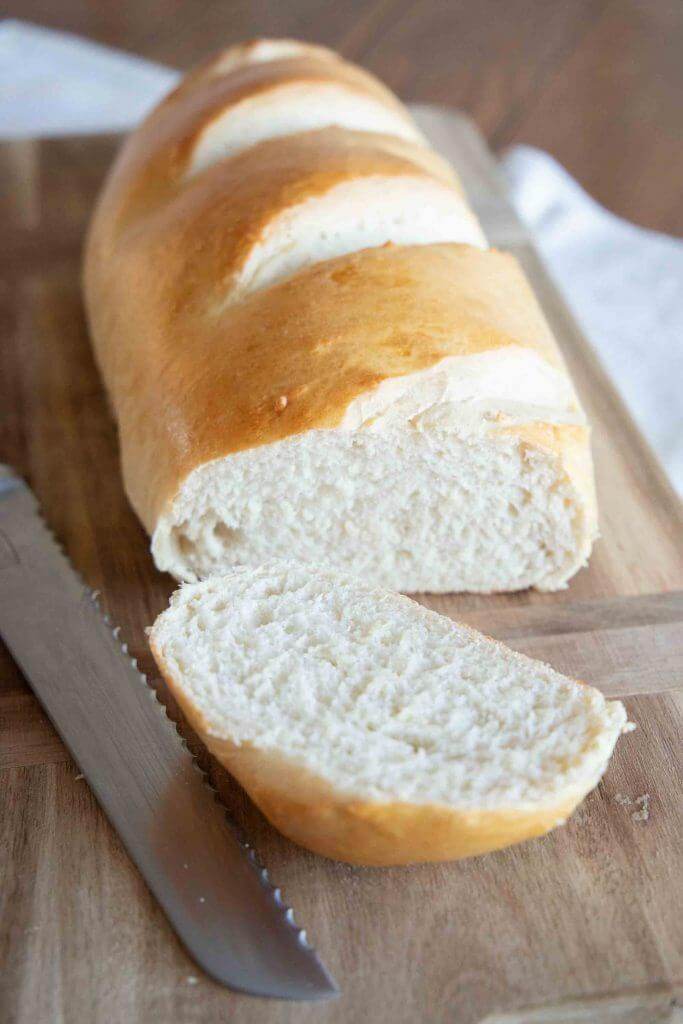
- CUTTING INTO A LOAF TOO SOON – After hours of preparation, it’s tempting to slice immediately. Cutting into hot bread straight from the oven can result in a gummy flat loaf. The bread needs time to set and cool before cutting. I know that this can be incredibly difficult when you’ve been waiting patiently!
- THE FIX: Allow the loaf to cool completely—usually at least one to two hours. As the bread cools, the crumb finishes setting and moisture redistributes evenly.
Preventing Future Sourdough Baking Mistakes
I think these ten common mistakes can easily be avoided by being mindful of what you are doing. Keep track of how long and at what temperature your dough is being fermented. Remember you need a healthy, strong sourdough starter to get that light and fluffy rise that you want in your bread.
Remember that it is okay if you make a mistake, and often times you can recover a loaf. Always bake it! Even if you think you have messed it up. Sometimes it all comes together anyways!
Now lets check out some sourdough recipes~
More Sourdough Recipes


Don’t forget to pin this for later!
